Watch Here
Lake Beyond the Clouds is a fantasy tale of a Lighthouse keeper who’s work disrupts his otherwise peaceful lifestyle; Driven by frustration and irritation he abandons his duties at a critical moment endangering his home and pet Yak!


This animated short film was taken from script to screen in 8 months by Harry Randall and Sam Elphick. The film was made almost entirely in blender with texturing in substance painter.
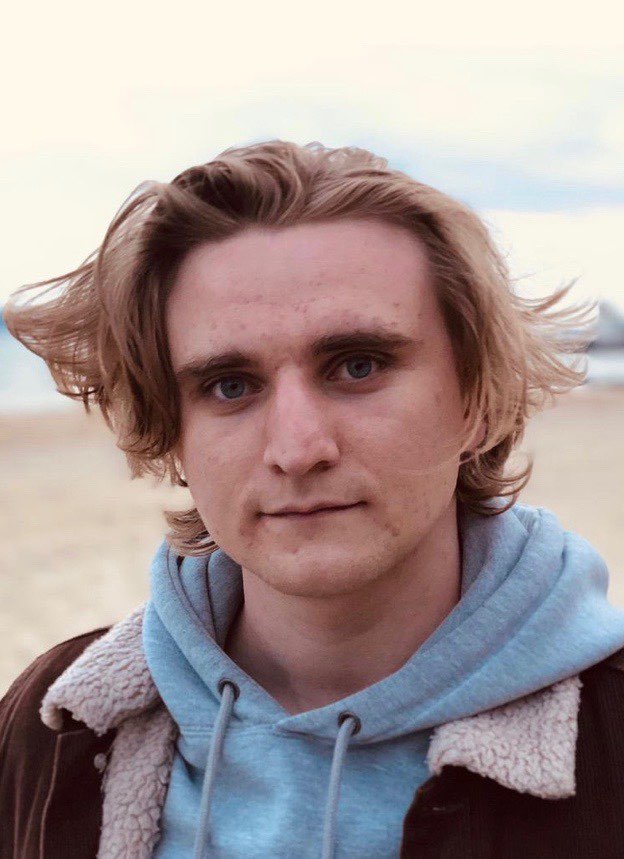
Sam Elphick (Left) is an AUB graduate and a talented 3D artist who used his skills in Design, Modelling, Rigging, Texturing and Animation on this project.
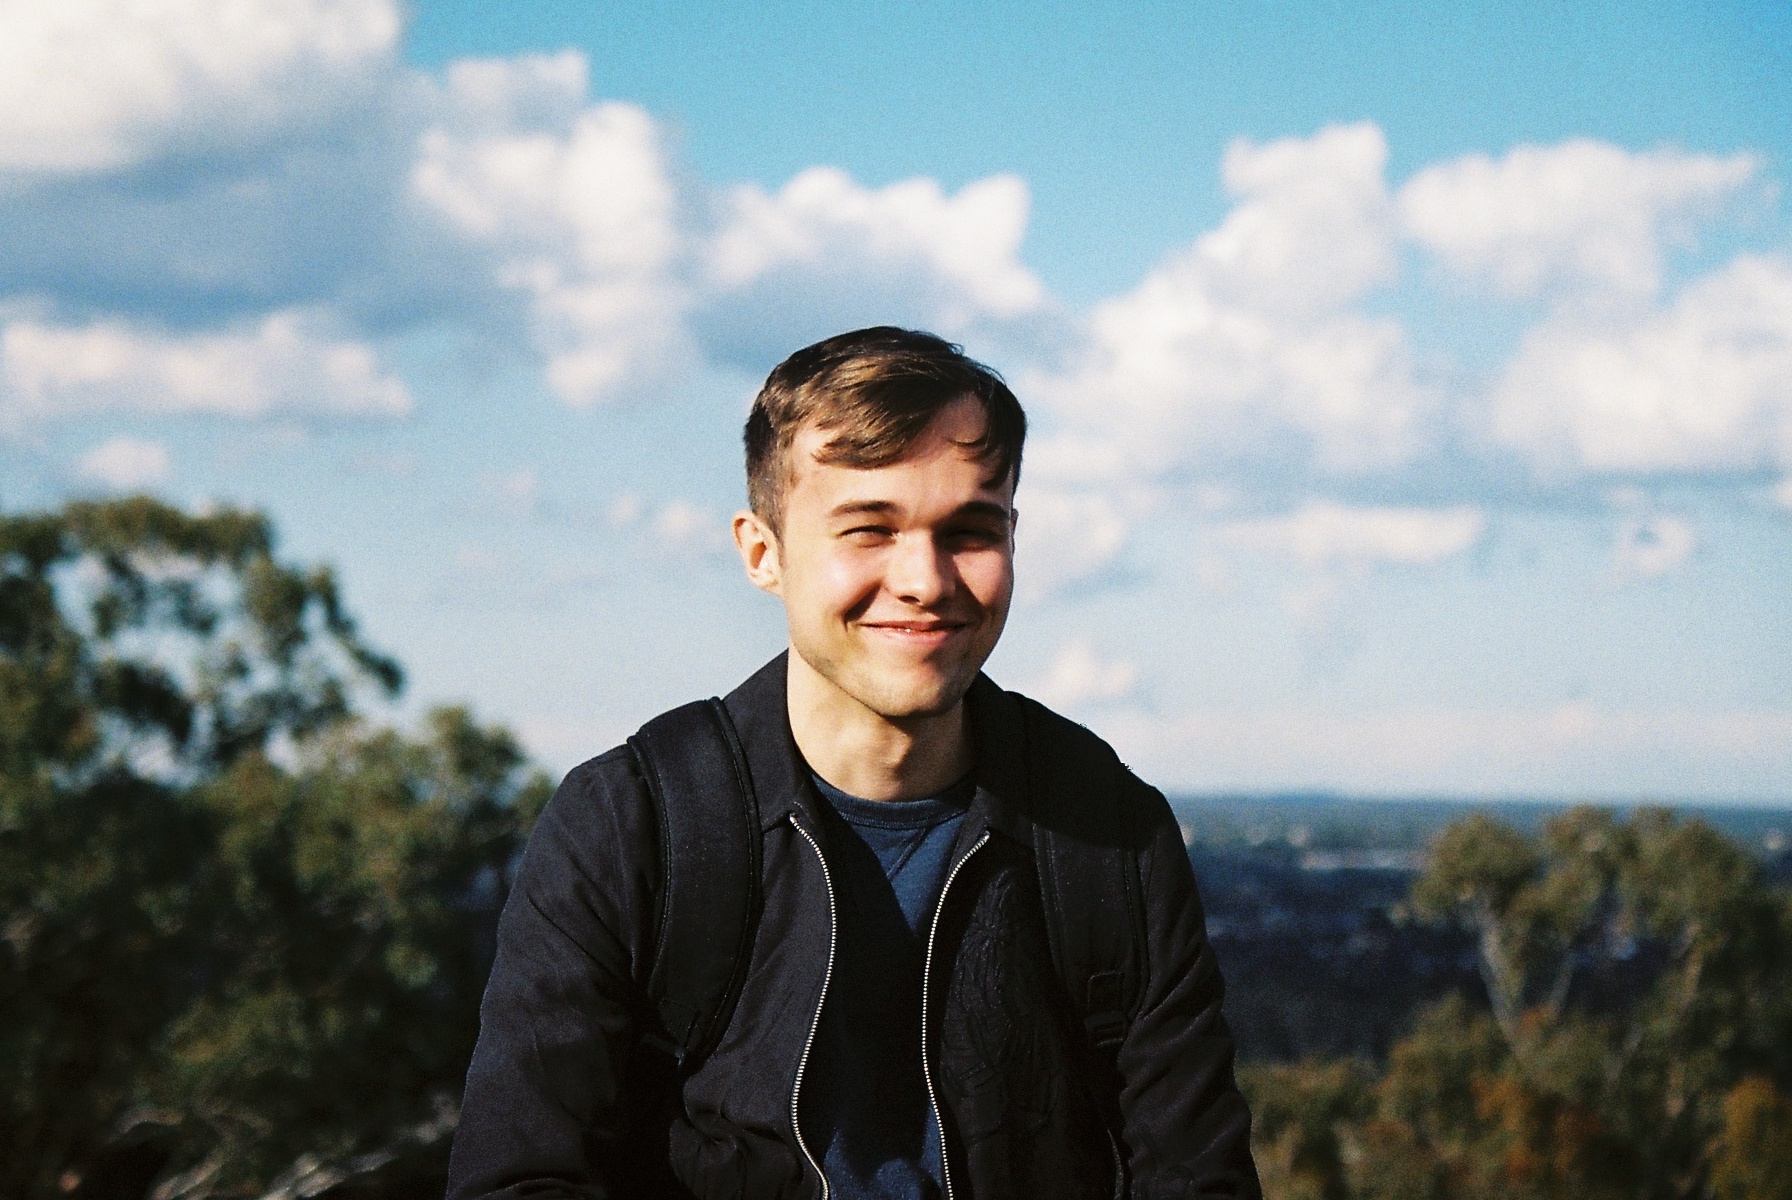
Harry Randall (Right) is also an AUB graduate and contributed by Scripting, Character Designing, Modelling, Rigging, Texturing, Animation, Lighting, Rendering and Editing.
How did we do it?
This wasn’t a particularly small project and it took a lot of work which can’t all be summed up here but this section will try to give you a broad overview of how it went.
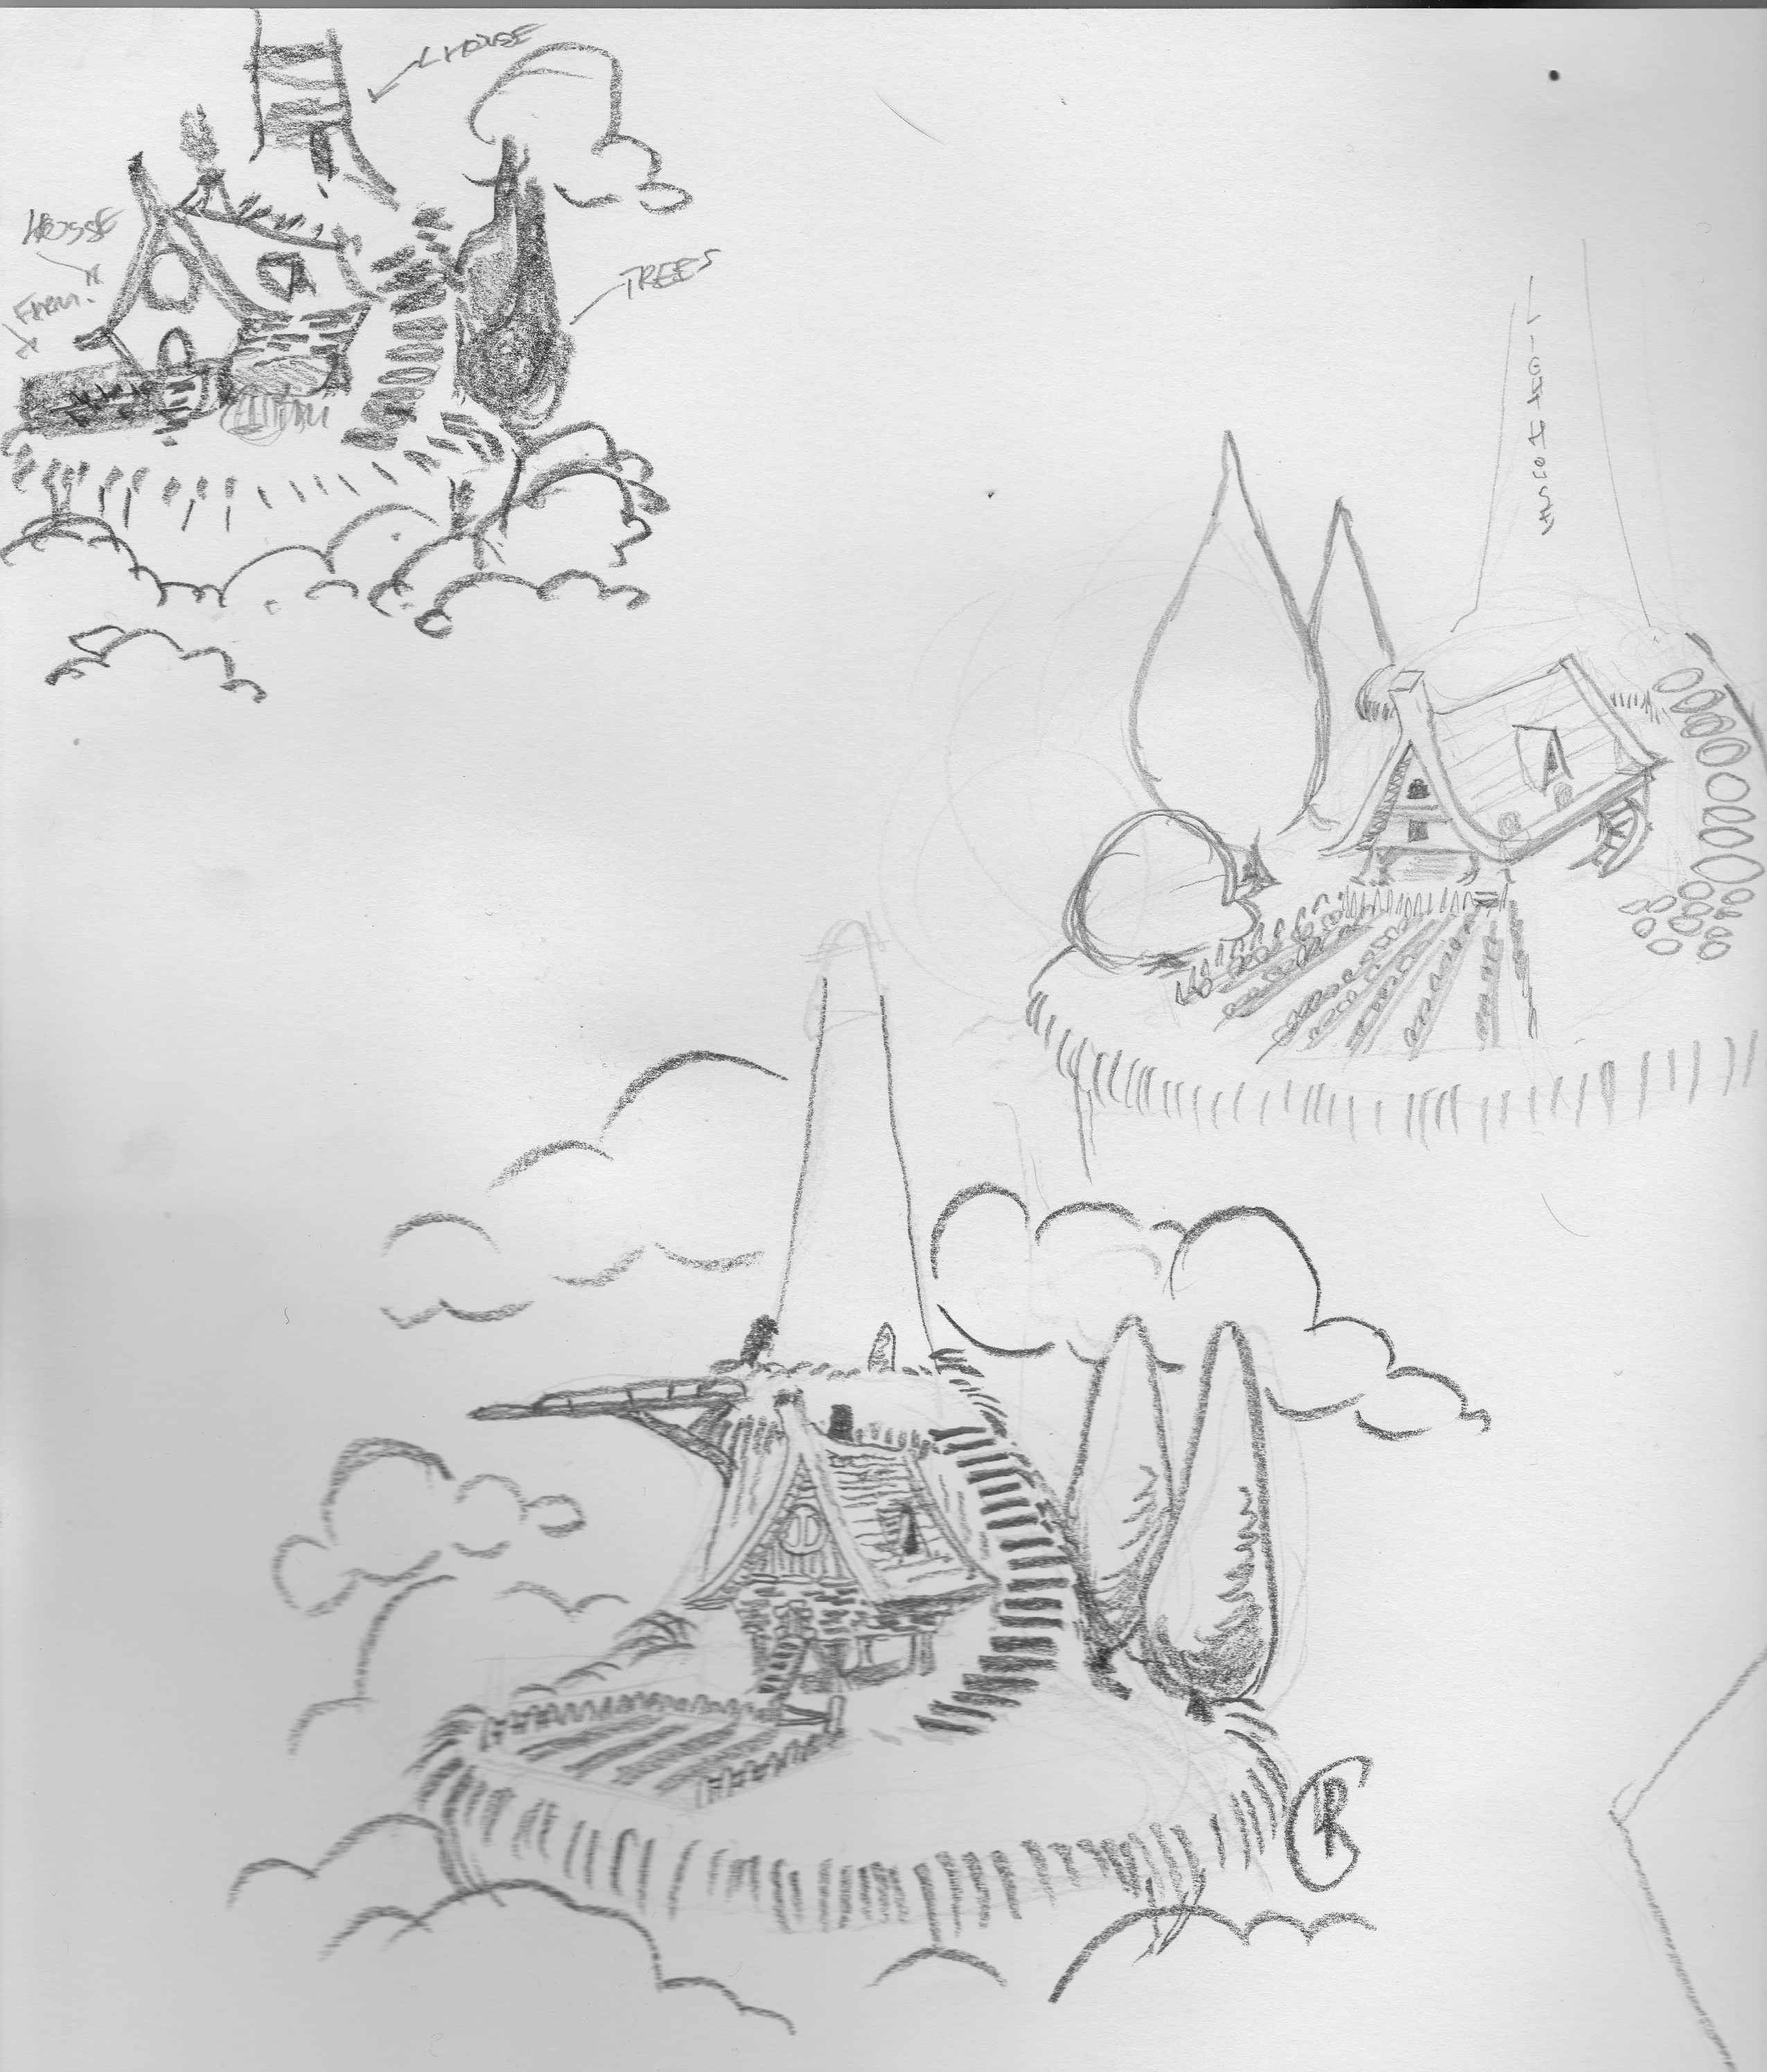
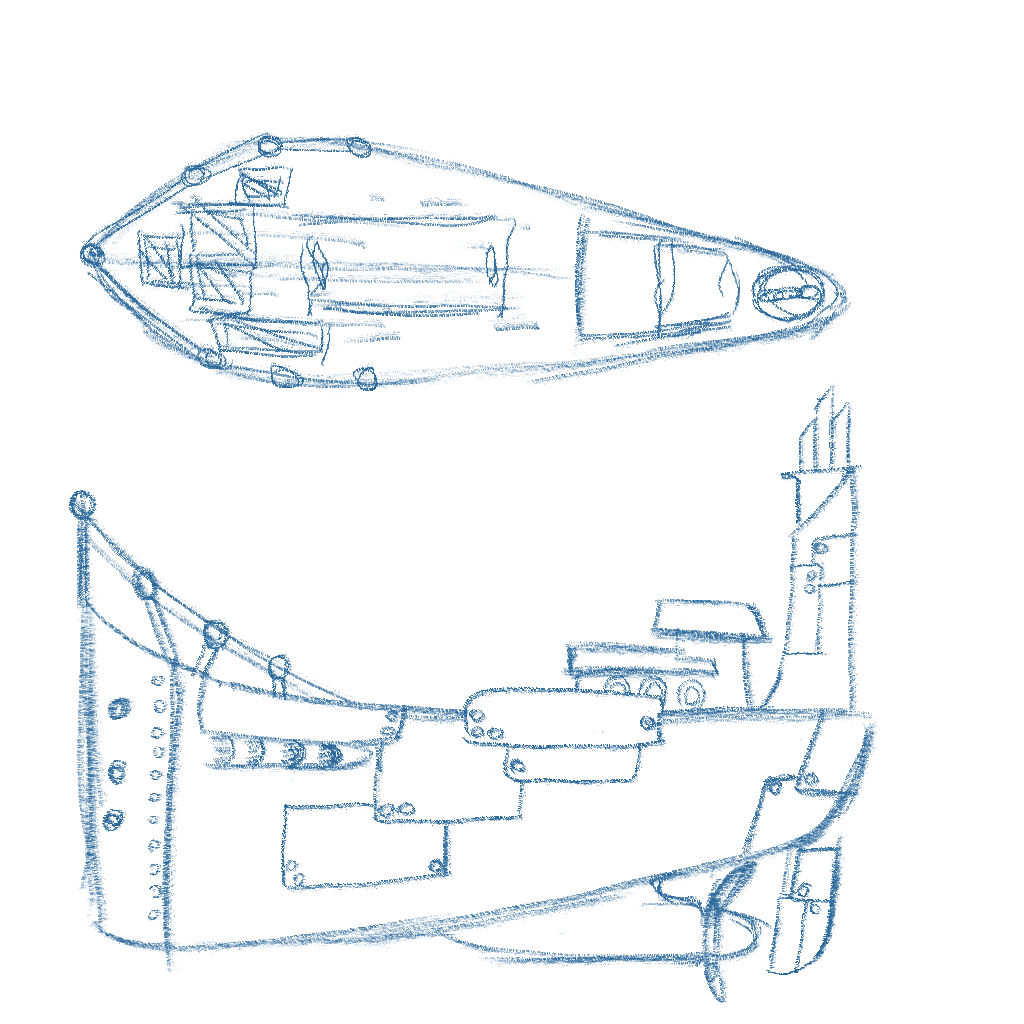
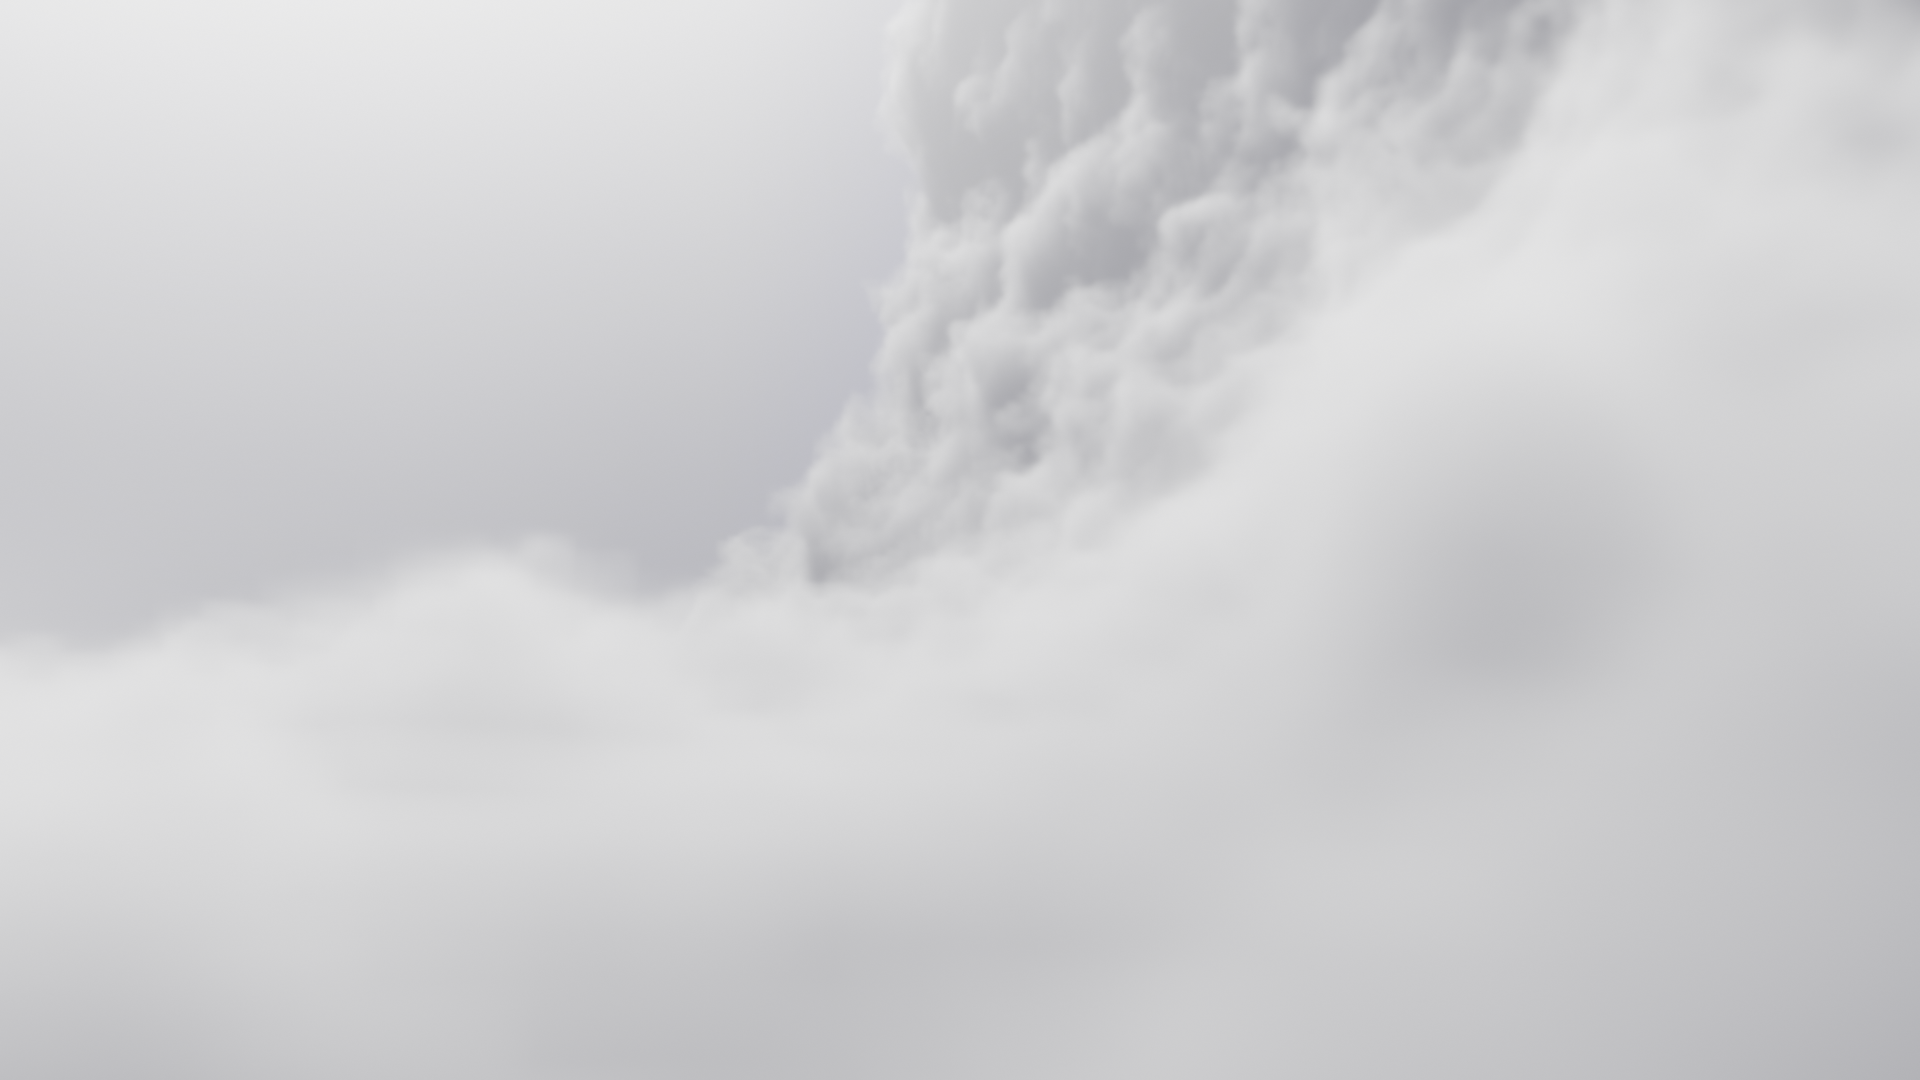
I came up with the seedling for this film returning to the UK from Finland in the new year of 2020. Coming into Southampton airport on a dismal grey morning I was lucky to have a window seat. I got to do my favourite part of flying looking at the tops of the clouds. Whilst looking out I saw a basin formation in the clouds and I had an idea about how nice it would be to be able to go and be amongst the clouds so I started sketching.

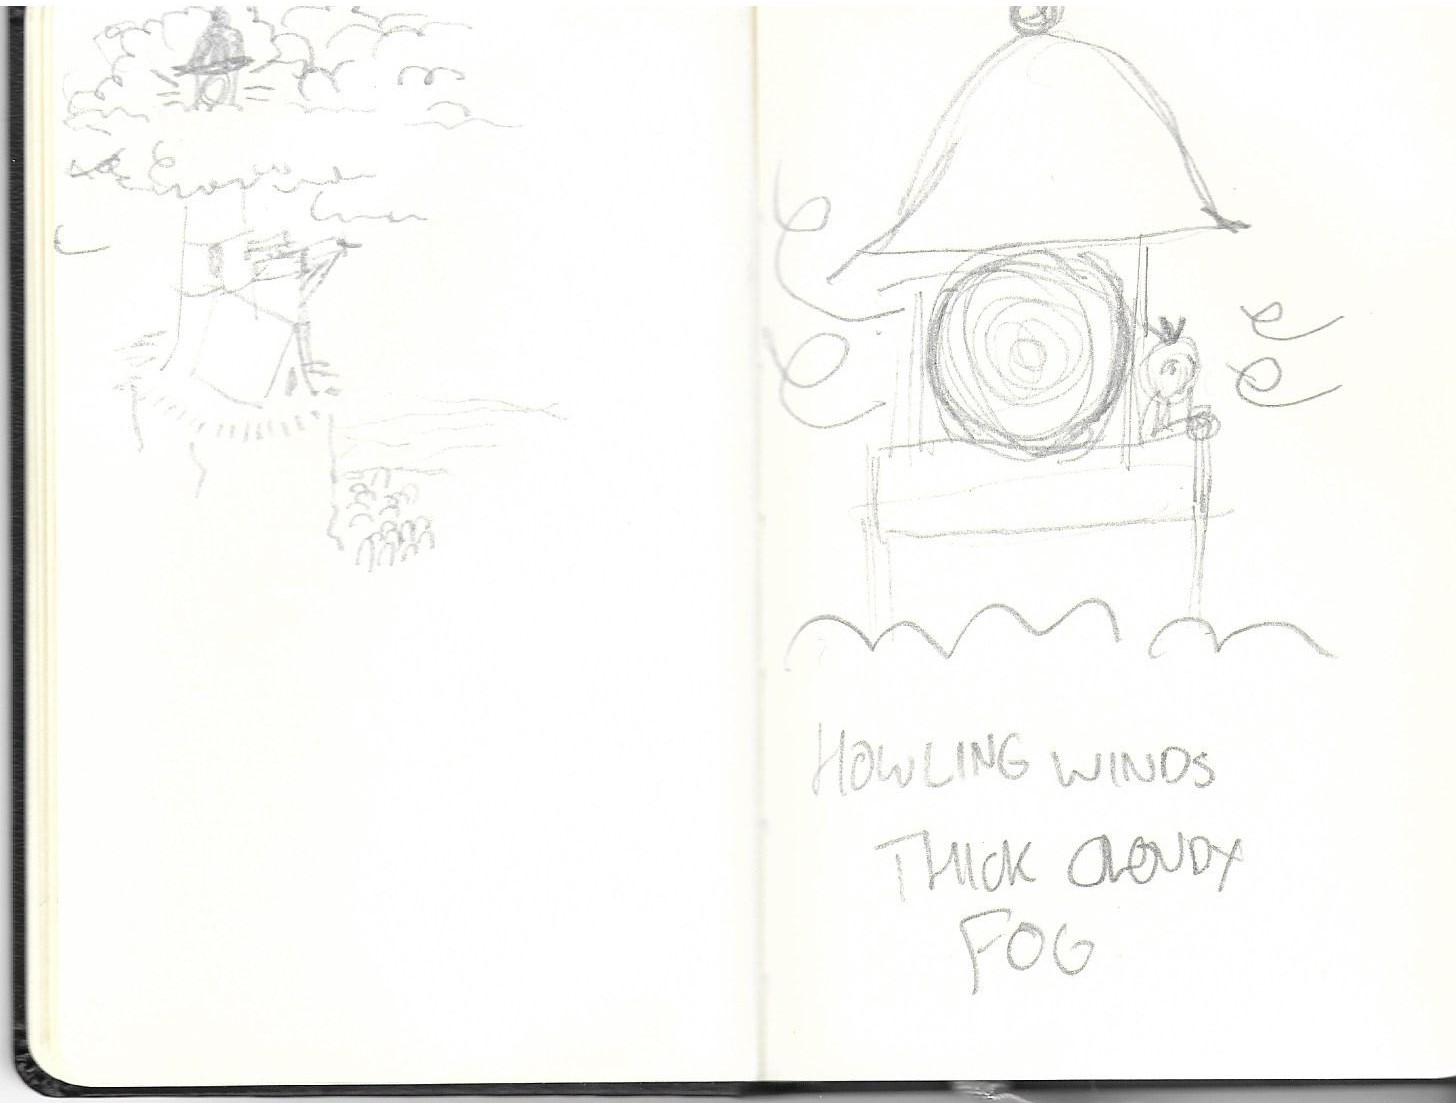
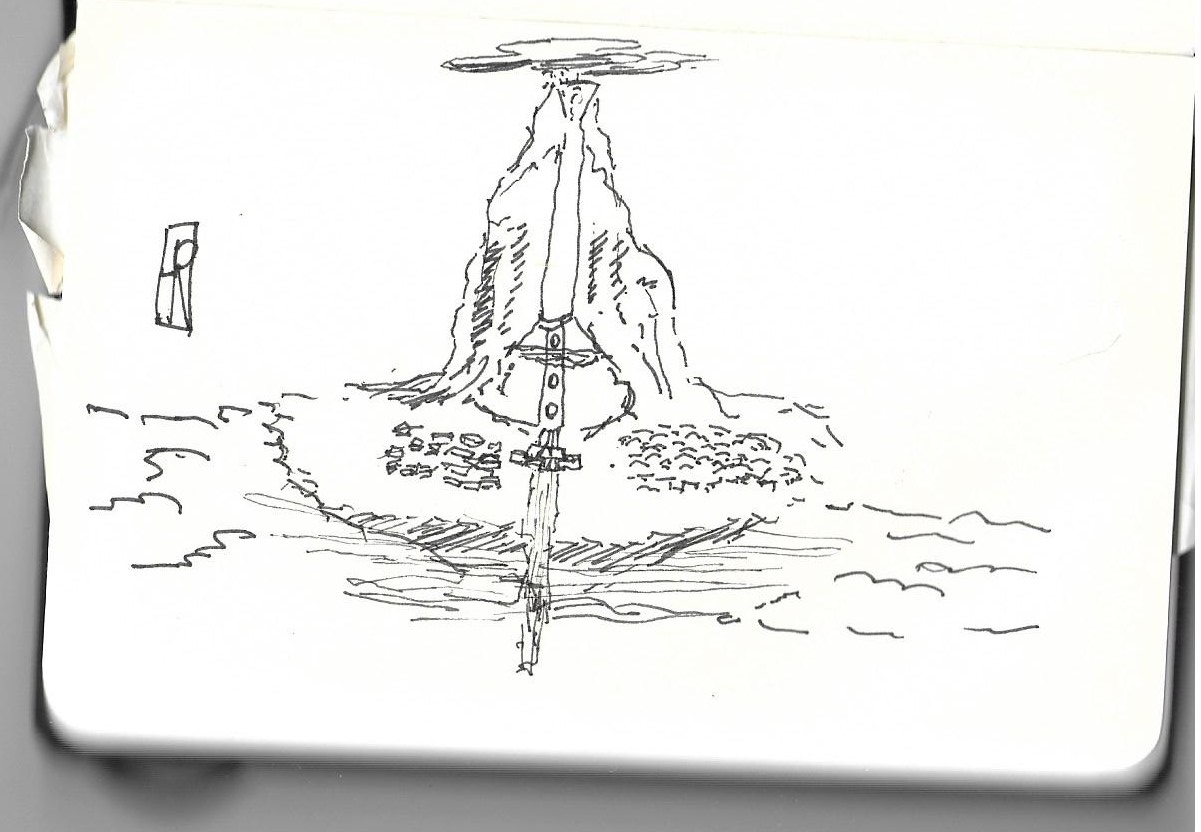
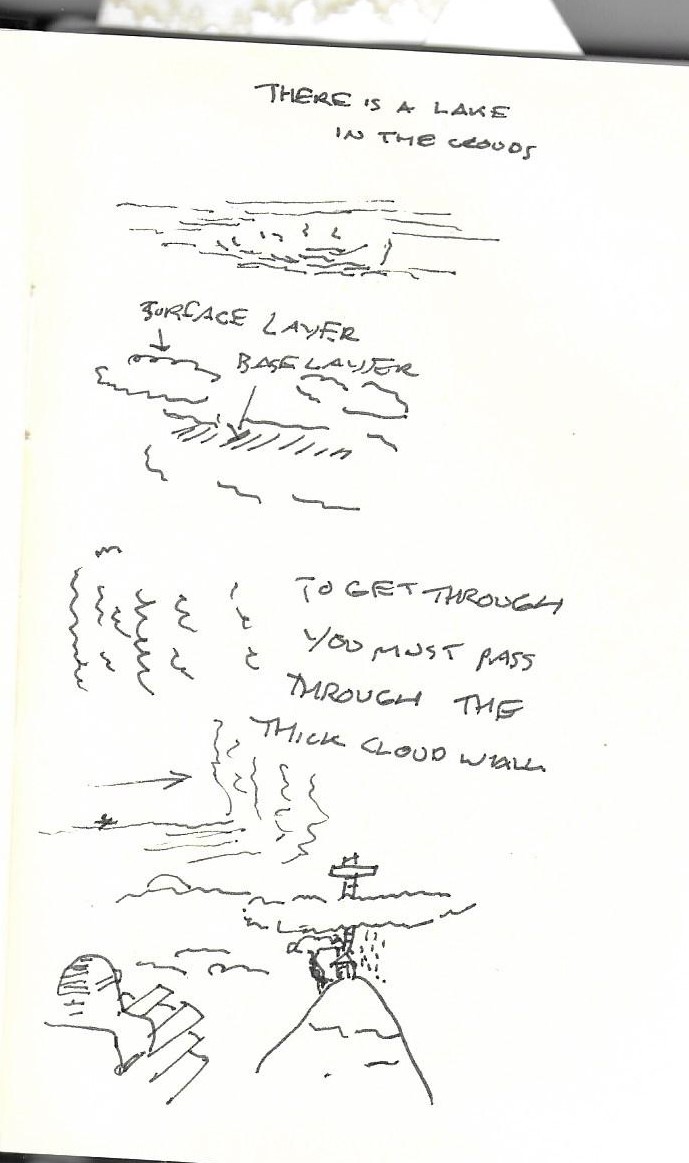
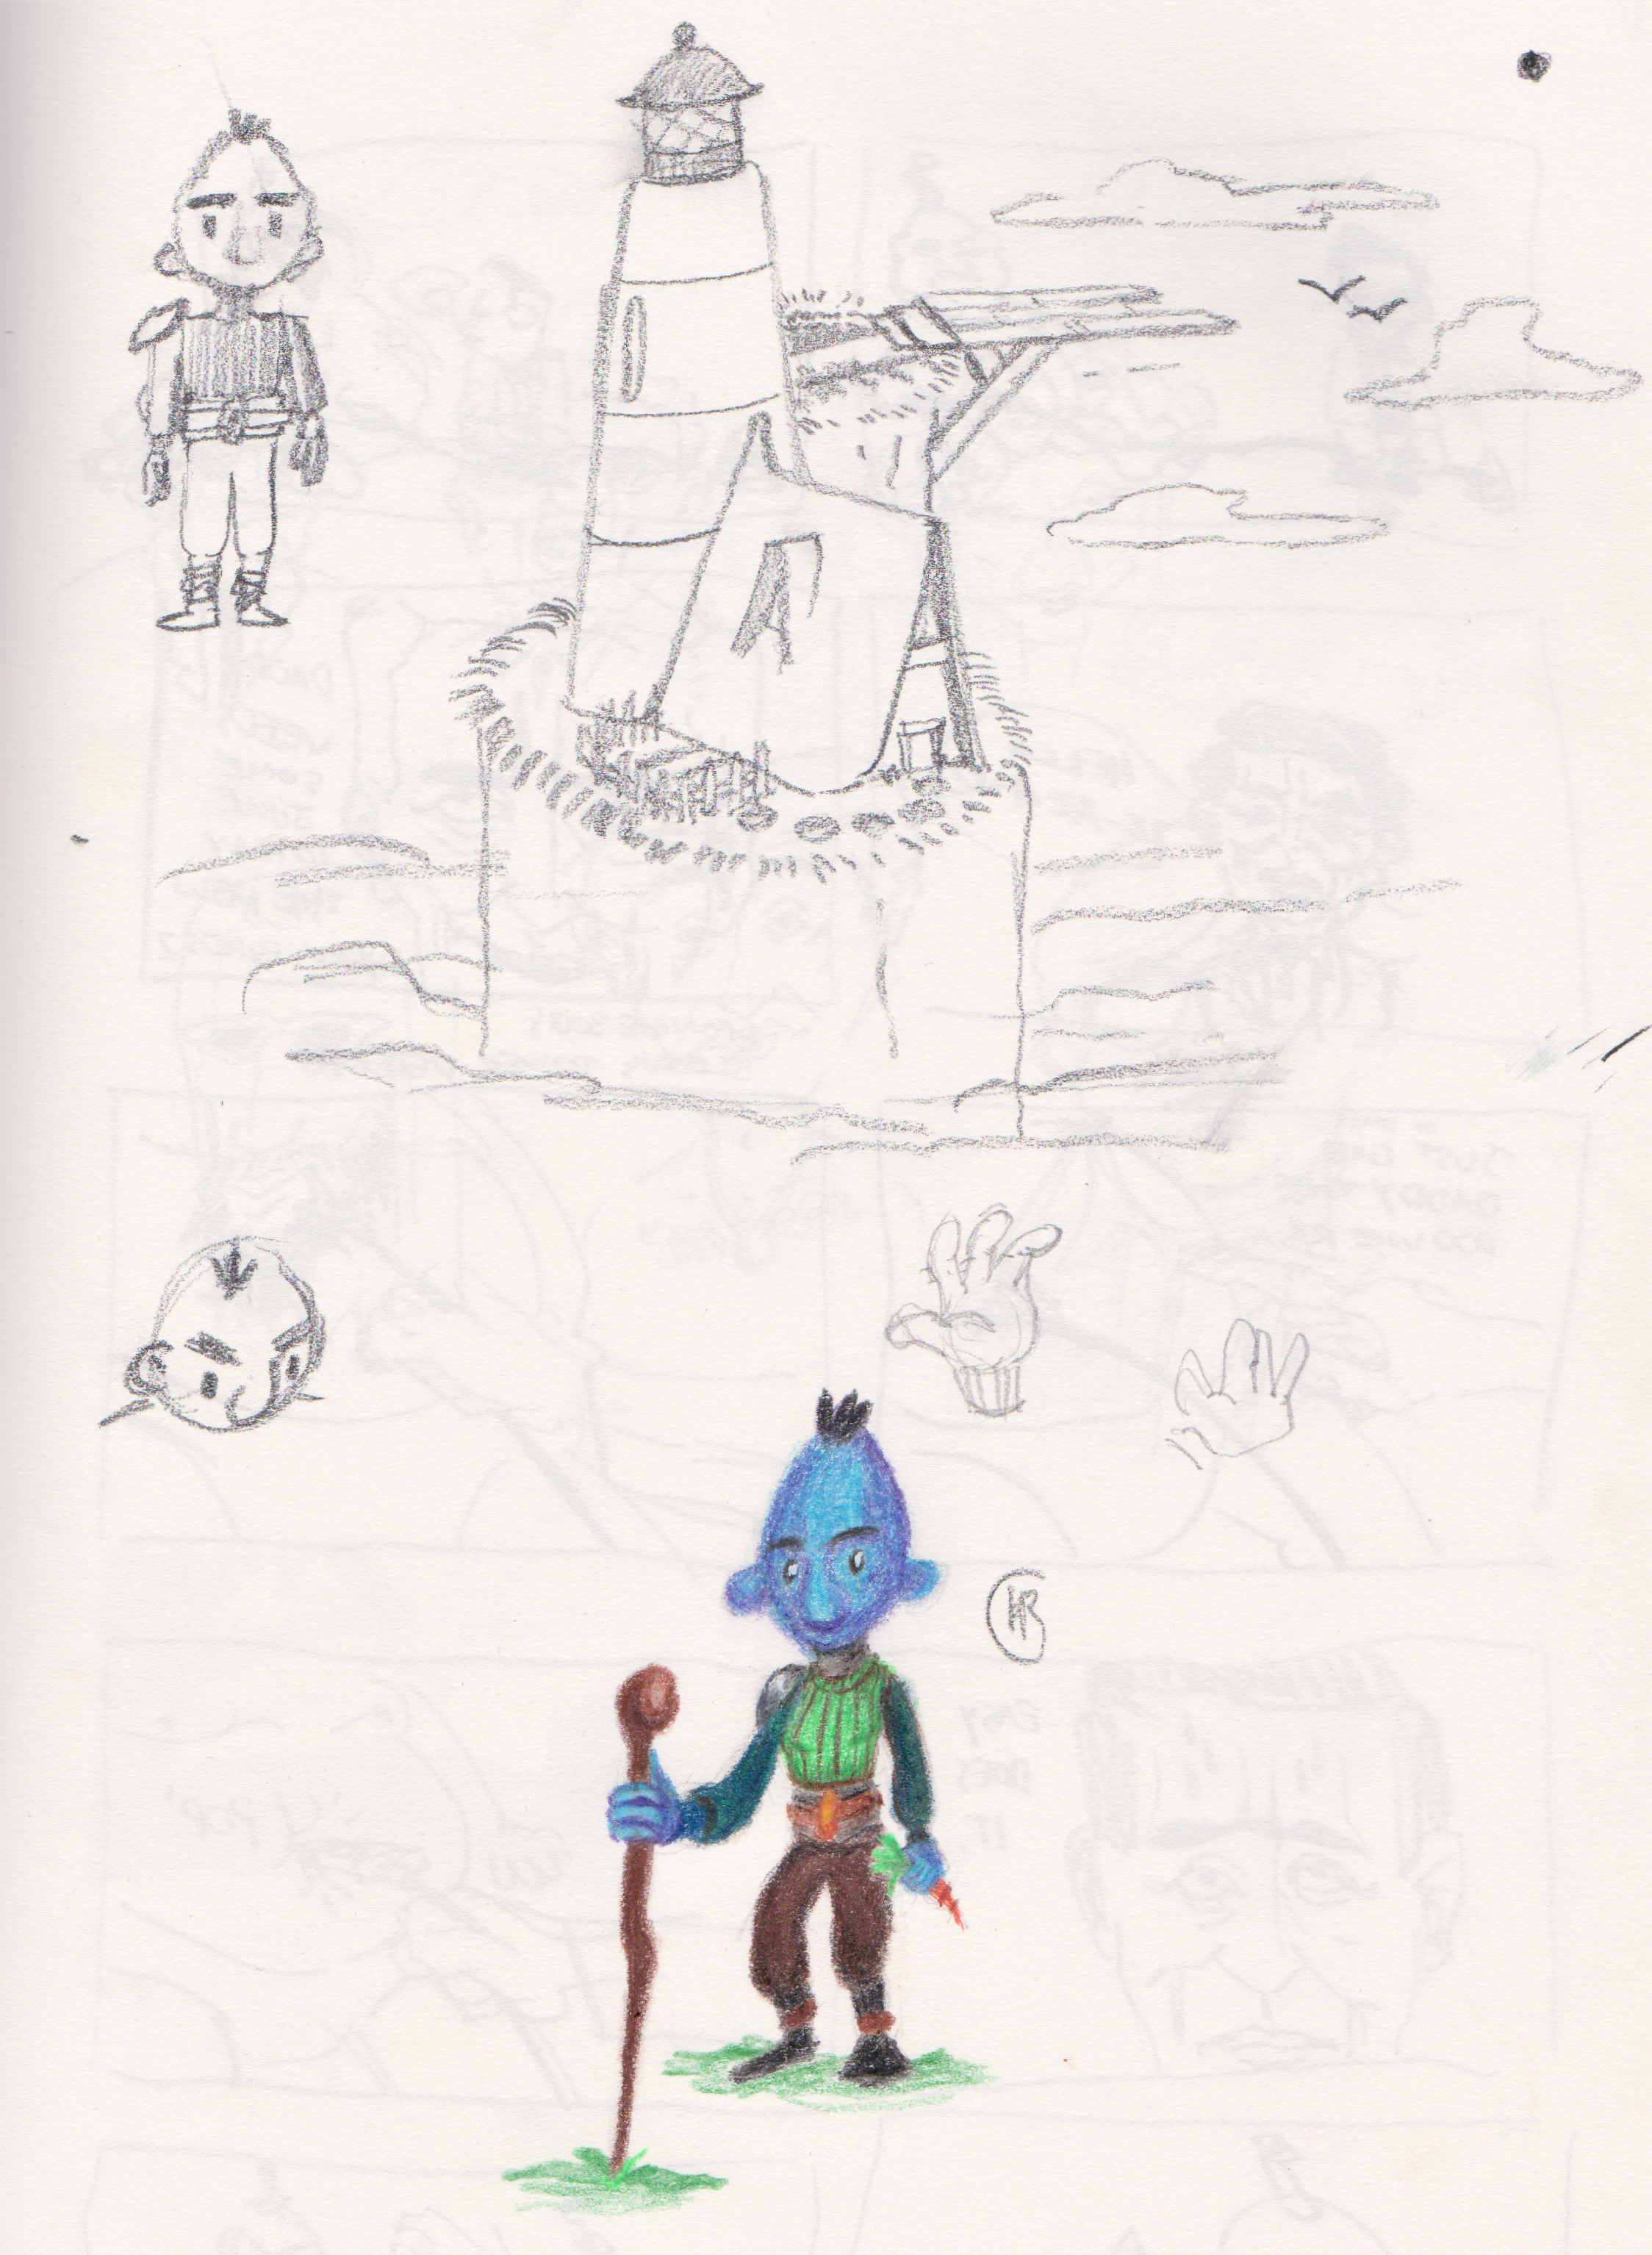
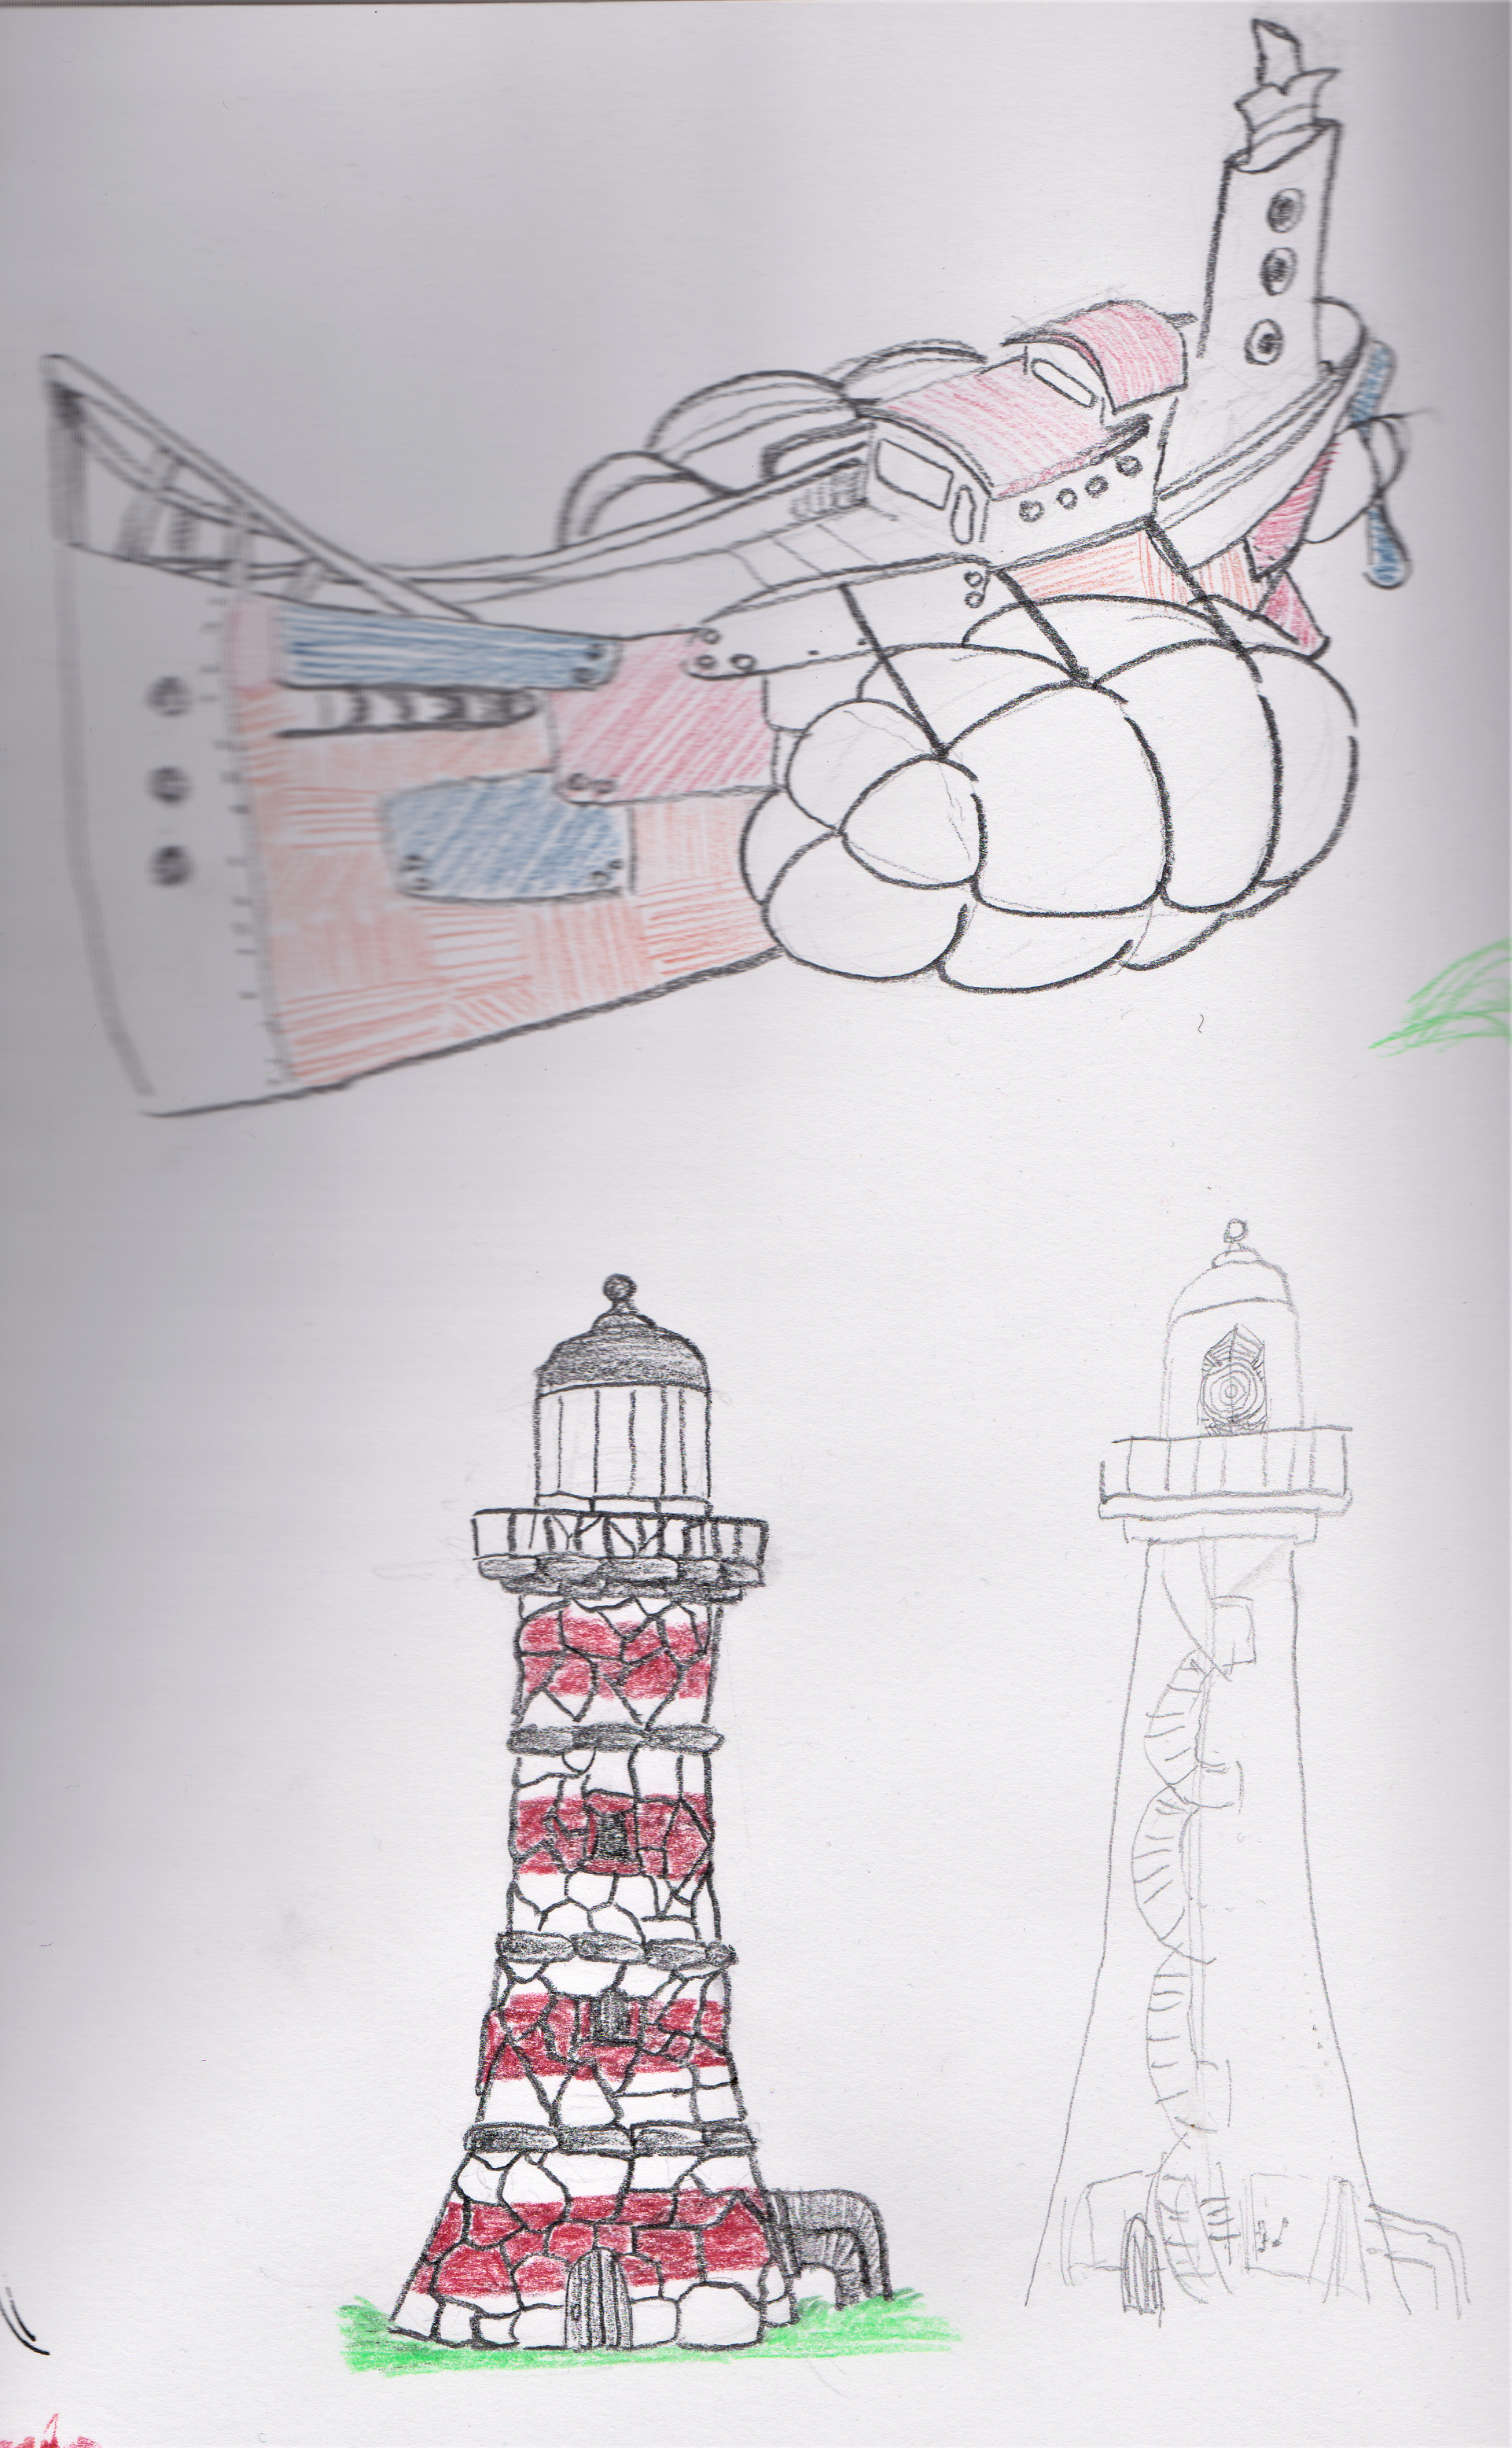
Here you can see where I started I had an idea of character who lives amongst the clouds at this point either on top of a very tall mountain or on a floating rock. Then I came home and I drew some more from photos and my imagination.
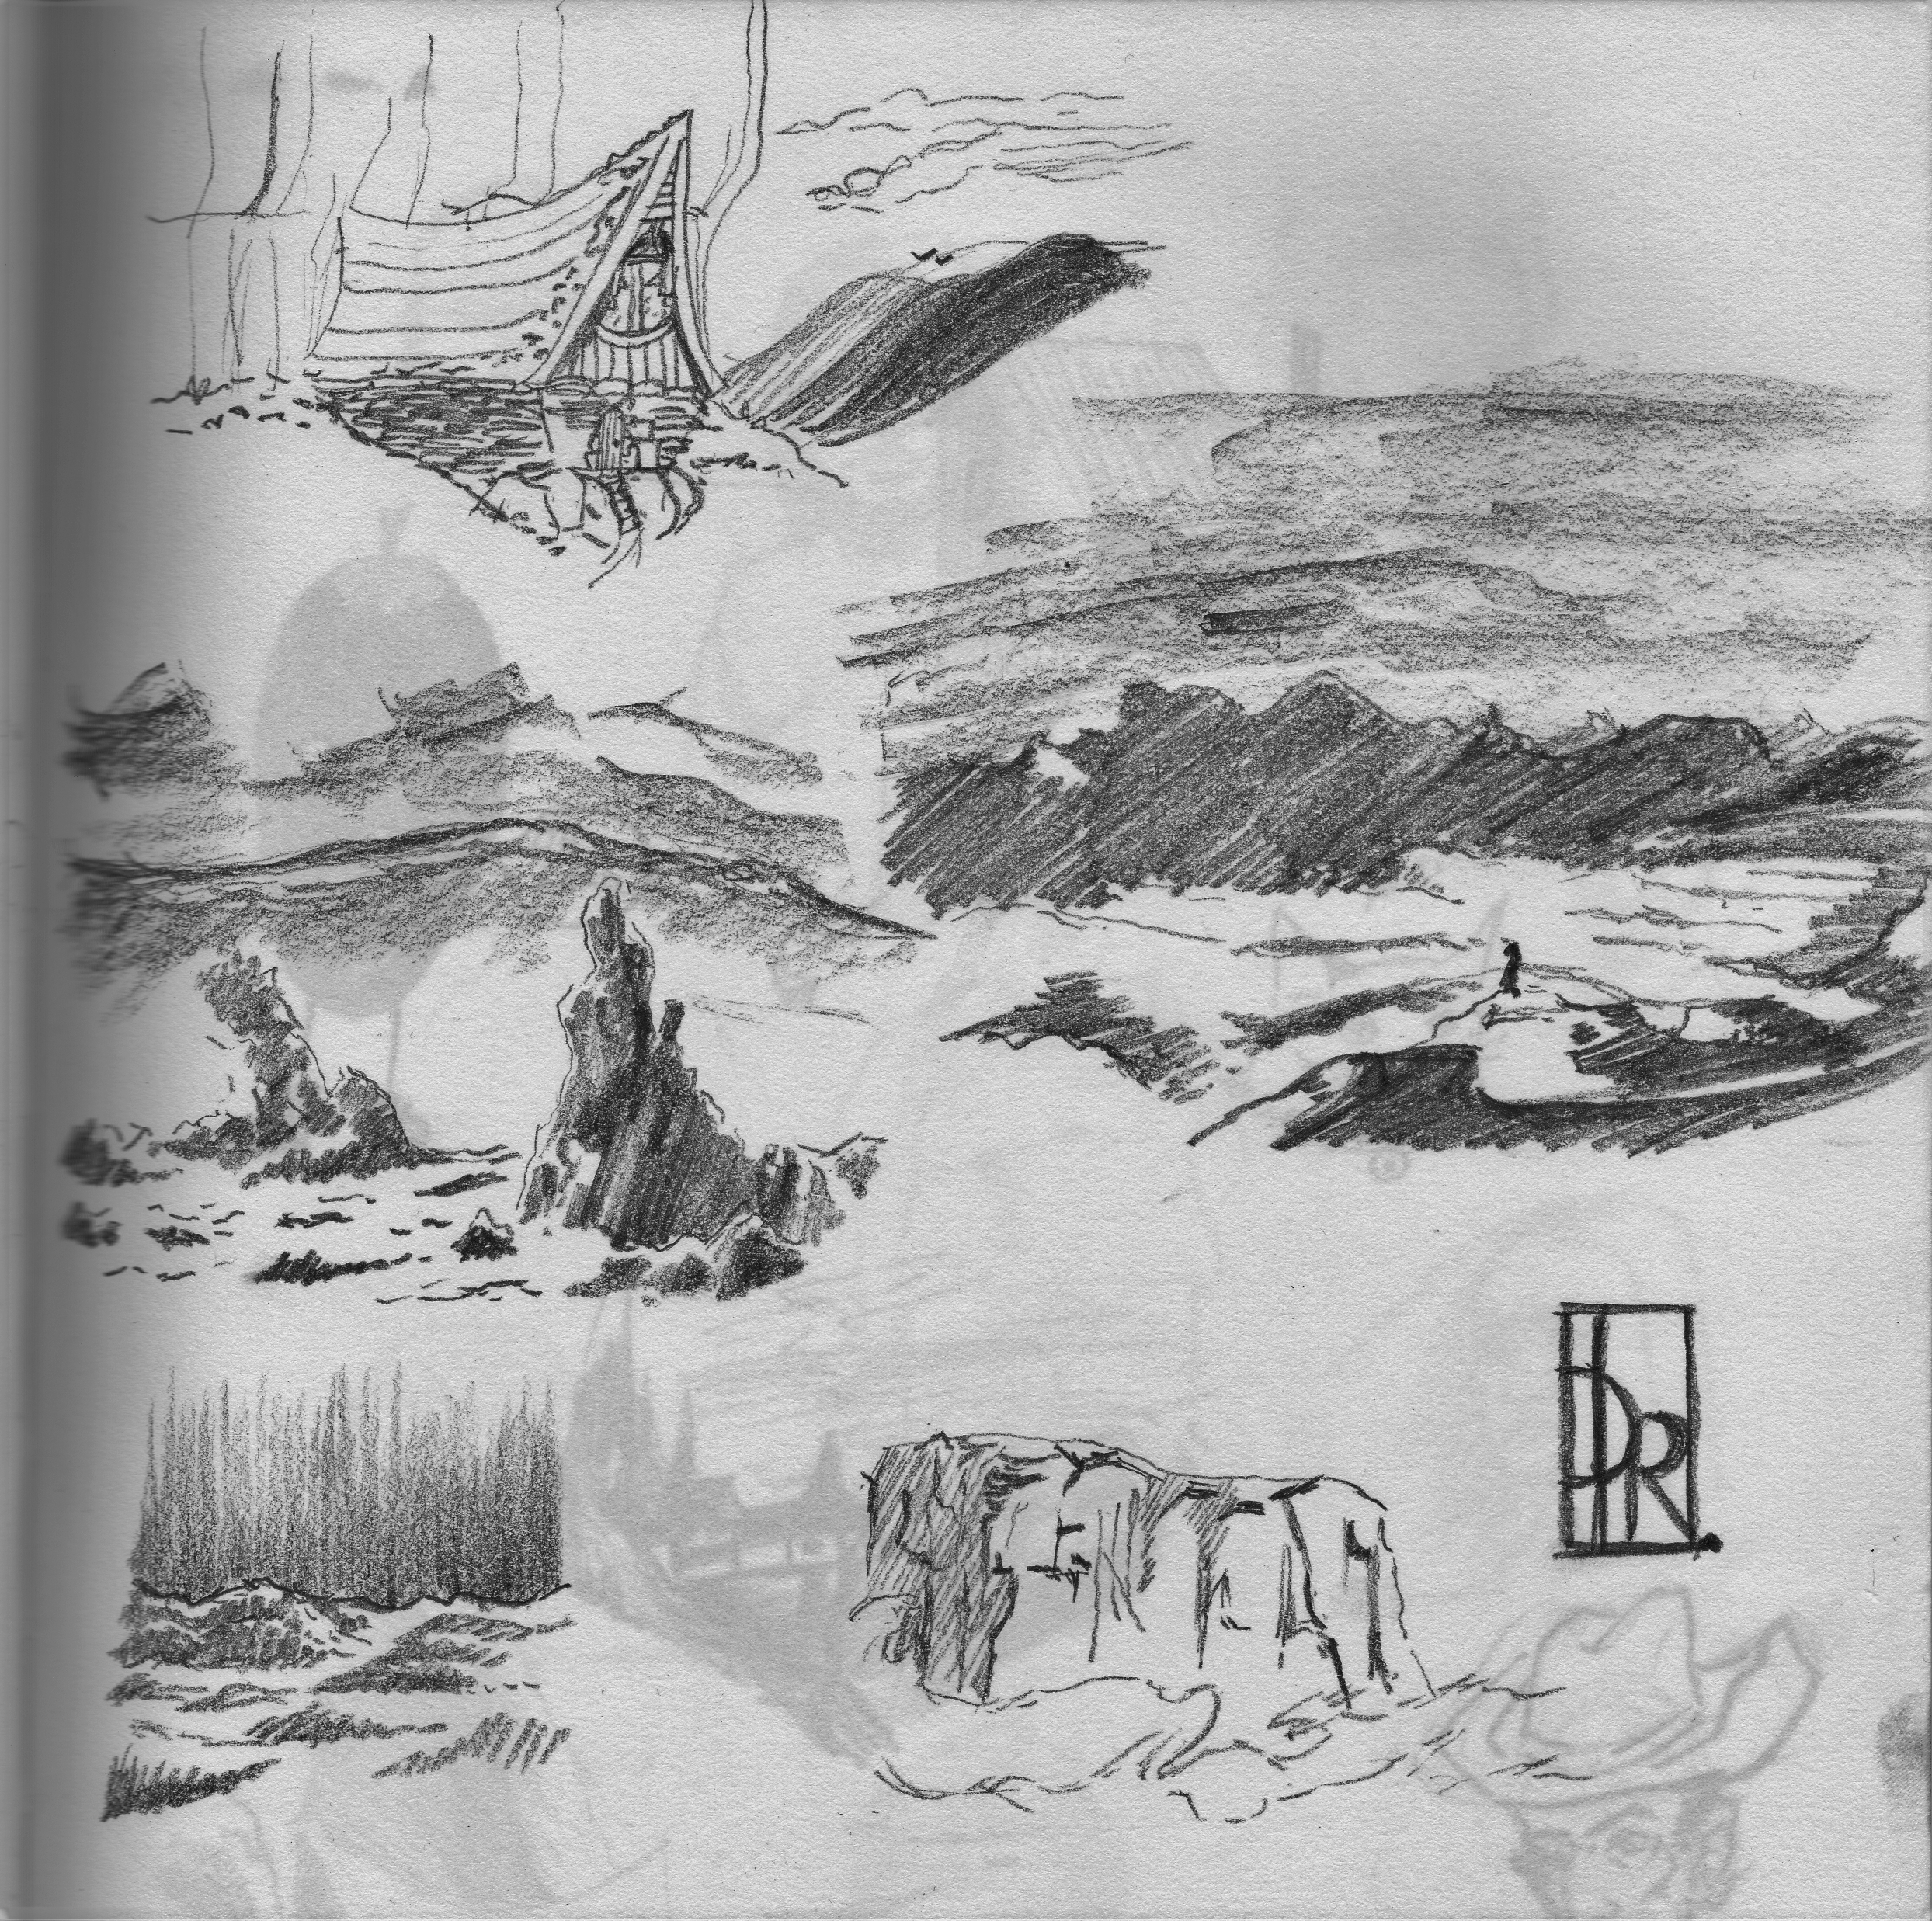
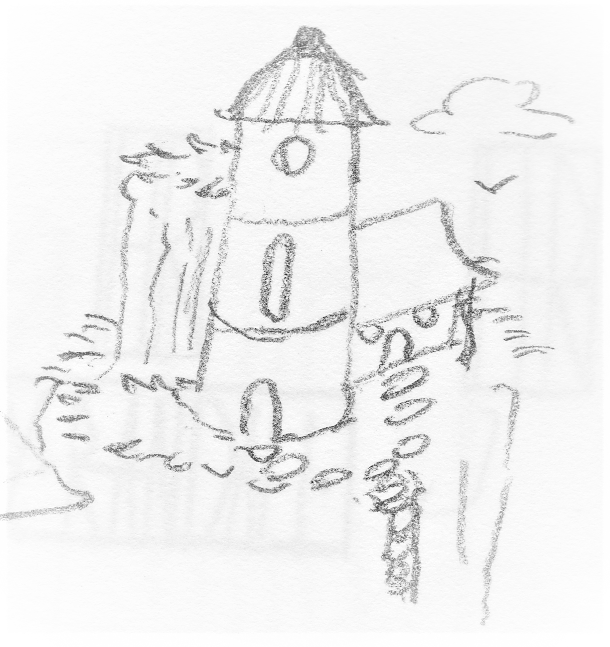
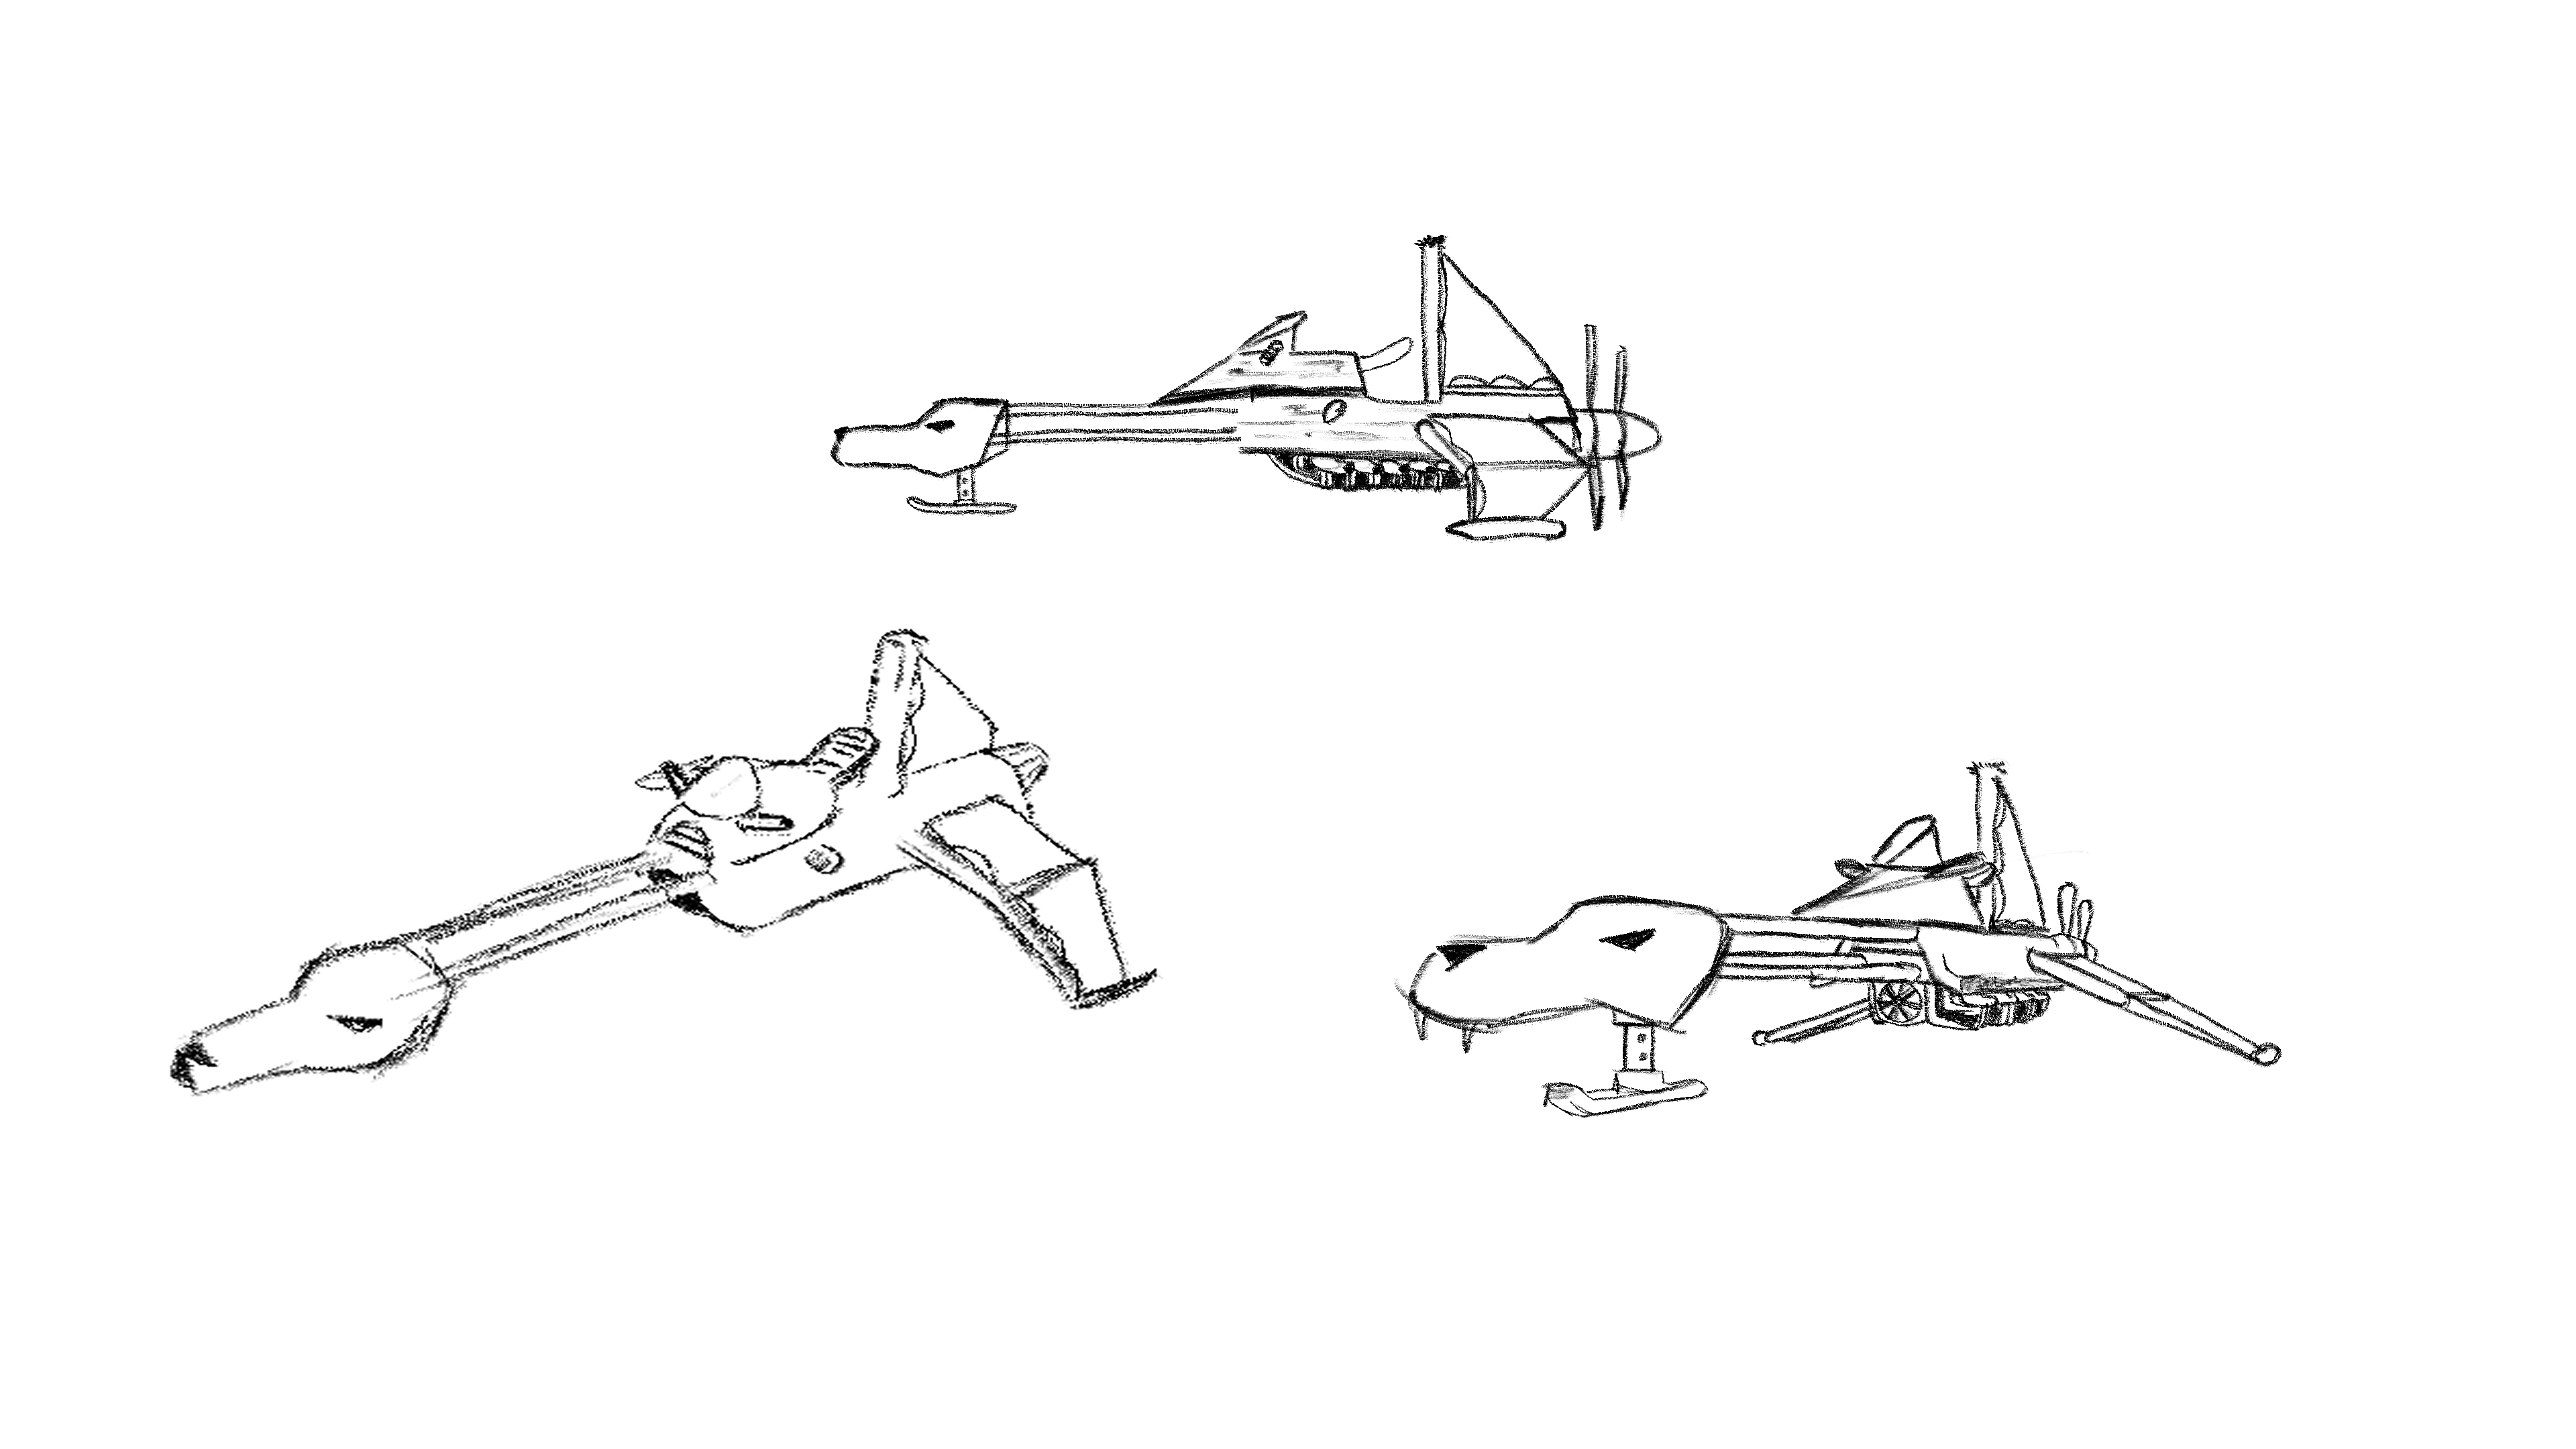
I was starting to look at the main environment but after this I had to switch focus to more short term projects that I could use for a promotional show-reel in order to actually get hired in the animation industry but I kept this ticking over on the back burner. Later in 2020 I came back this time wanting to take a stab at the main character.
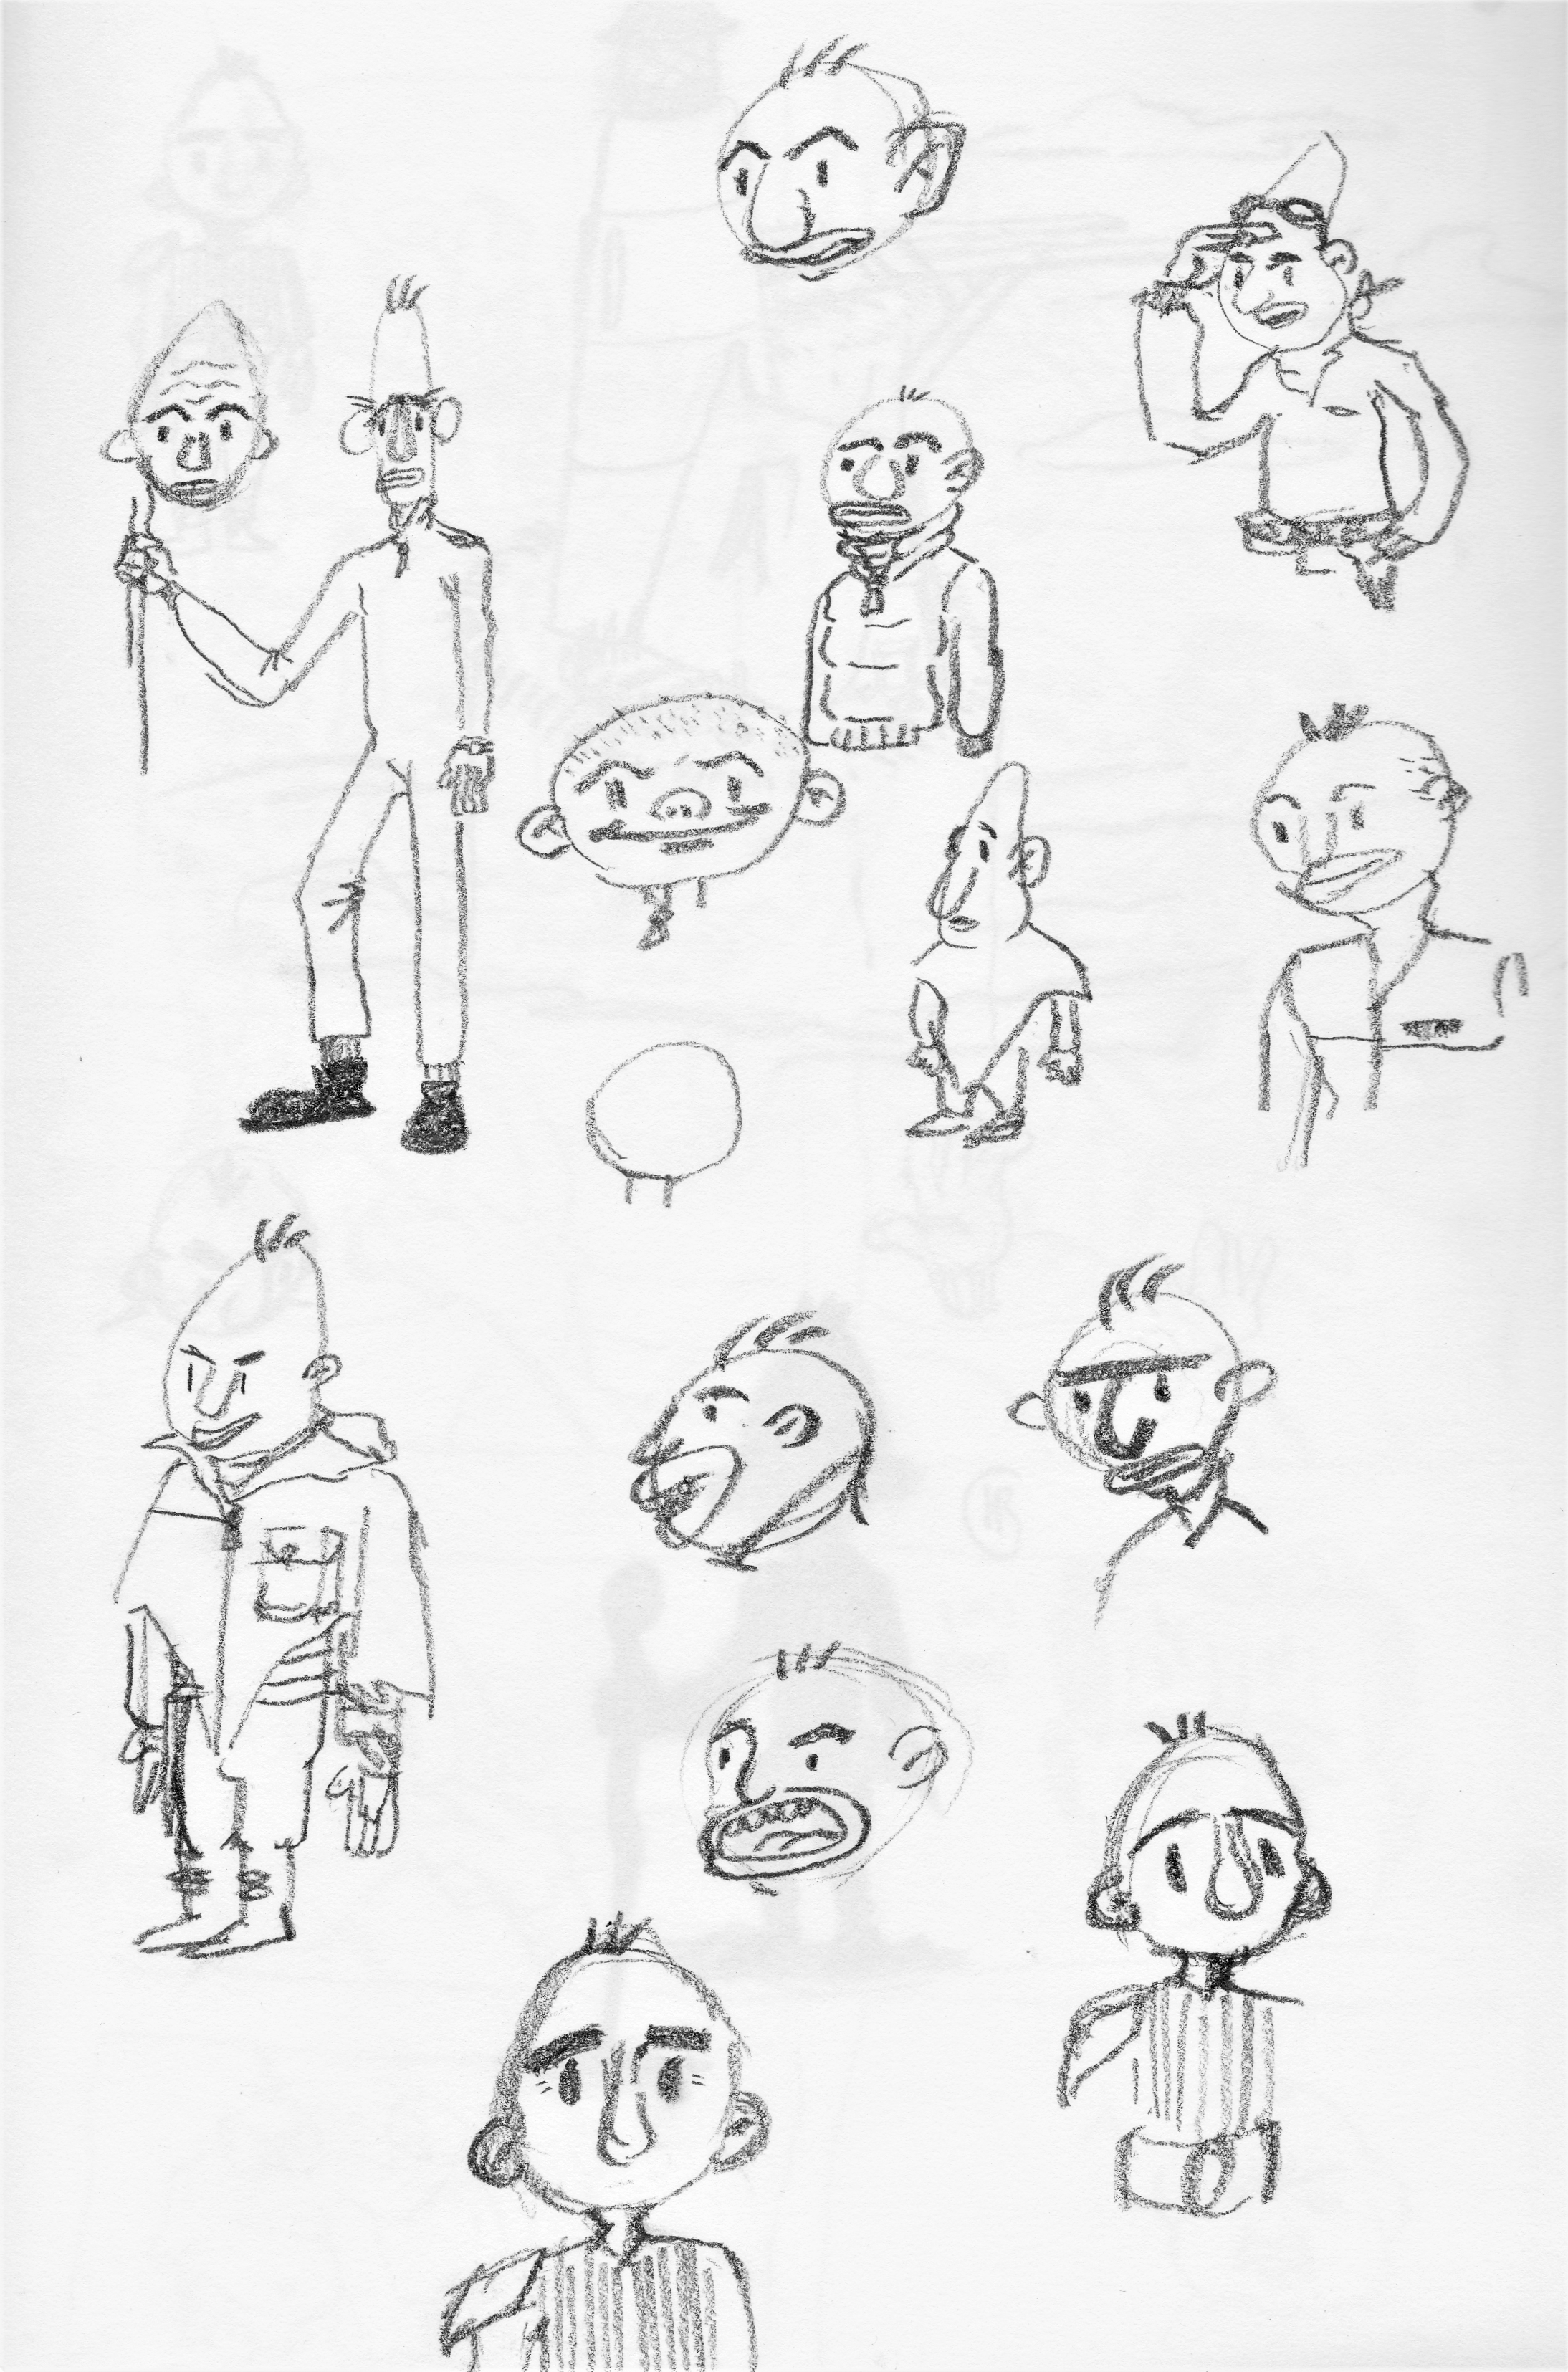
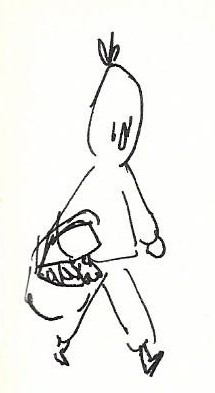
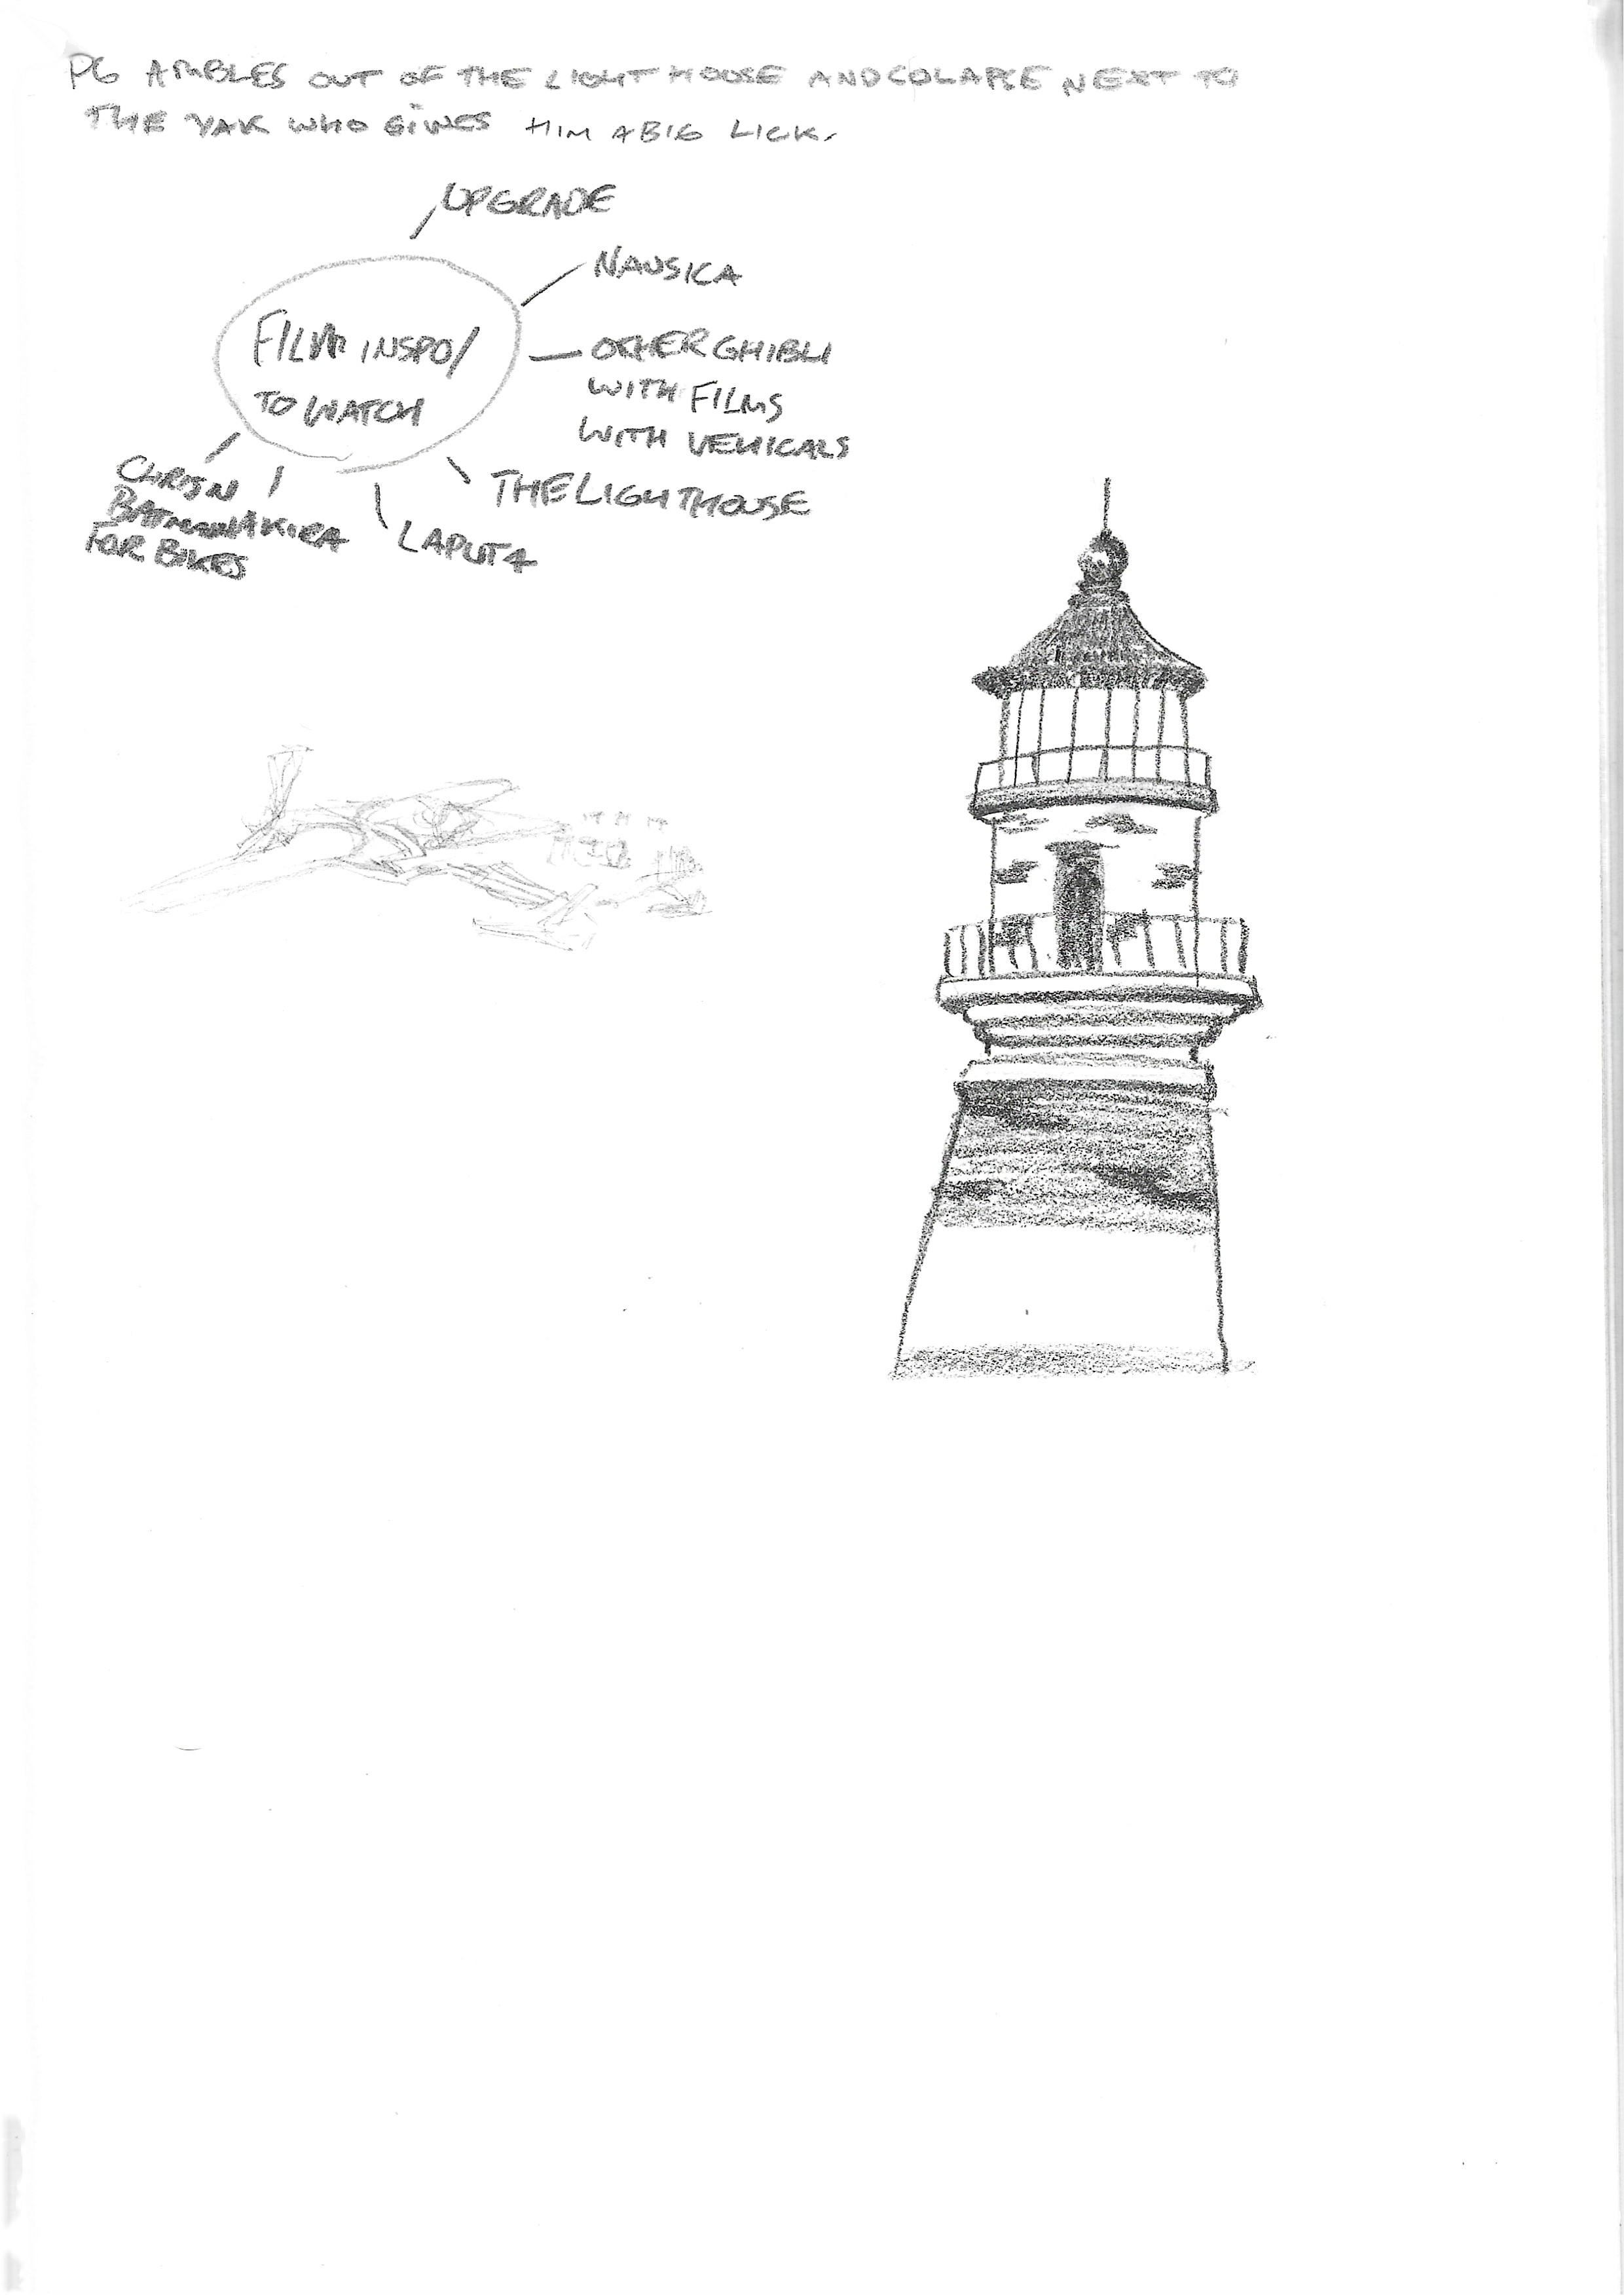
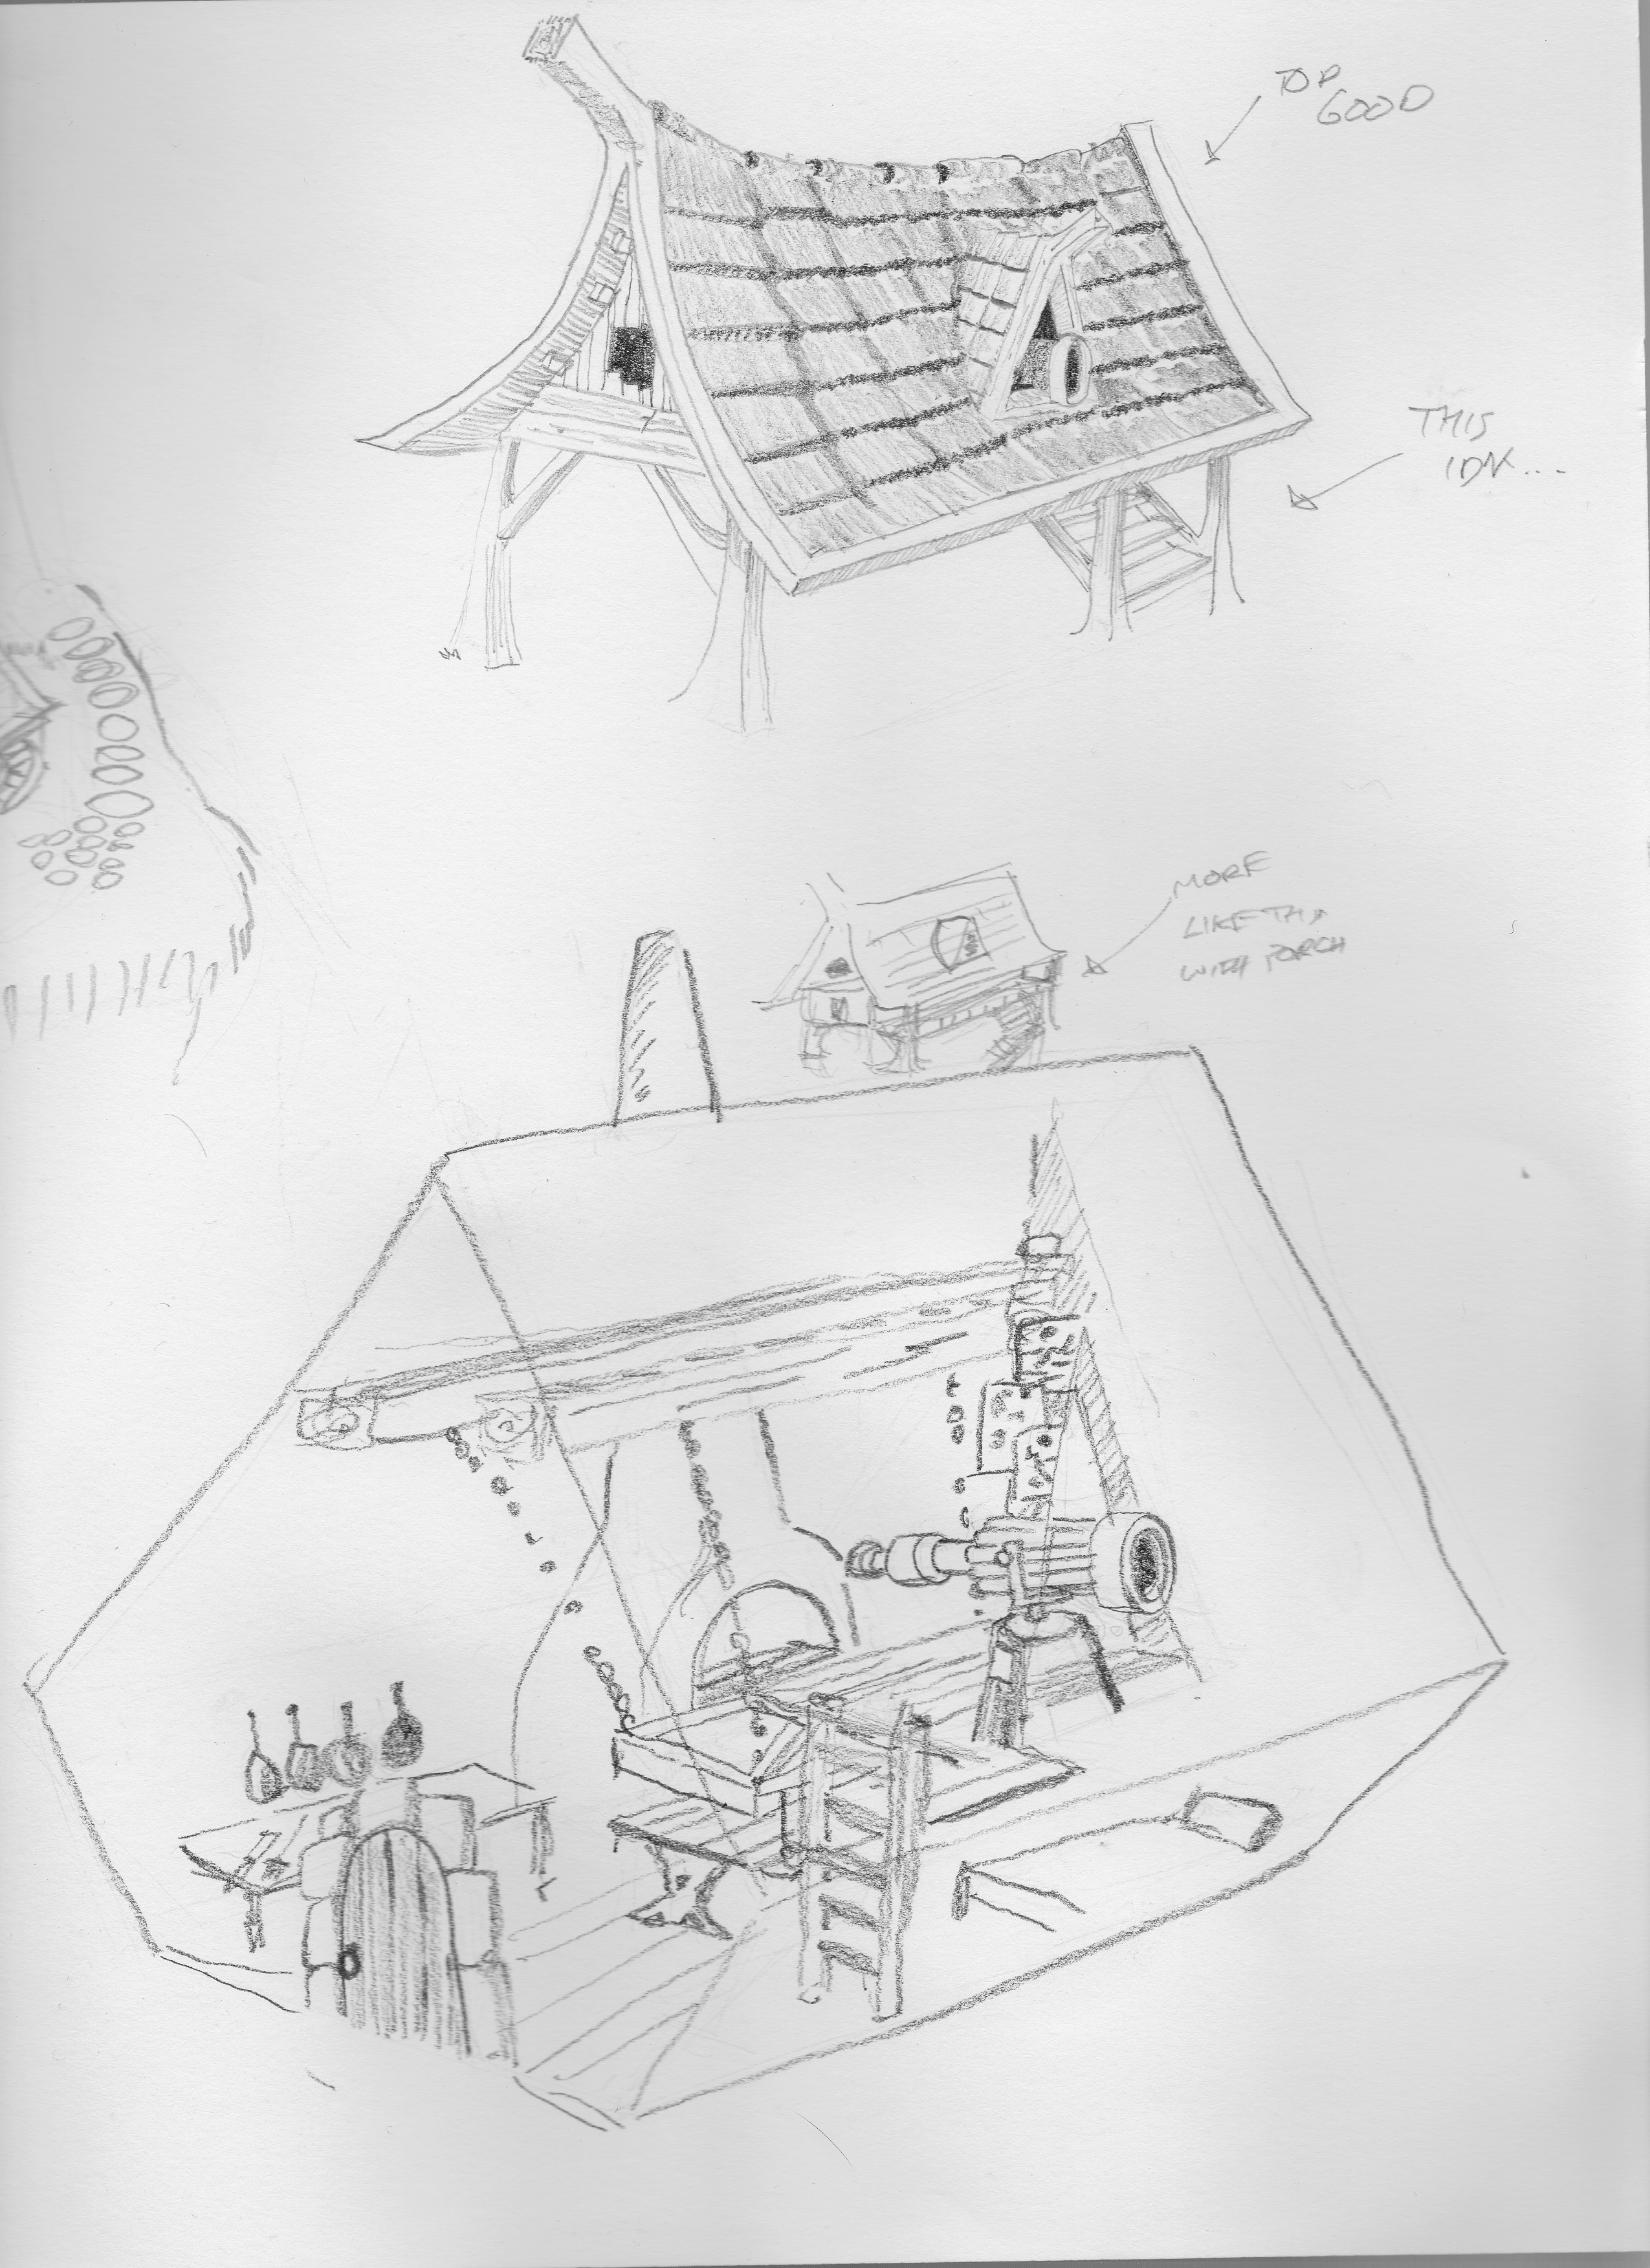
So I did. I’m not a character designer, I just like to draw and I tried to get something that was appealing to me and could be transferred to 3d. I also drew the house again for fun. After this it was back to portfolio/animation skill development and job hunting. So far my commitment to this project had been fairly sporadic, it was something I’d keep coming back to though. With something of this size there are lots of points where it could fall off an just become another idea that never got realized. What I really needed to get this project feeling more real was a story, a script.
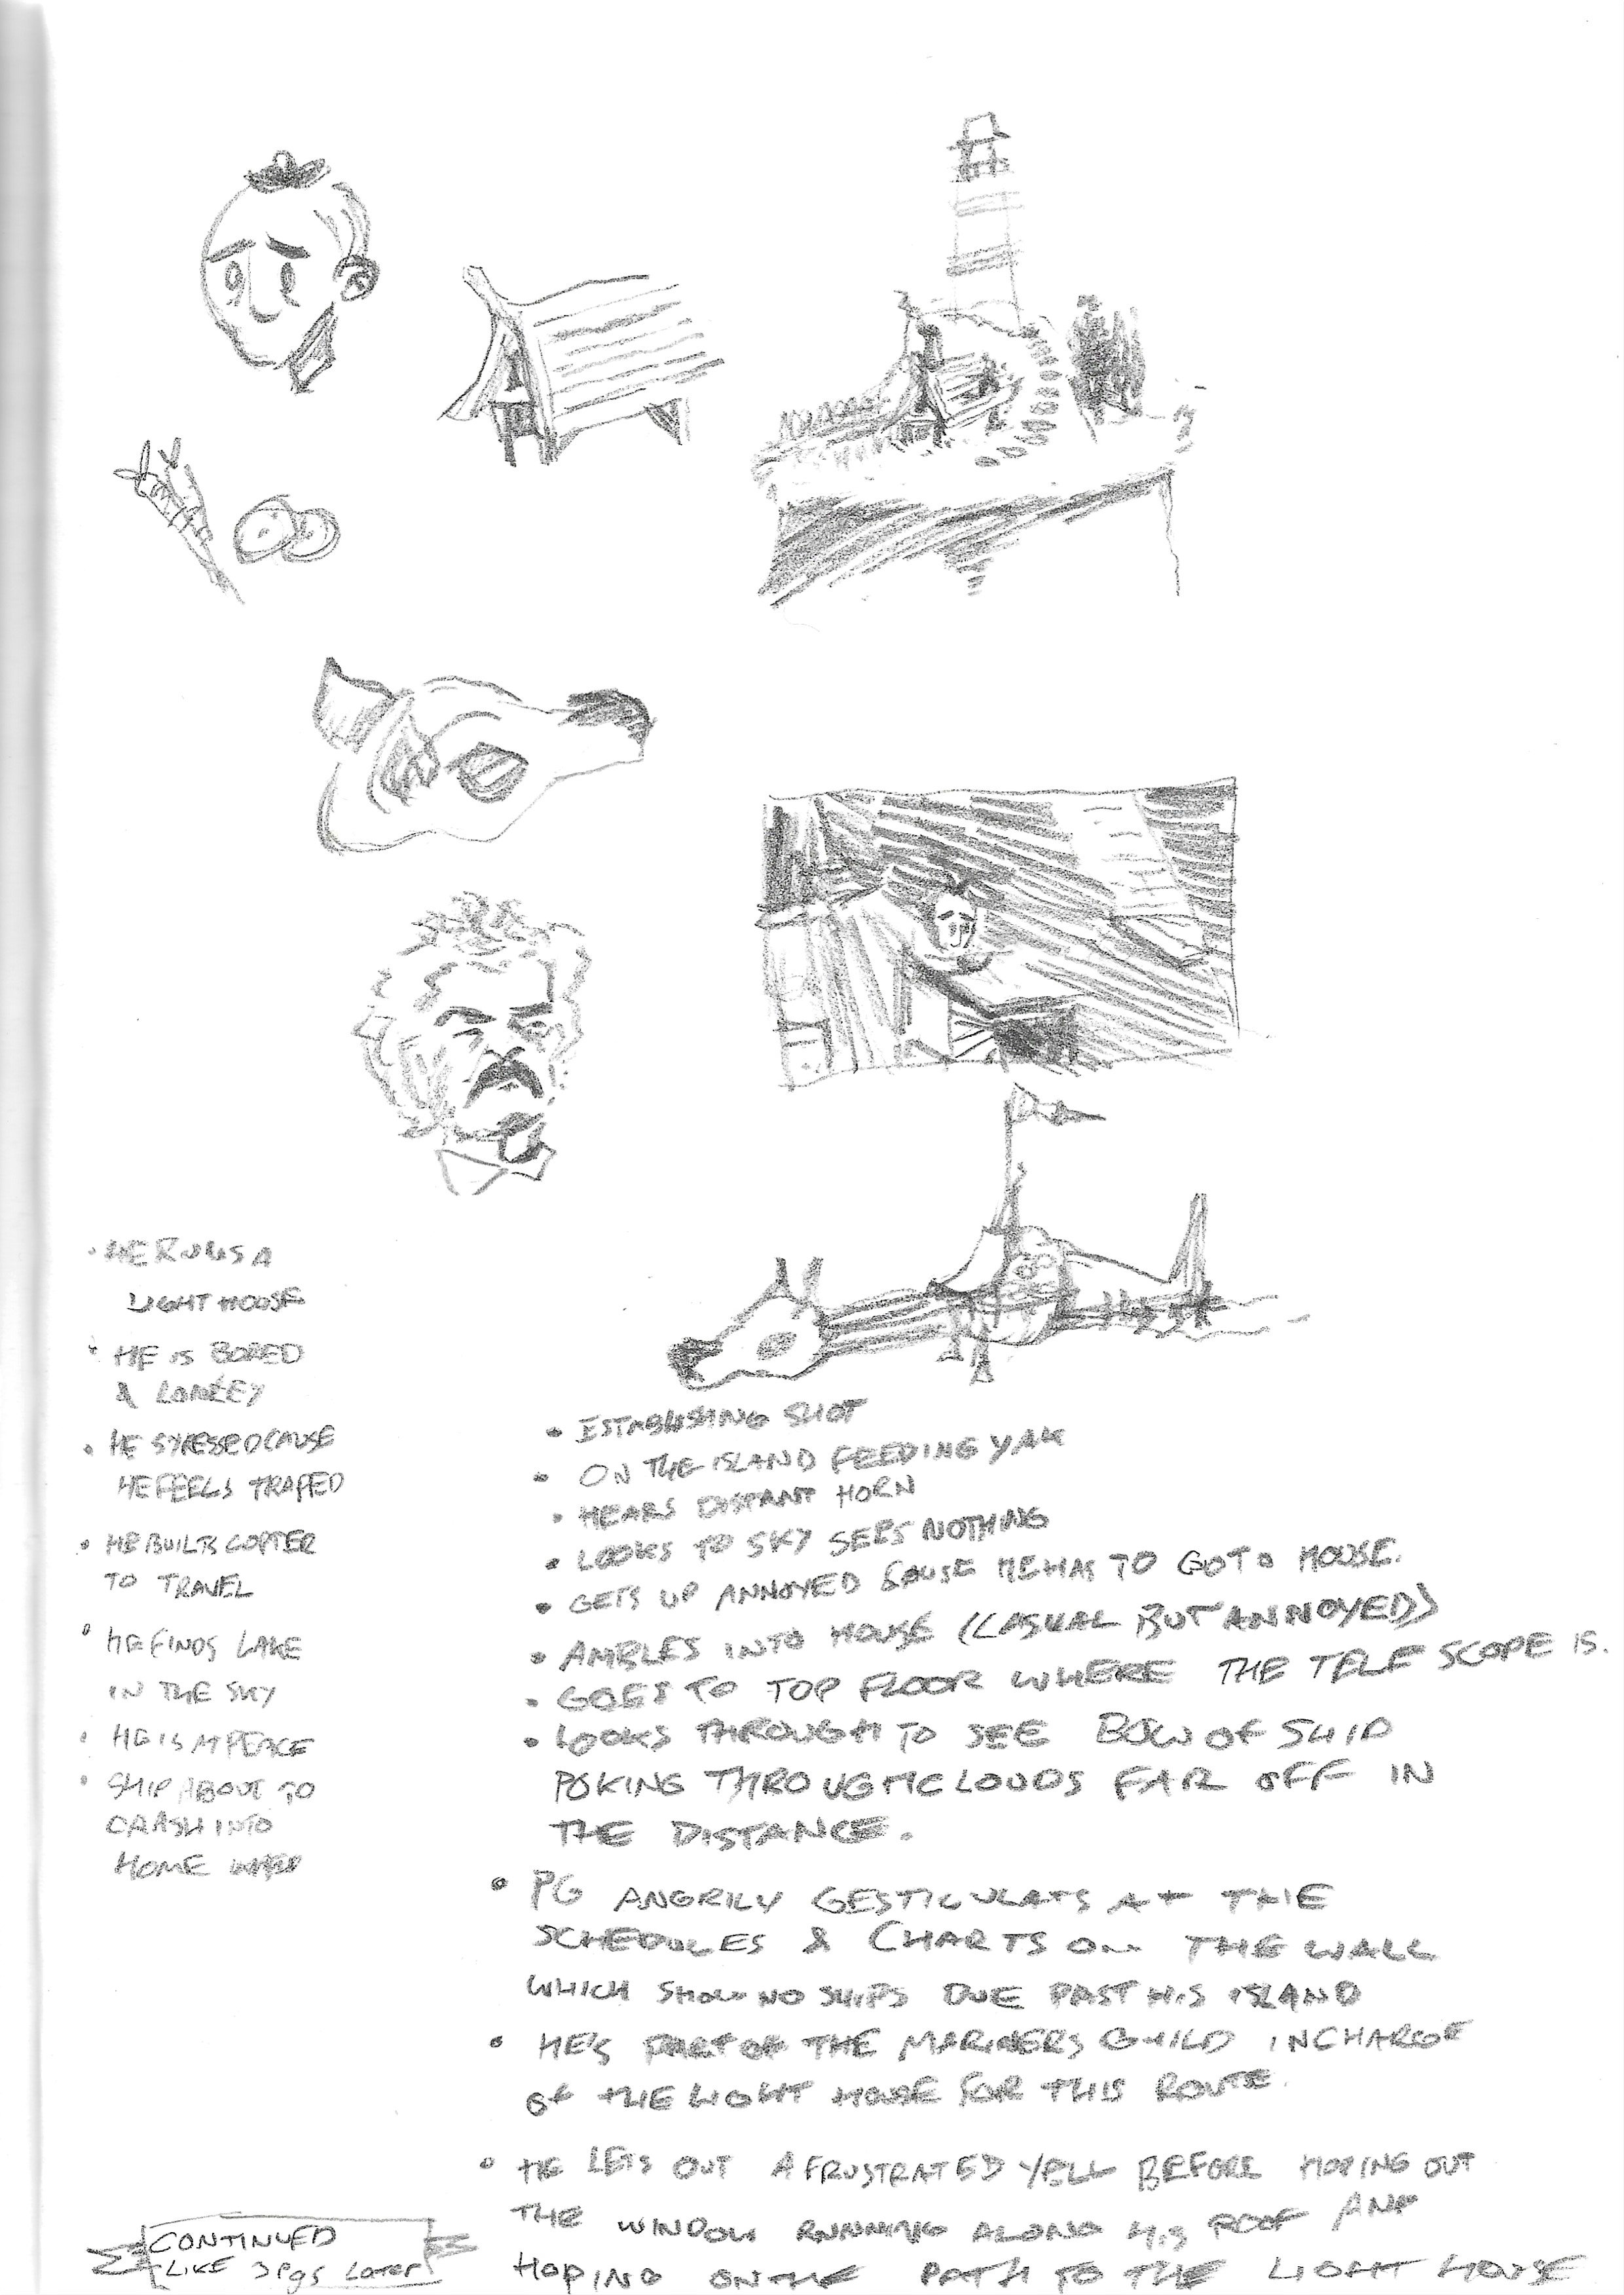
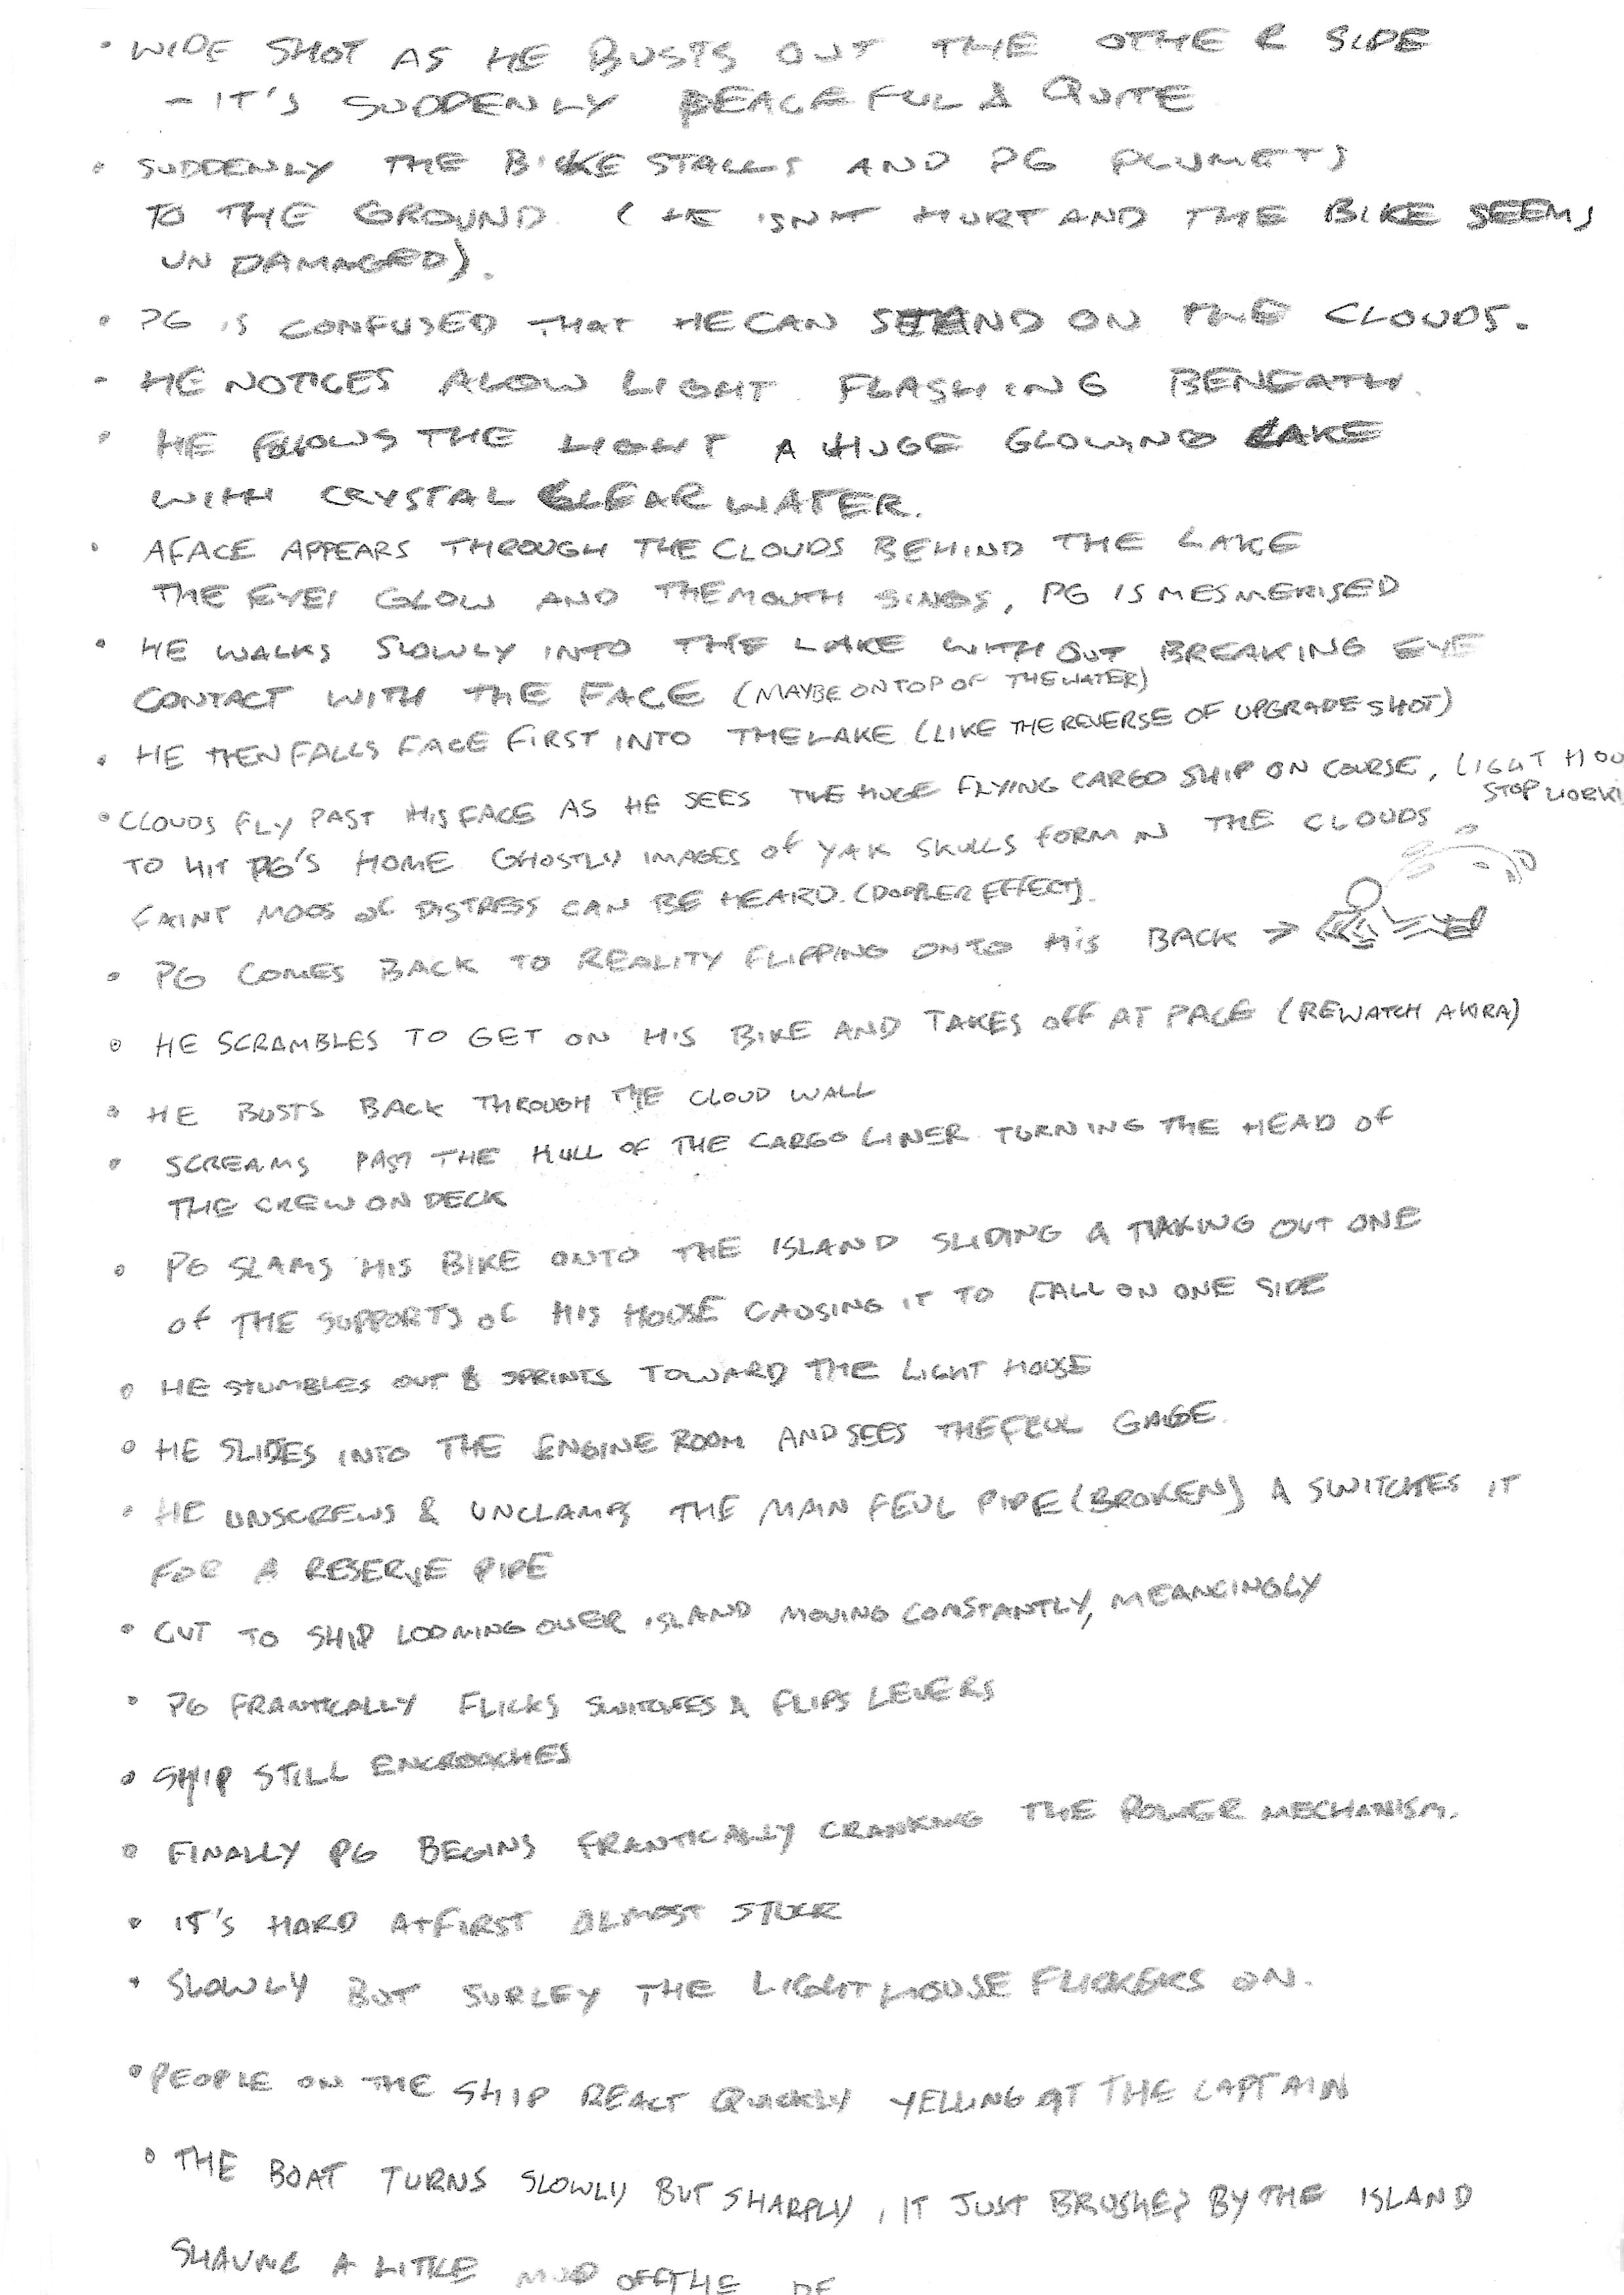
After warming up with a bit of drawing I started on laying out the beats. This is something I learned on a story boarding work experience placement ages ago. You start out the story by simply writing out a list of things that are going to happen. Don’t worry about missing stuff or getting into to much detail just get something out and get started.
After I got the beats out I could take what I had and move into a google doc and start working on things like structure and flow. It was at this point where I knew I wanted to make an animatic (animated storyboard) for the story but it was time to get some help. So I sent the script over to Sam Elphick and Joe Derrick of FatBean animation and asked for some feedback and they gave me some well needed tweaks and improvements that really tied the story together. I was happy with the script it was hitting the themes I wanted and had nice through lines which lead to a sweet resolution.
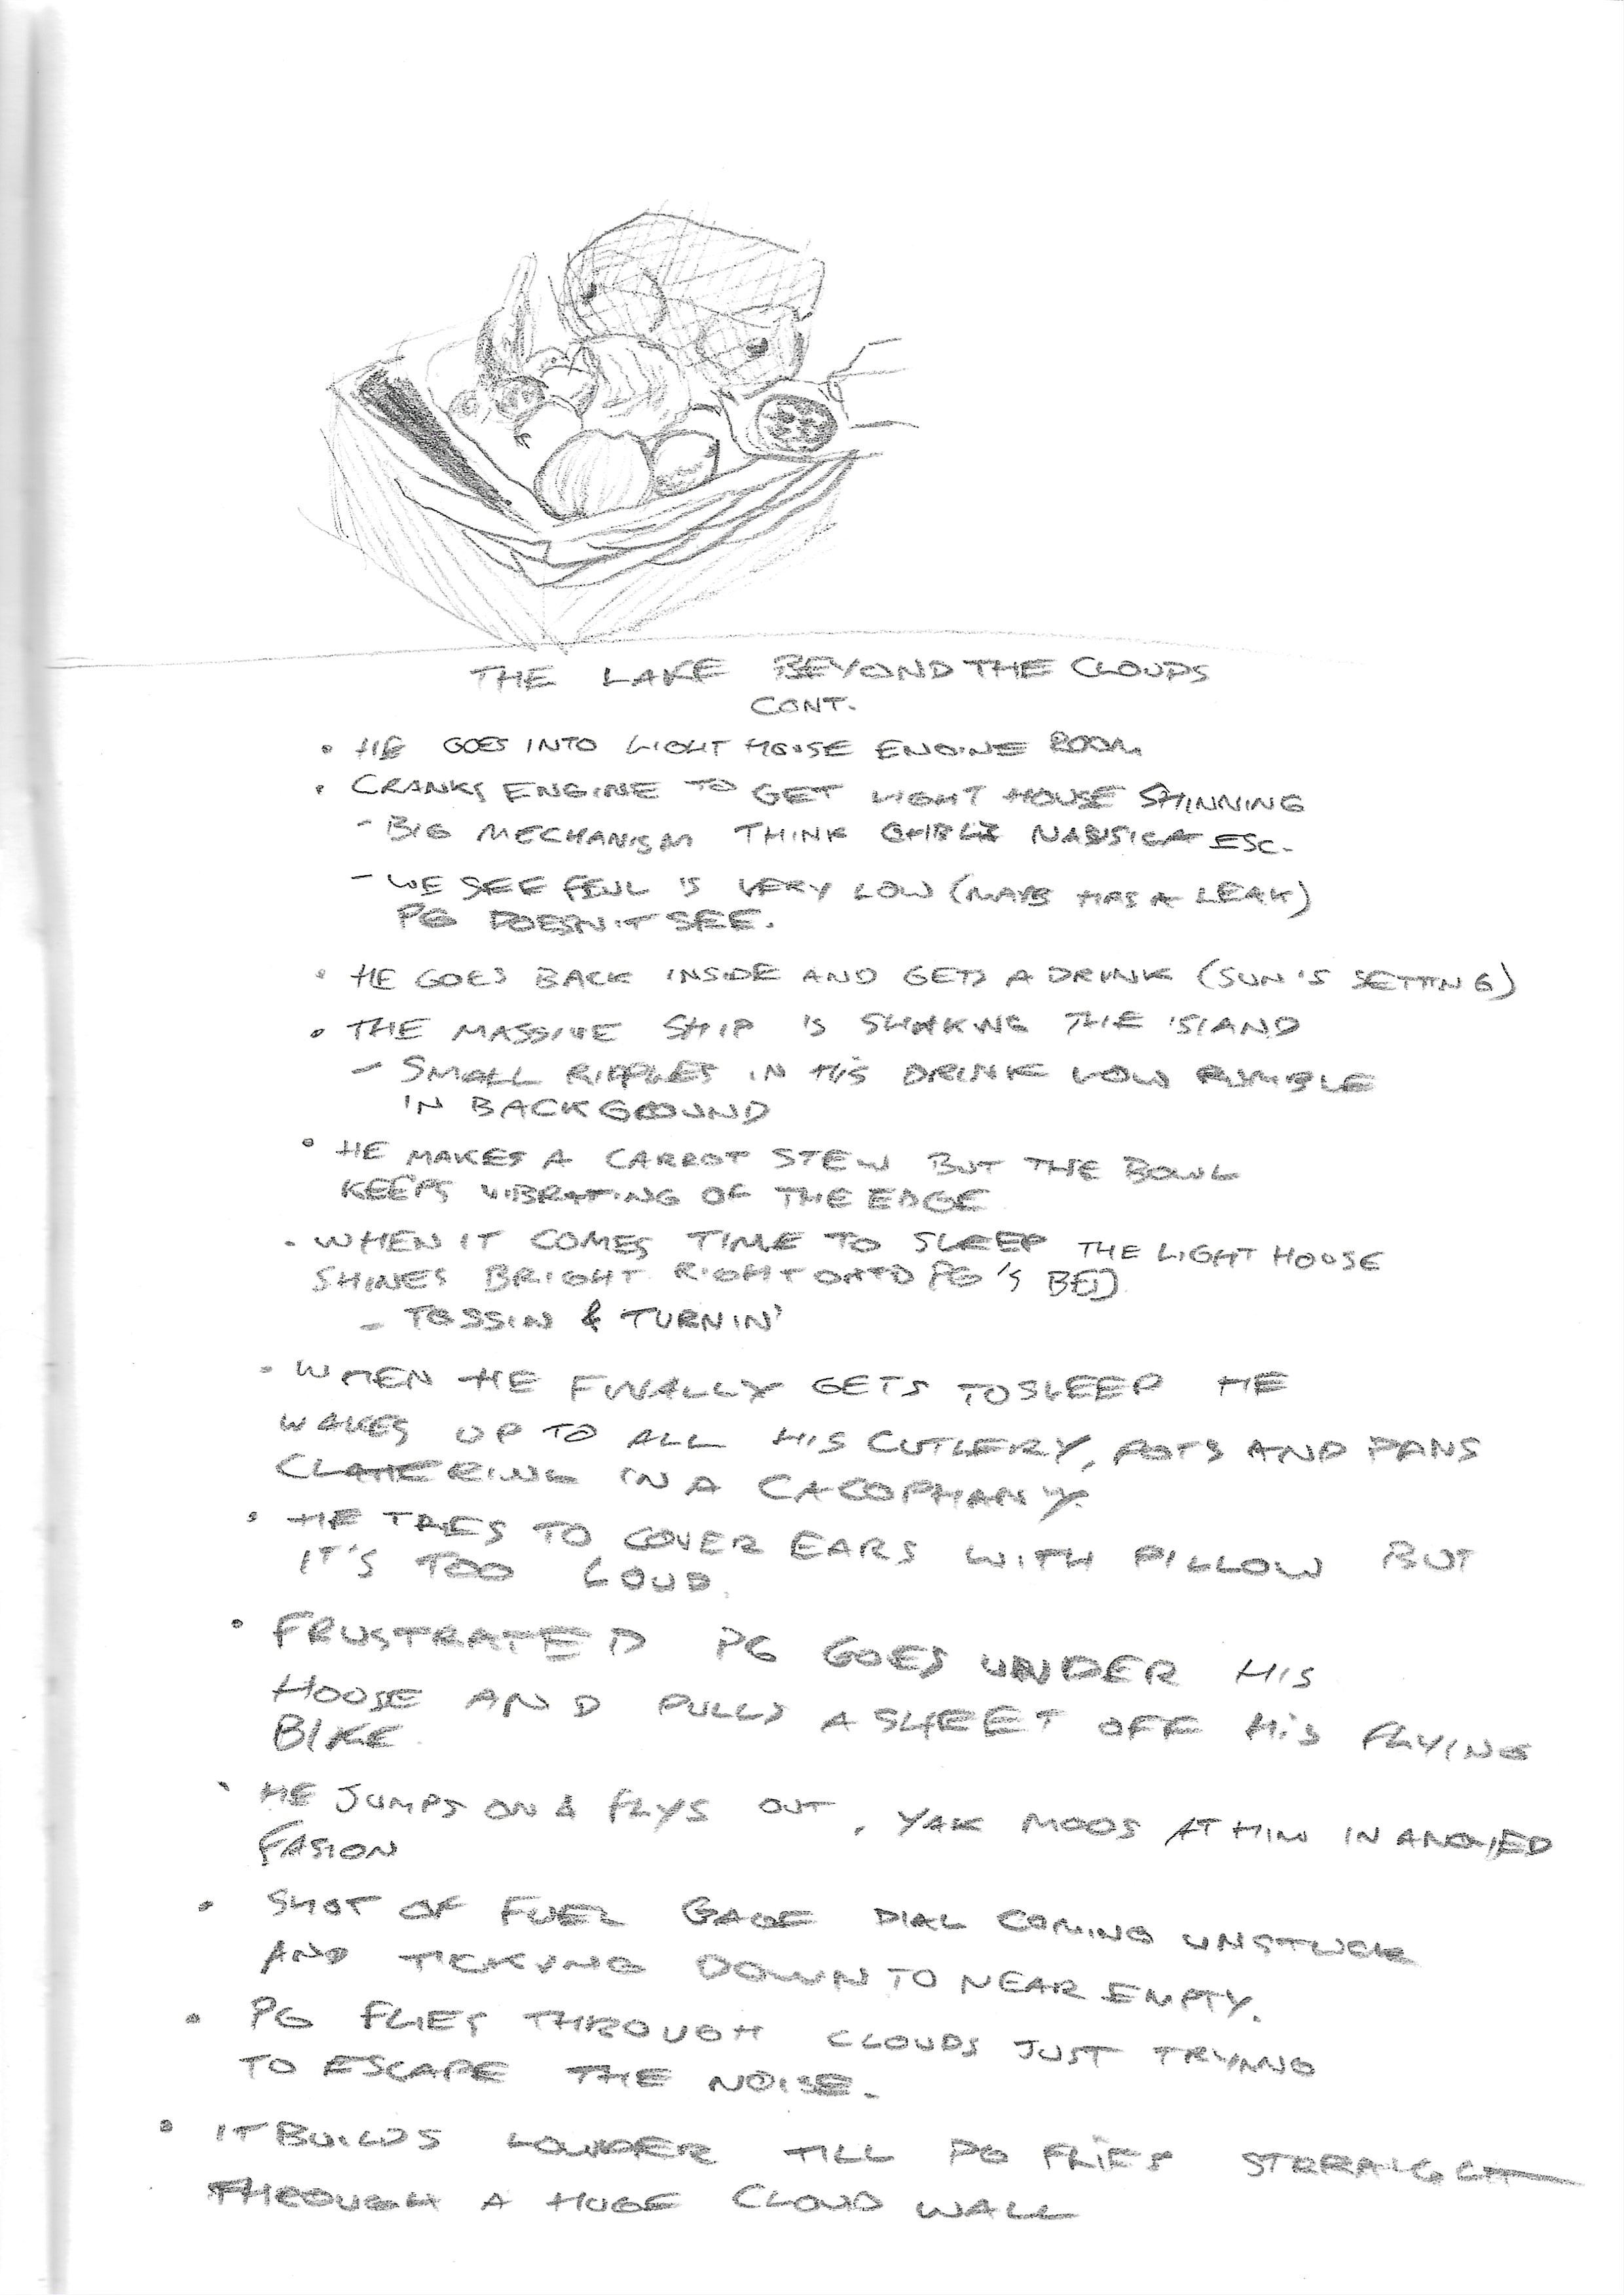
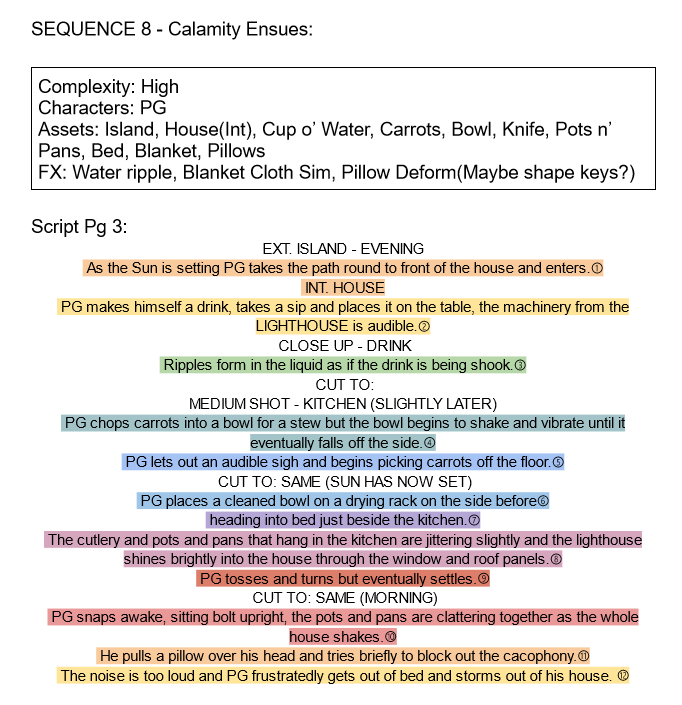
It’s October and I’ve got a finished script with sequences, shot counts and complexity breakdowns. Here’s what sequence 8 looks like:
So now we were well into pre-production with some designs and a script laid out it was time to go a step further and start making the animatic. I wanted to do the project in blender, a software I had just started learning before this film. I knew the basic interface, how to model and do some animation. I knew Sam wanted to learn some blender as well so I asked him if he wanted to help out with the animatic and he did. The learning curve wasn’t too overwhelming because we both had experience in other 3D packages so we really just had to learn to translate our skills which isn’t as hard as learning from scratch.
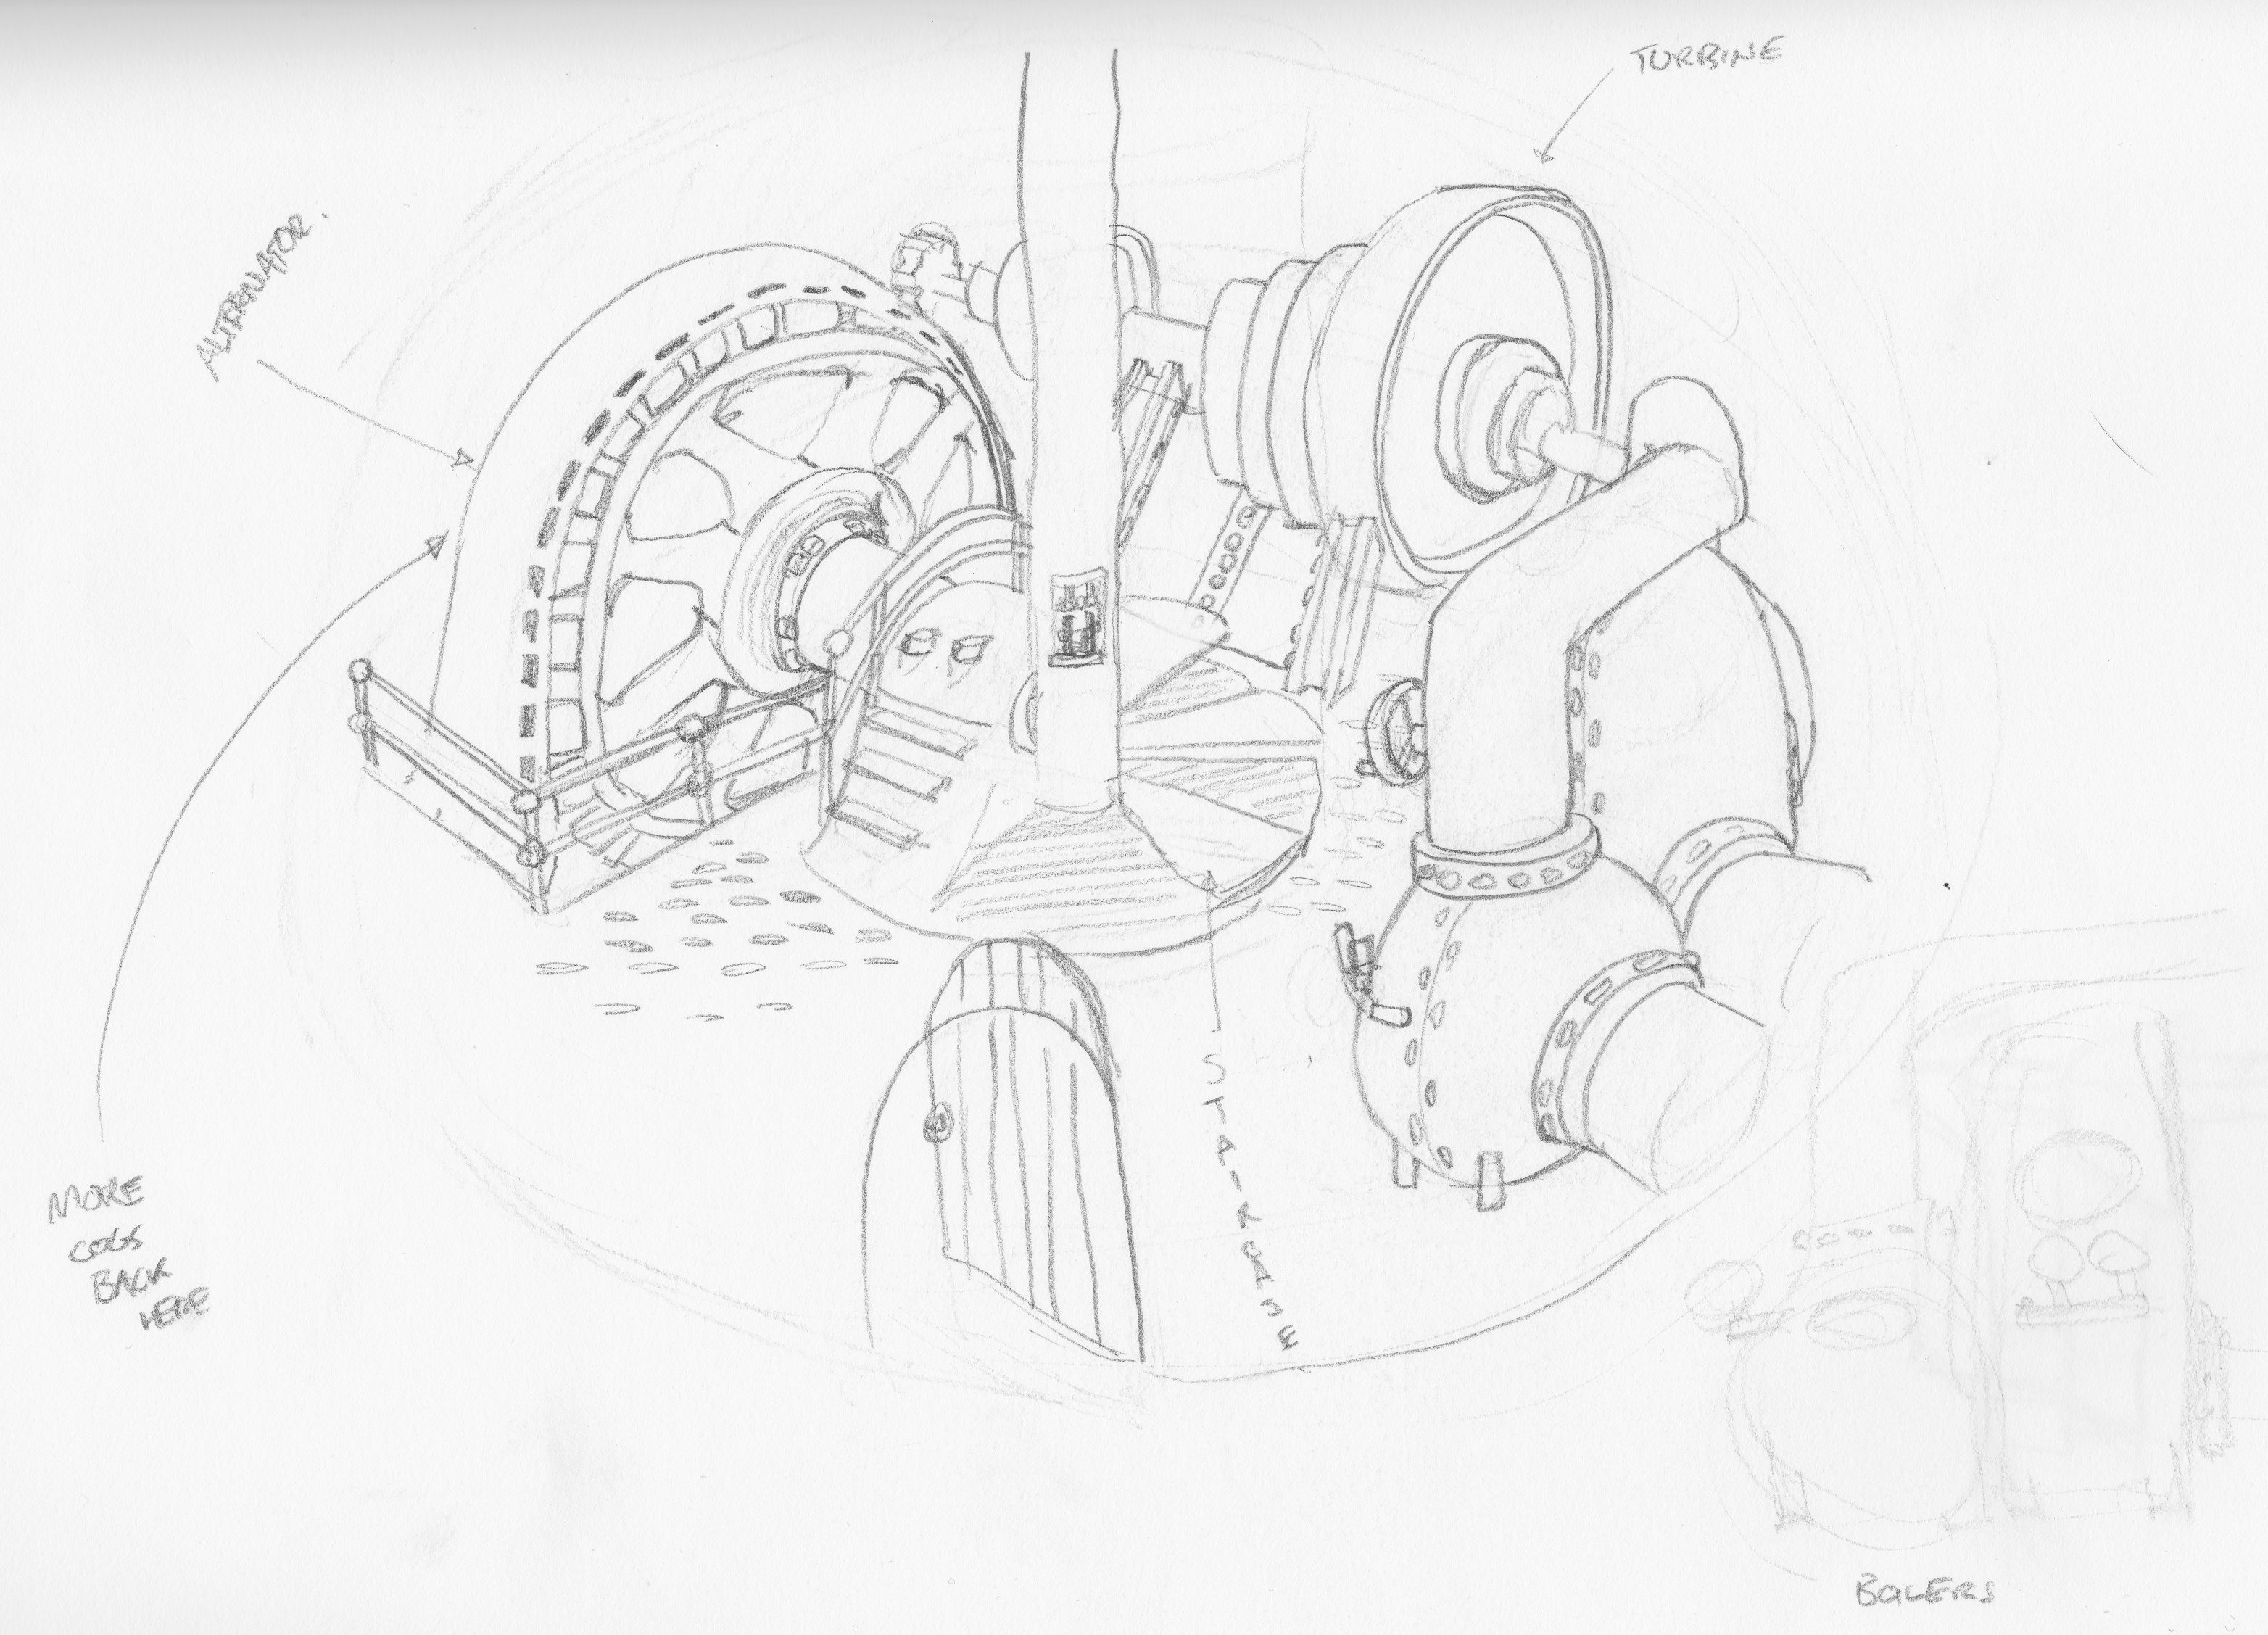
We would need rough models and rigs that we can pose. So I did some more drawings to help layout some of the bigger elements. Then we got into modelling.
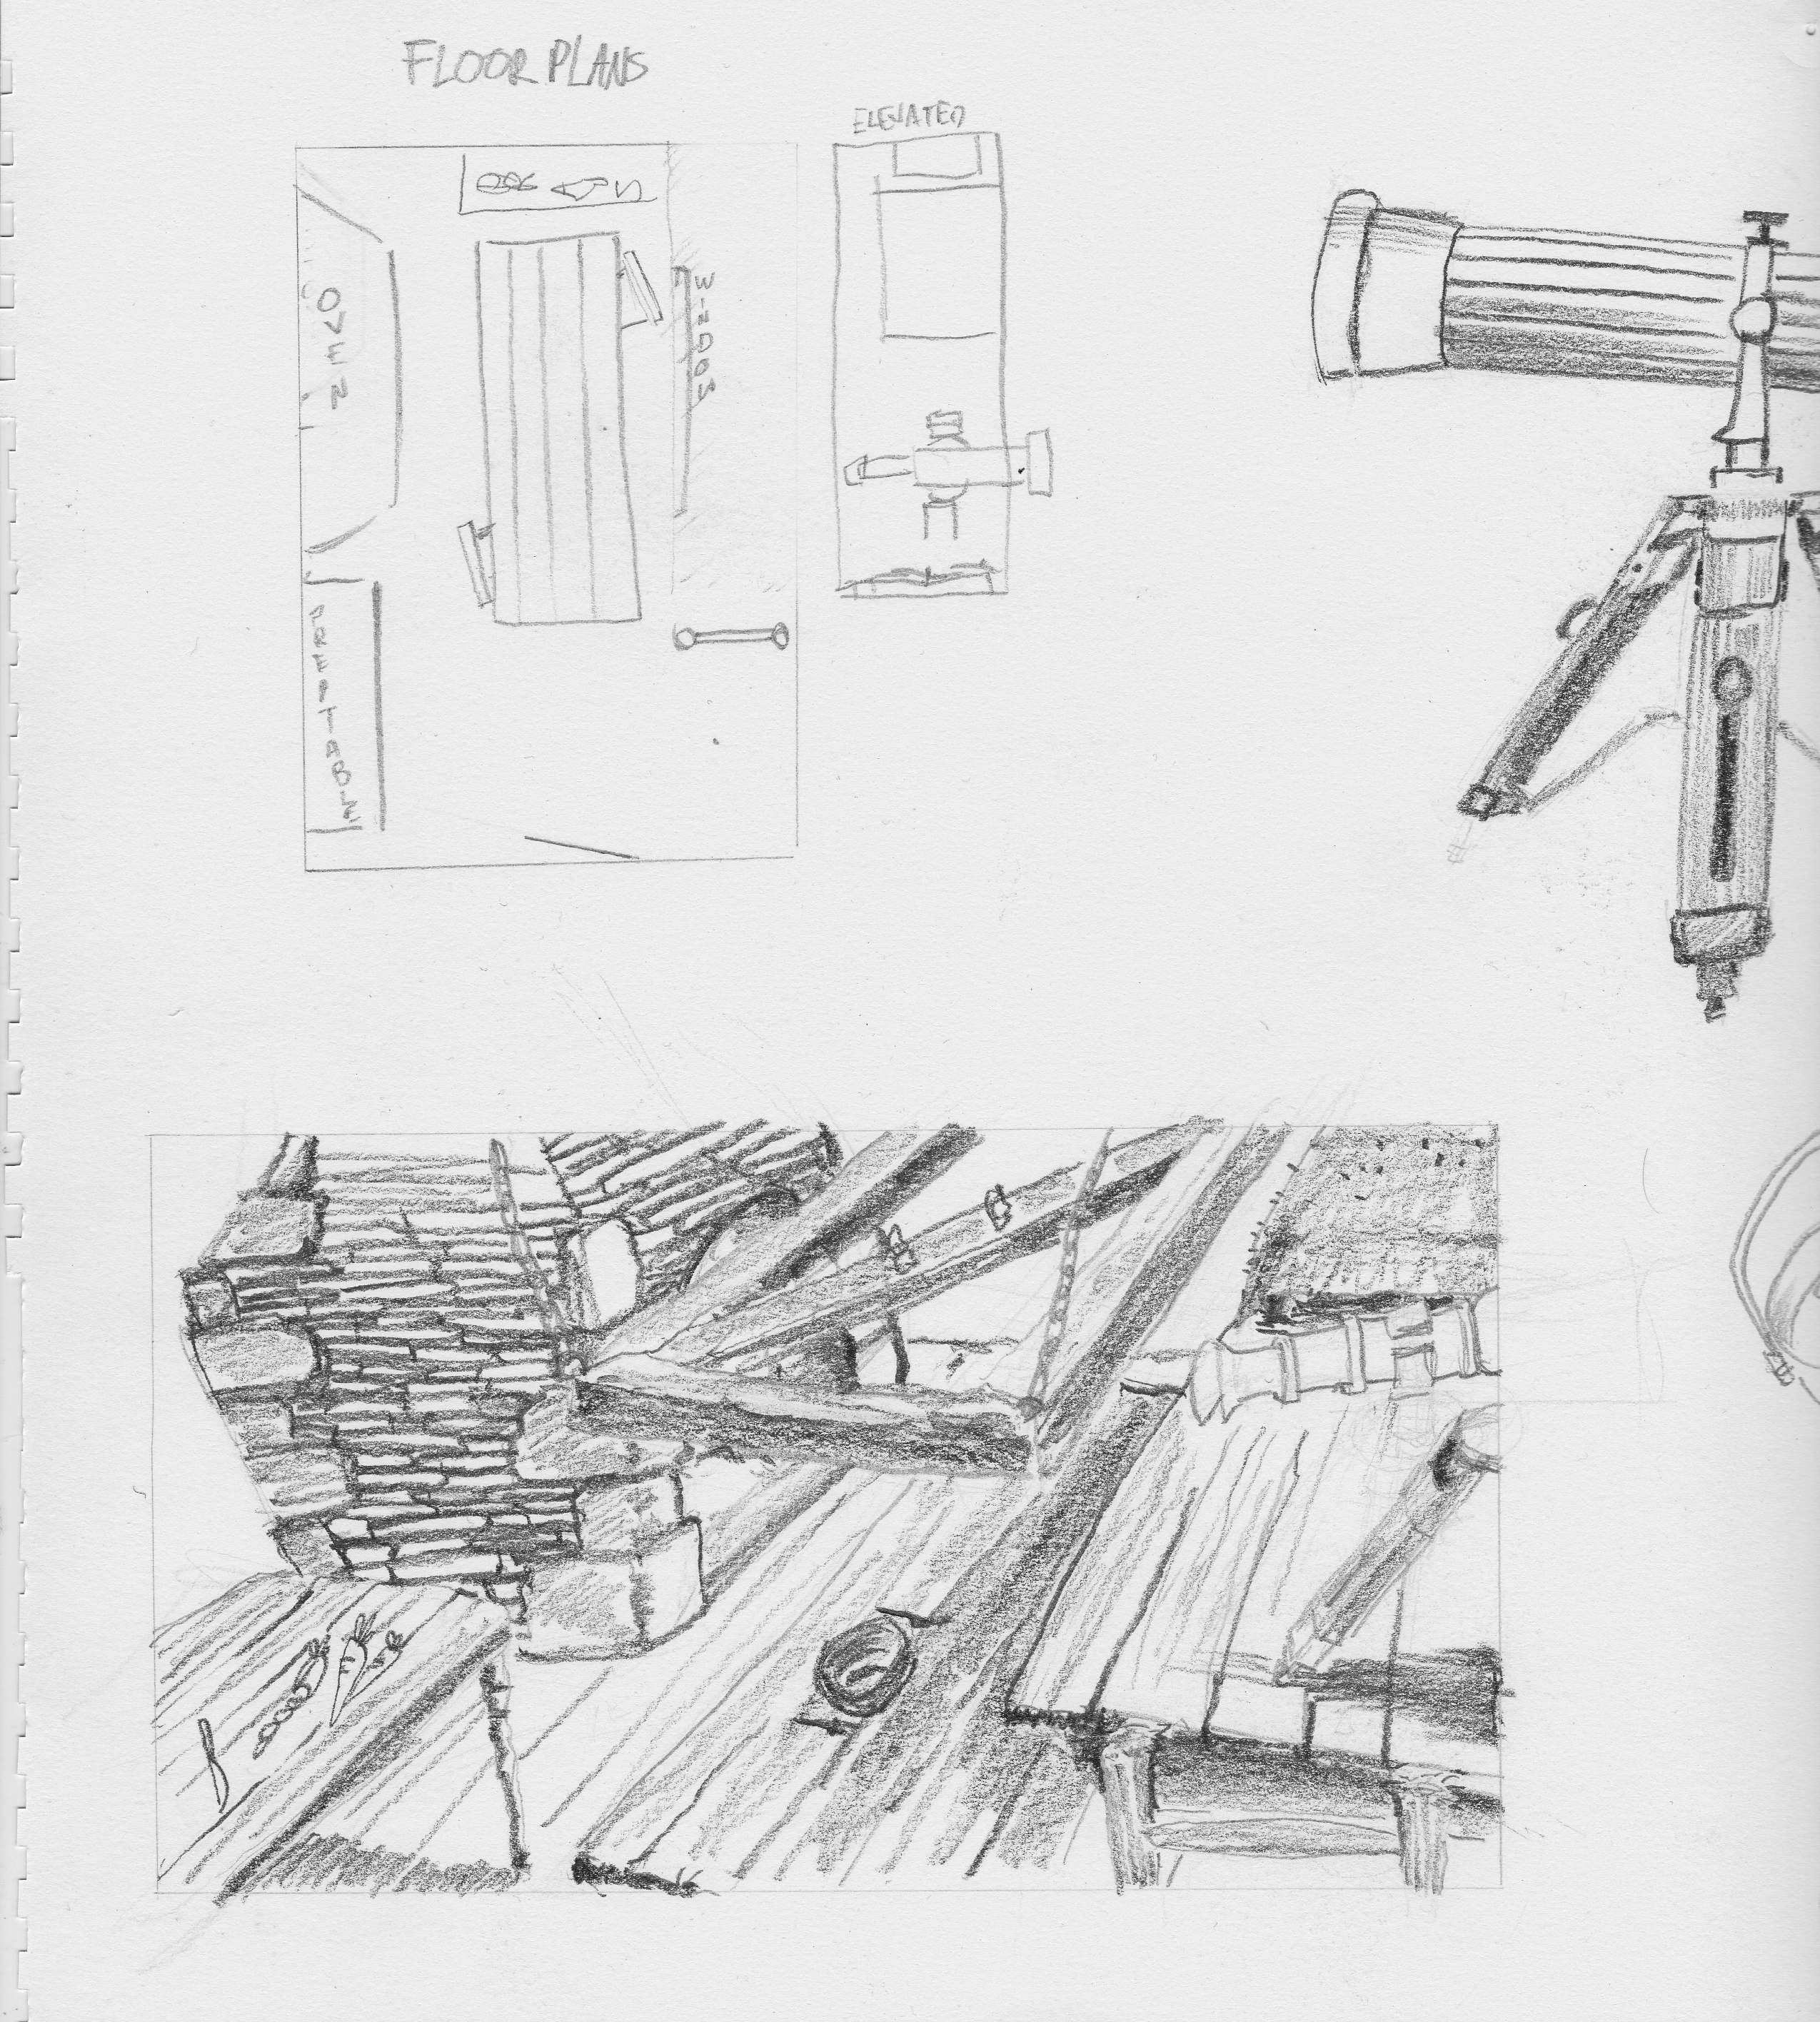


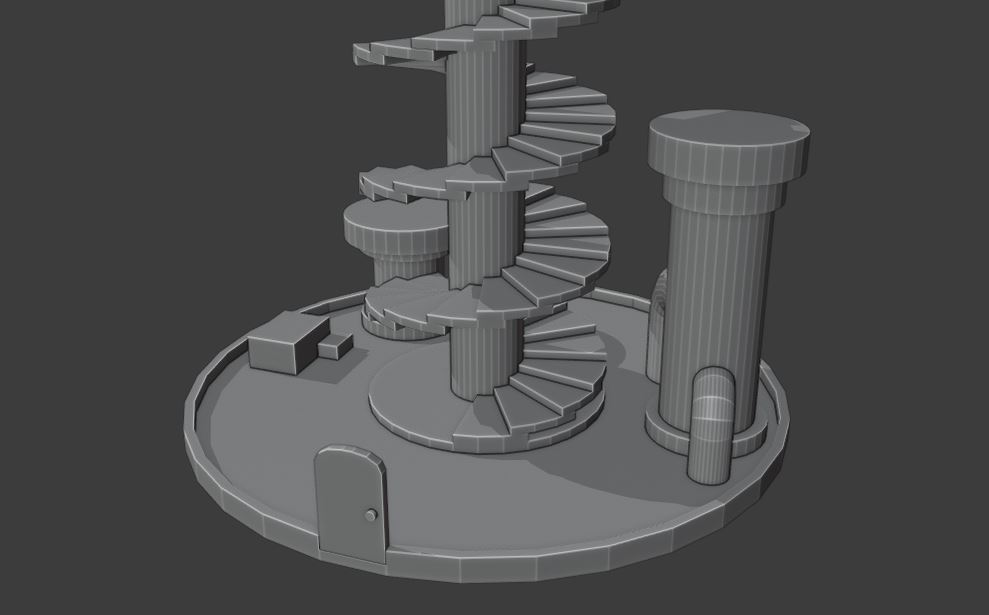
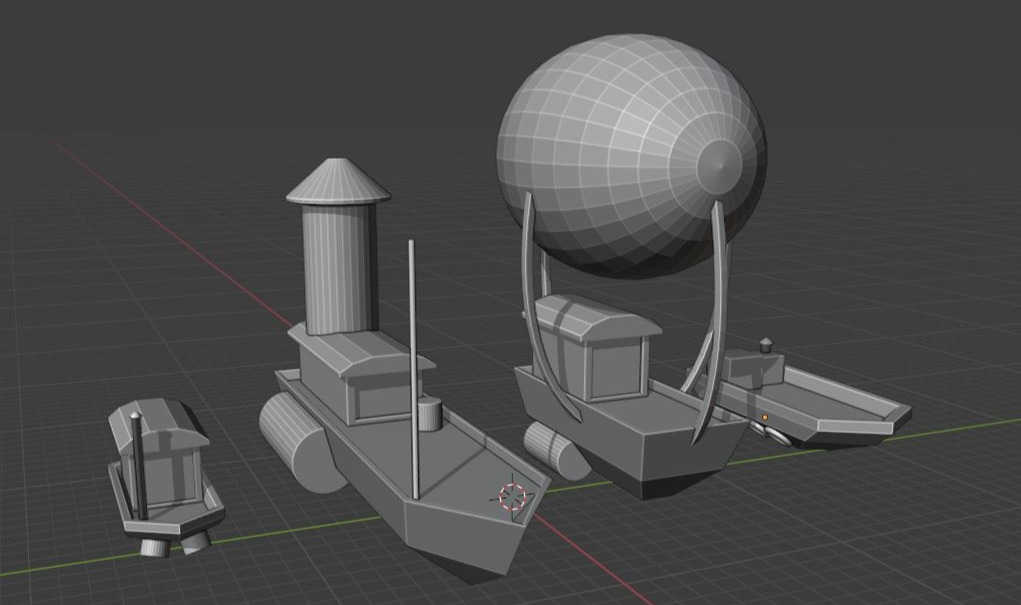
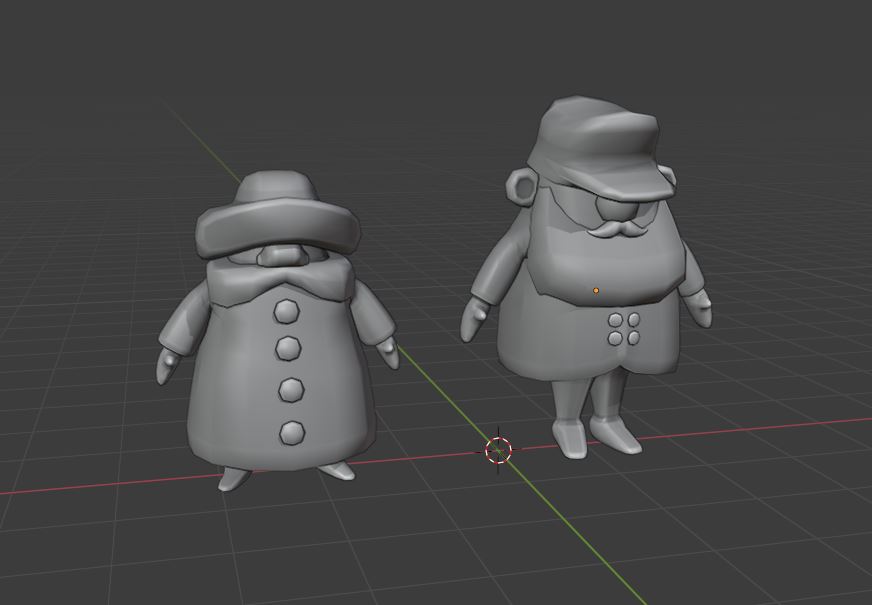
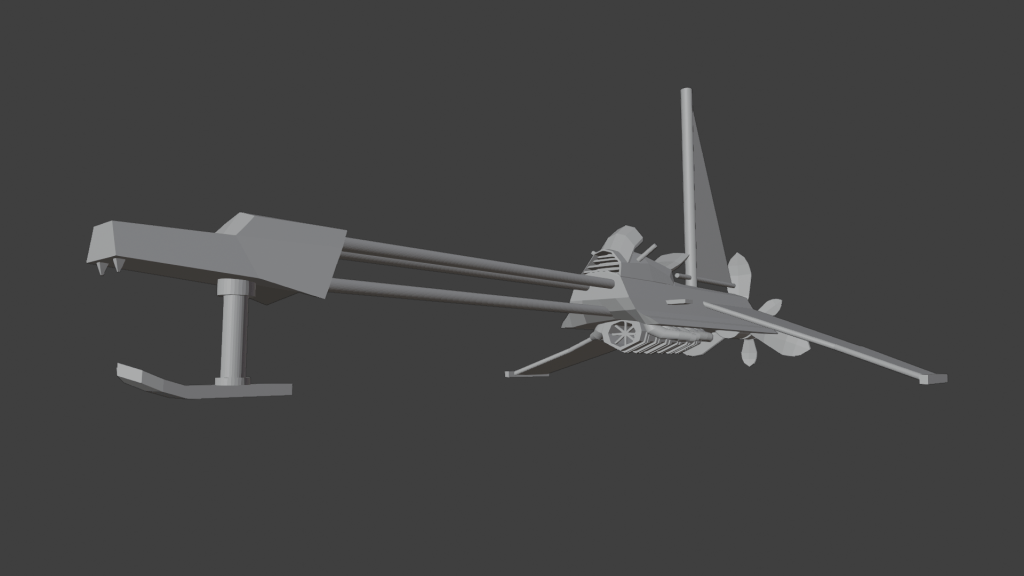
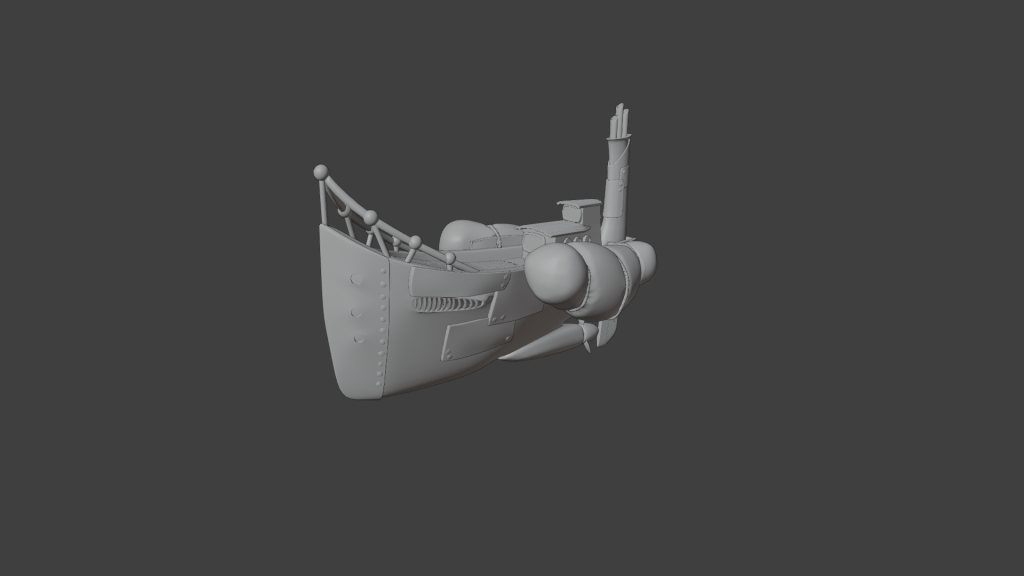
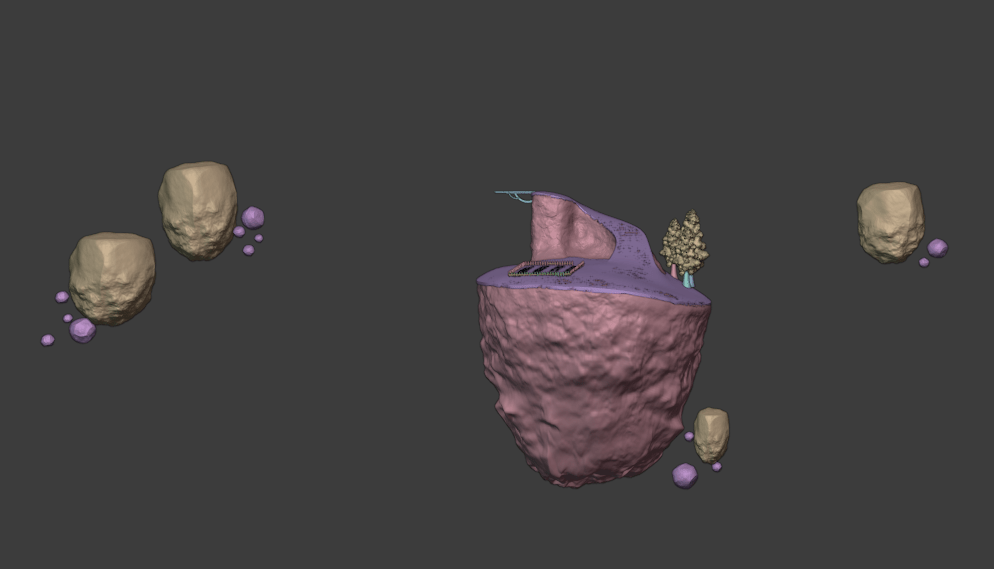
These are a few of the pre-vis models, as you can see this stage was quite basic, we weren’t worrying too much about the details. After this we had our animatic models and we just needed to some rigging to get things moving. Here’s the first piece of animation Sam did once the main rig was finished.
Pretty cool right! Now we had something to put in front of a camera and a way to make stuff move and that’s all you need to make an animatic. We split the sequences up between us and got to work setting out camera angles and action. Soon enough we had our animatic and it was about 7 minutes long. That was too long. With just two of us working on this we’d have to cut it down a bit to make this project more feasible. I got editing and chopped it down to 5 mins it was still going to be a challenge but it was more manageable. Here is the animatic that would be used as a template to make the rest of the film. Once this was in place it became much easier to lock down what props we would need and how high quality we would have to make them.
At this point on the side I was also contacting a composer called Klaus0 who would go onto provide an amazing soundtrack. This animatic took about a month to create which was really speedy. This would be the end of pre-production after which Sam and I both got hired for a freelance gig on another short film. Work on this project was put on hold until around February 2021 when we started…
Production
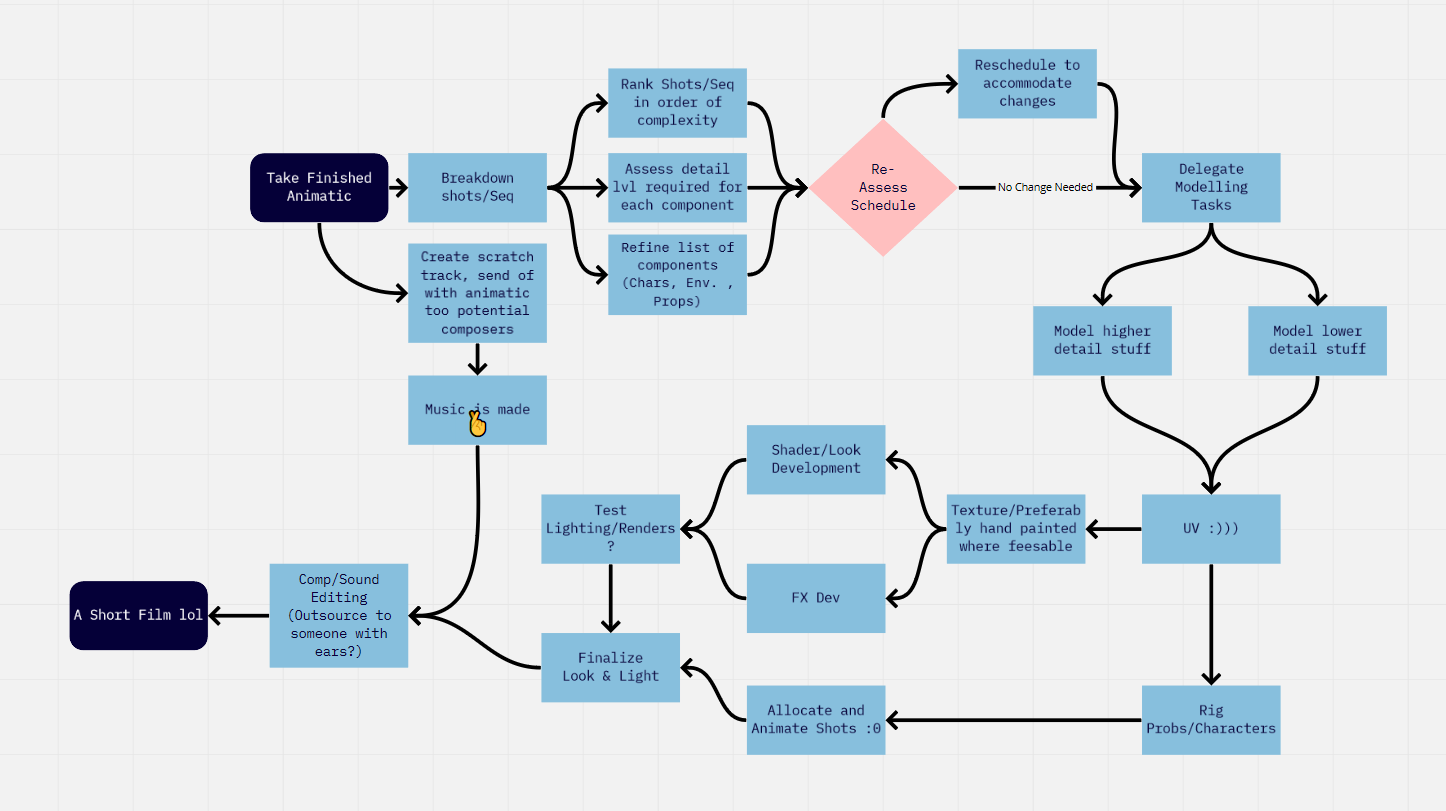
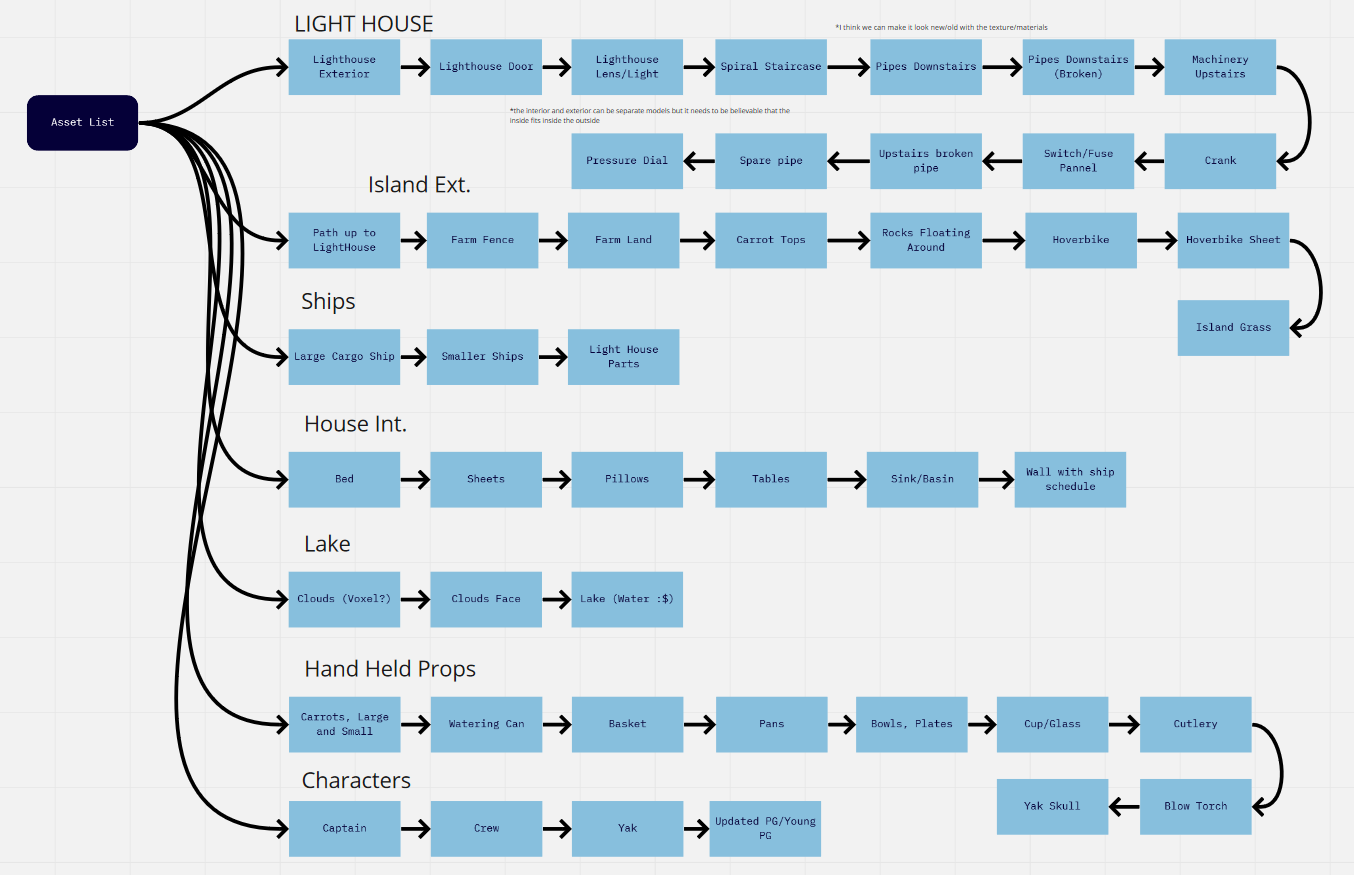
Now we get into the really exciting part. Checklists and Flow Charts!!!
In order to get organised I made flowcharts to help dictate how we would go through each stage and also which props we should model first and then a checklist to so we knew who was doing what.
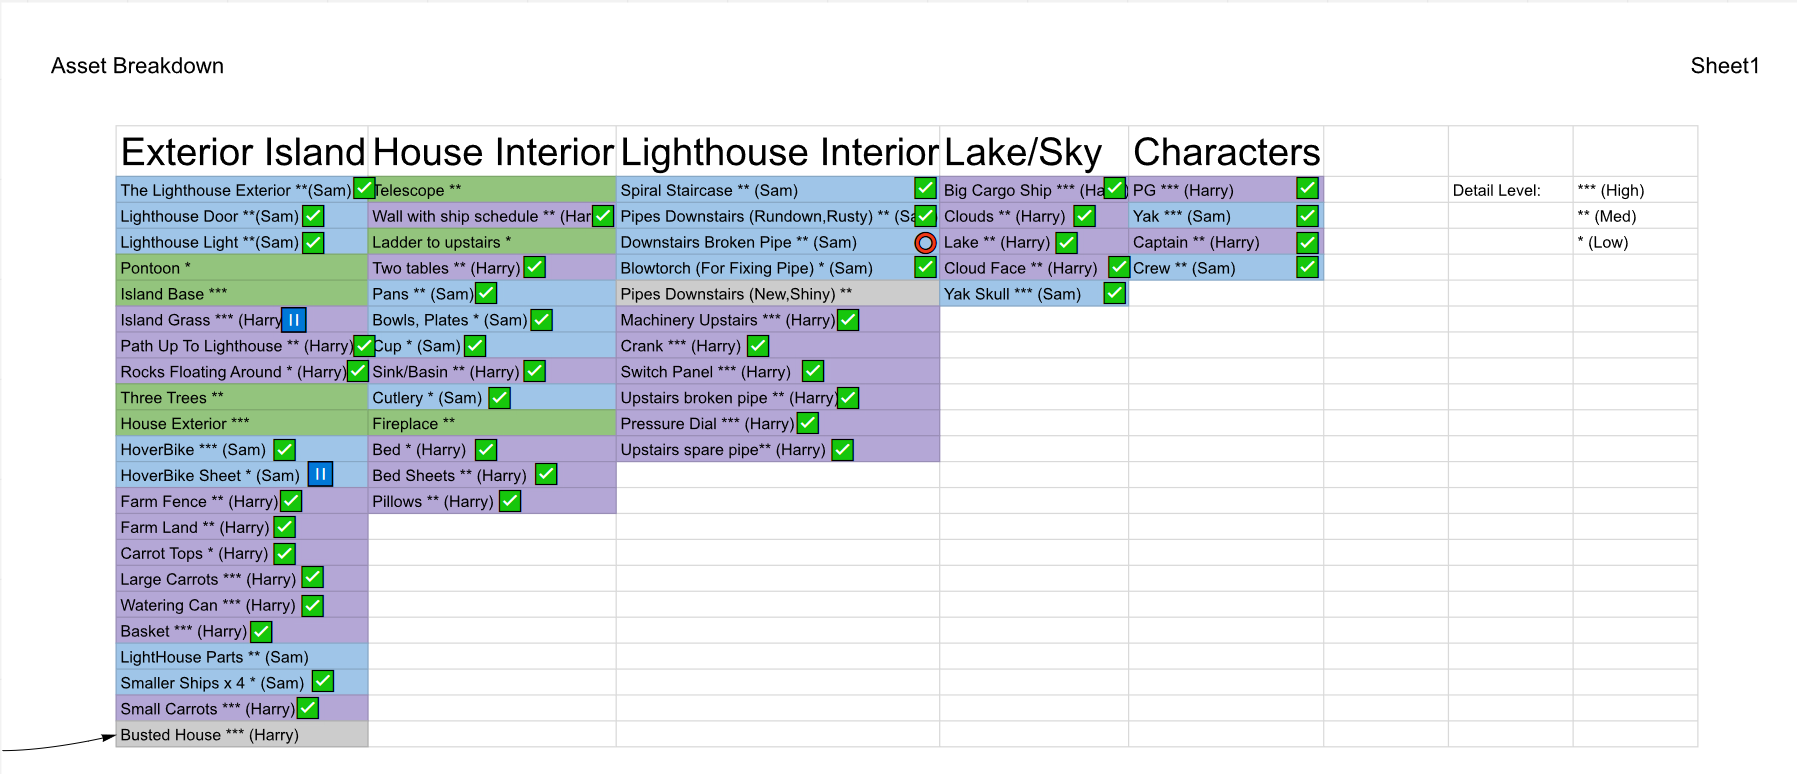
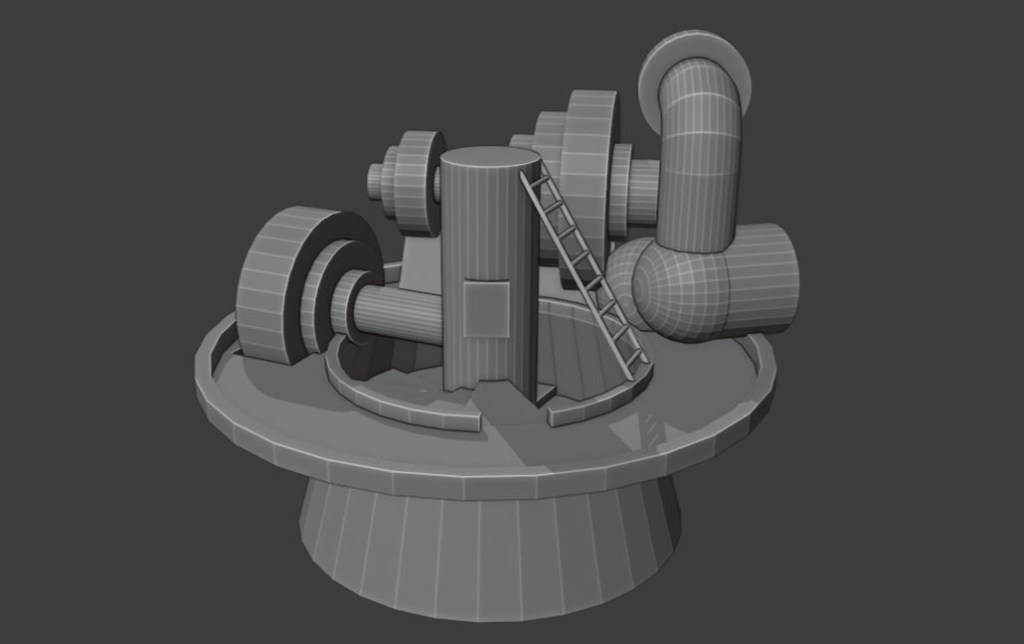
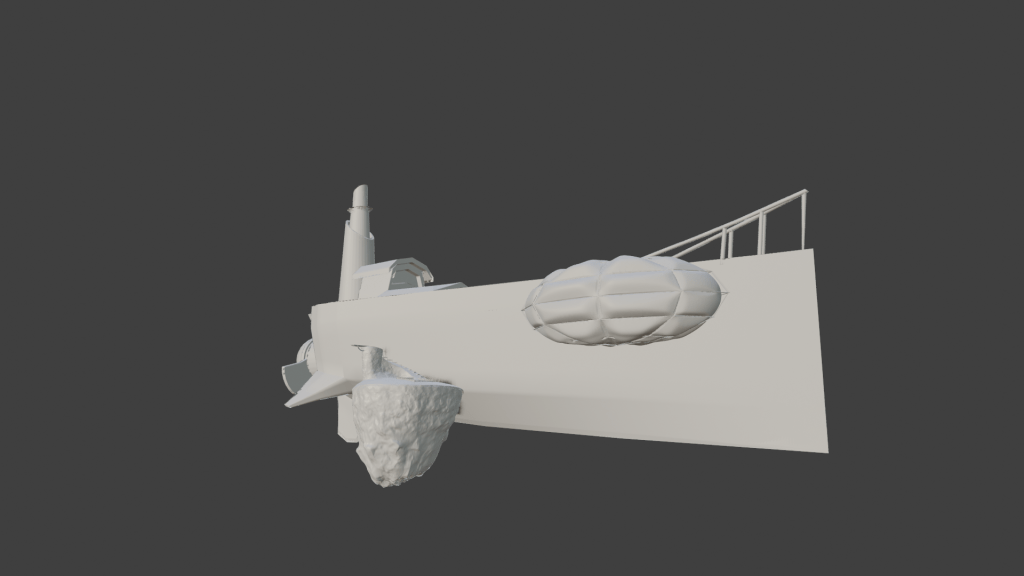
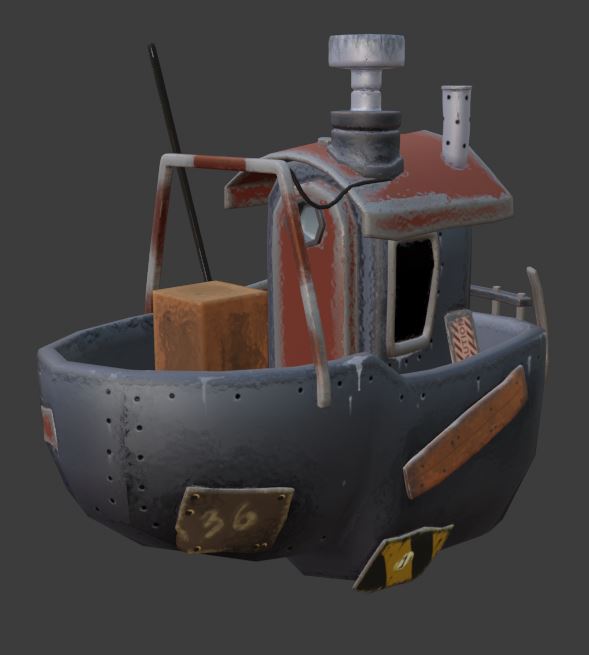
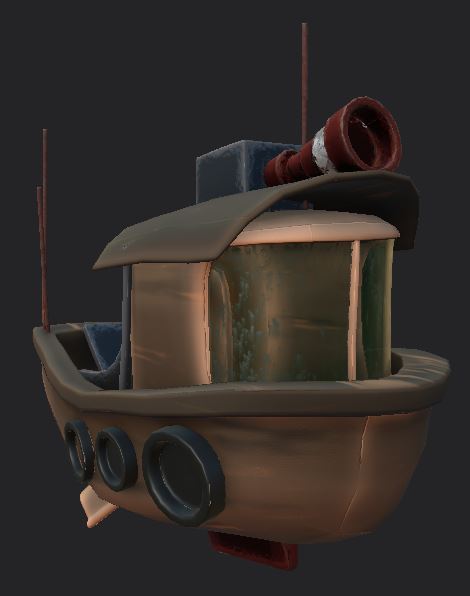
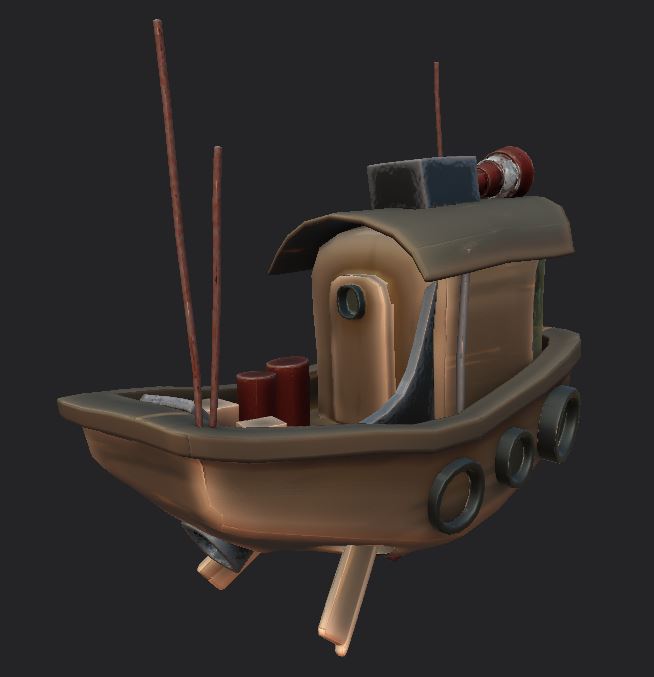
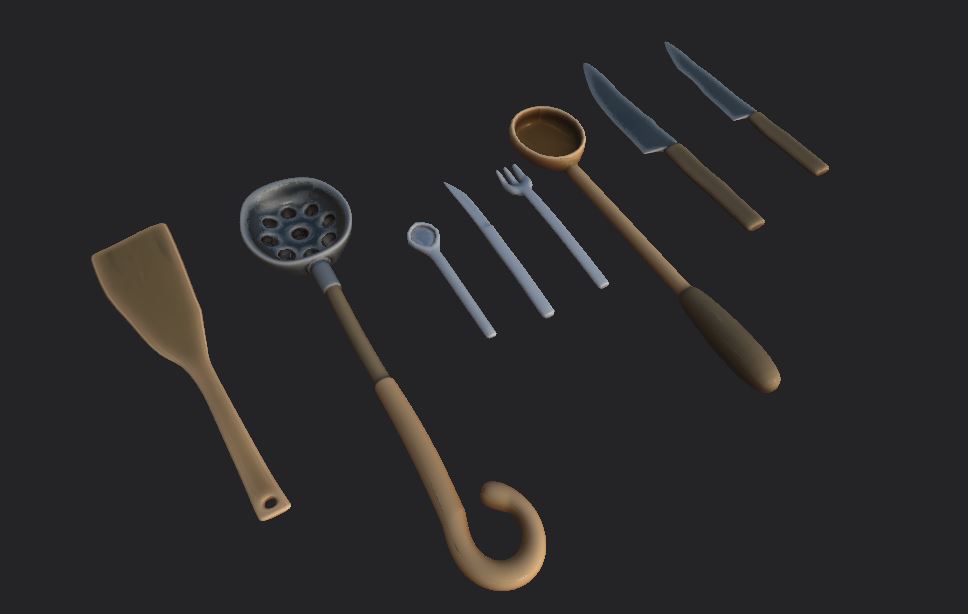
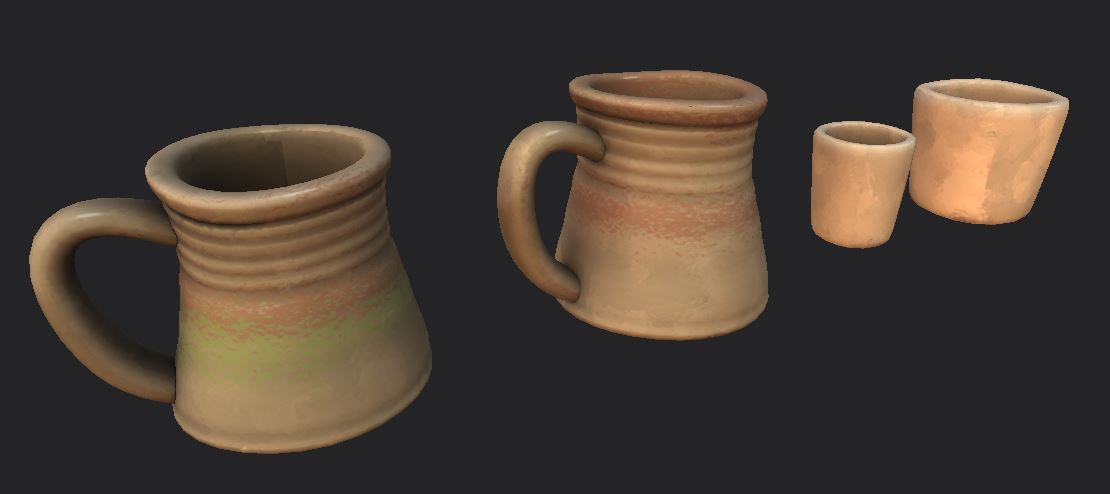
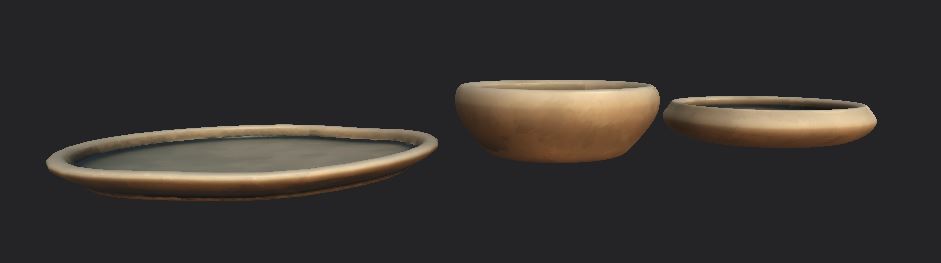
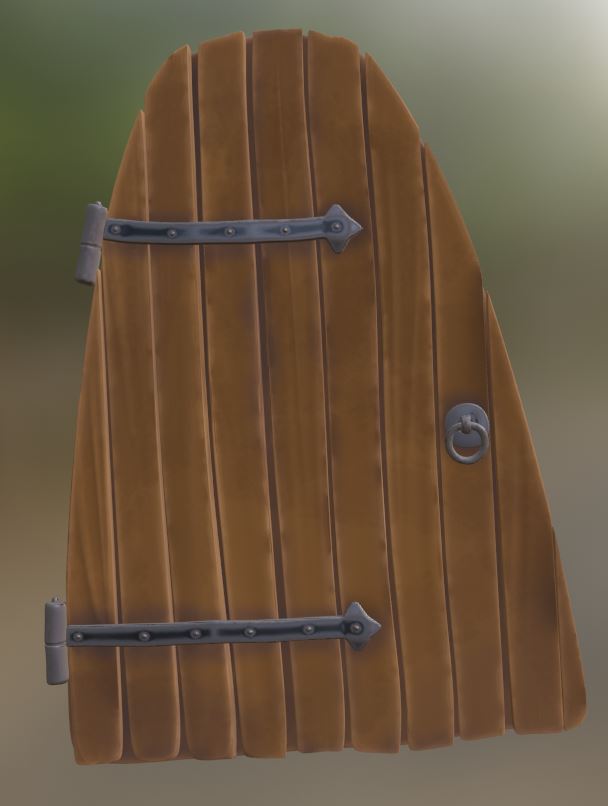
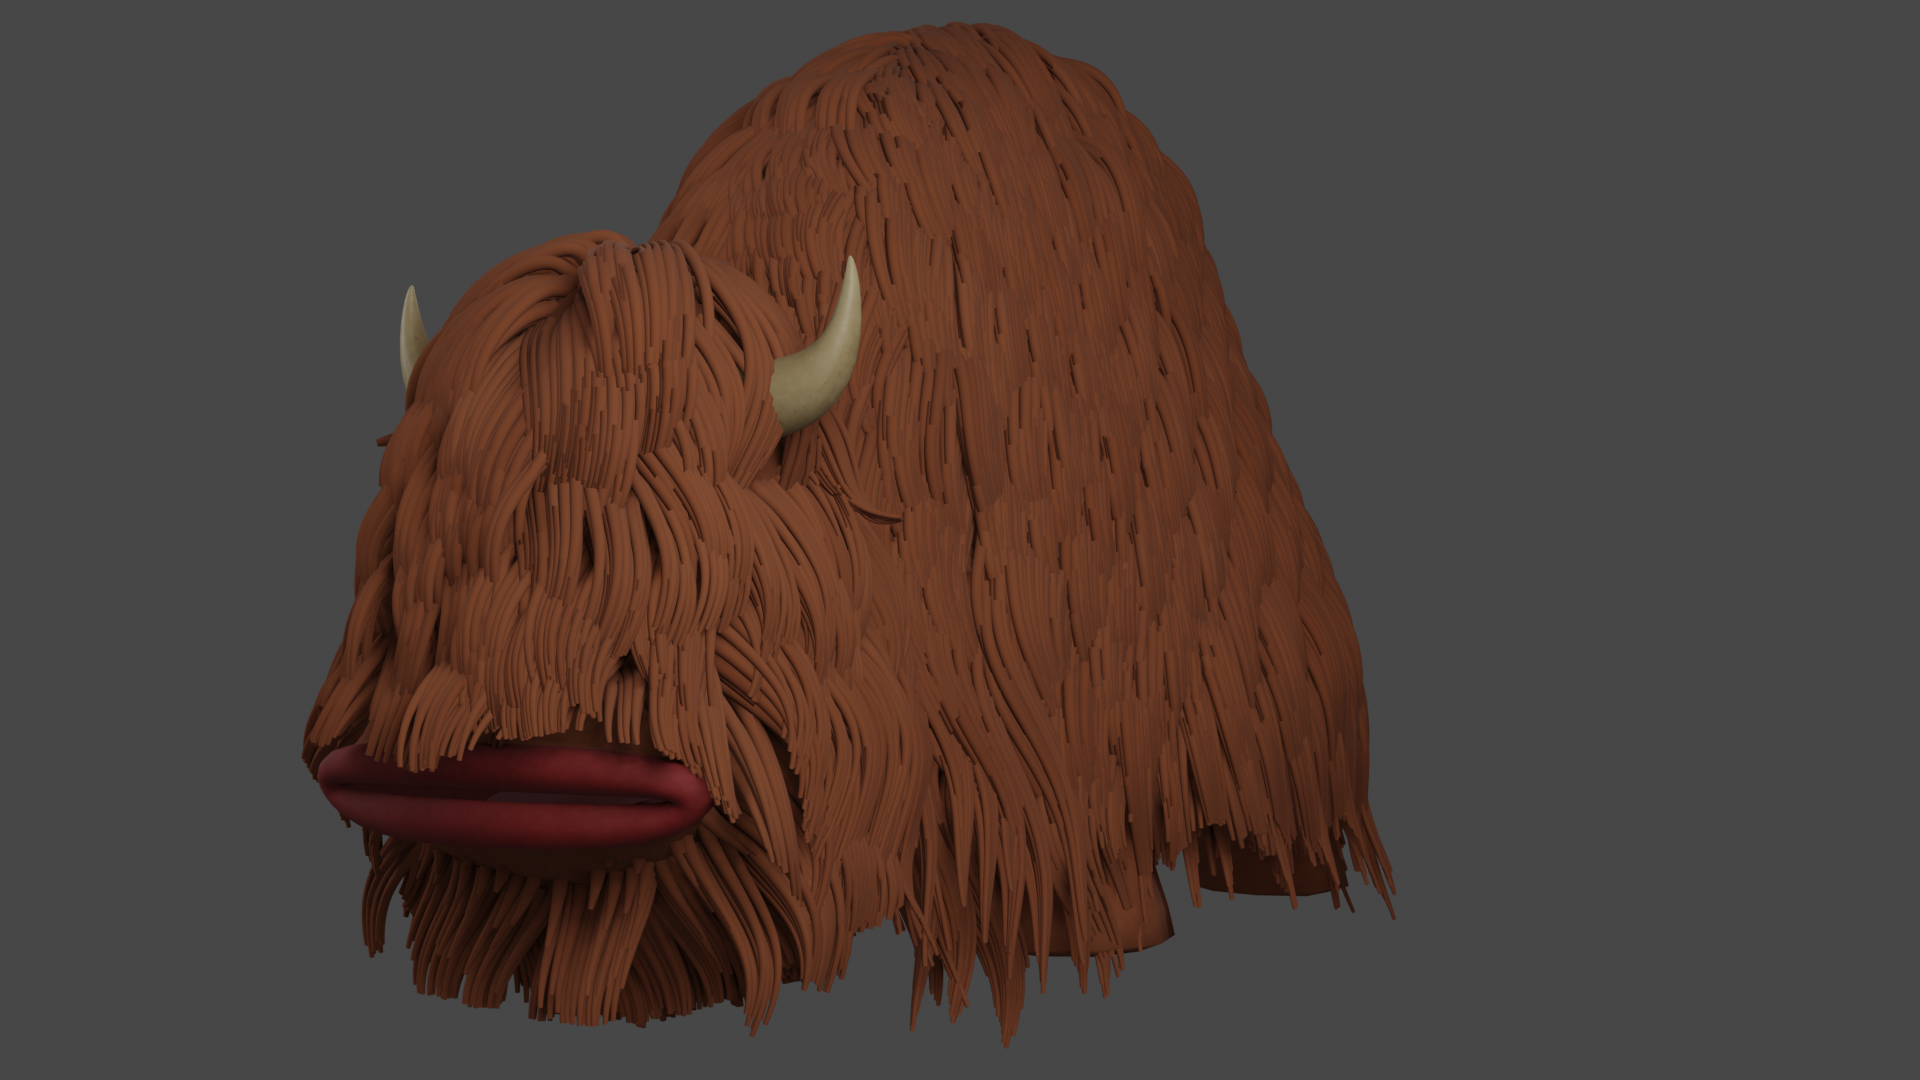
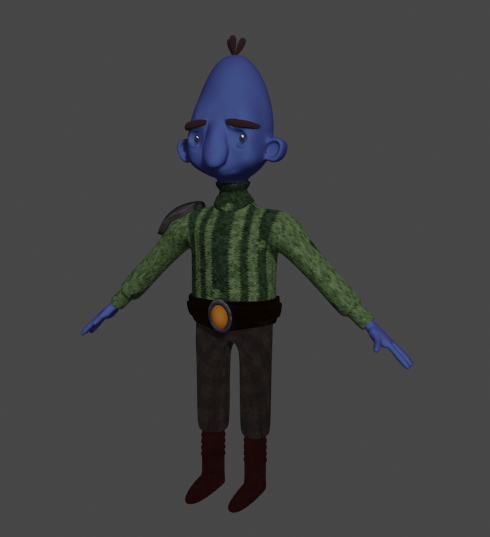
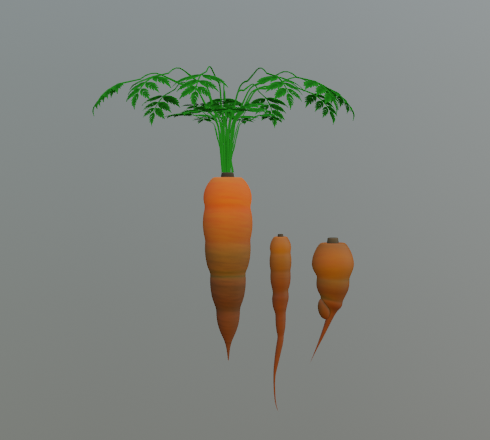
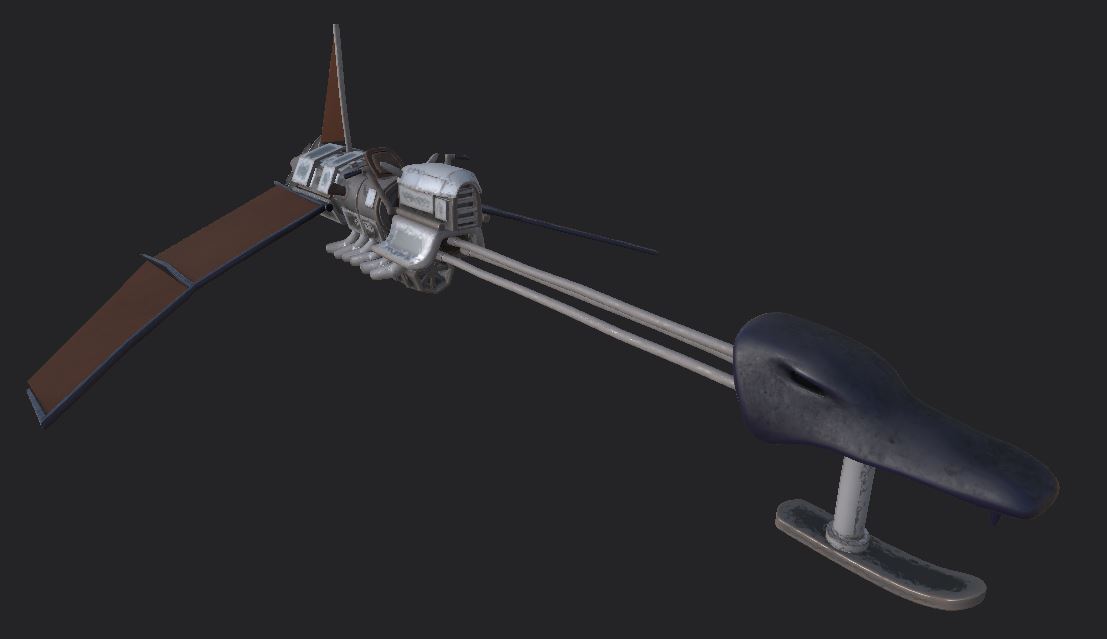
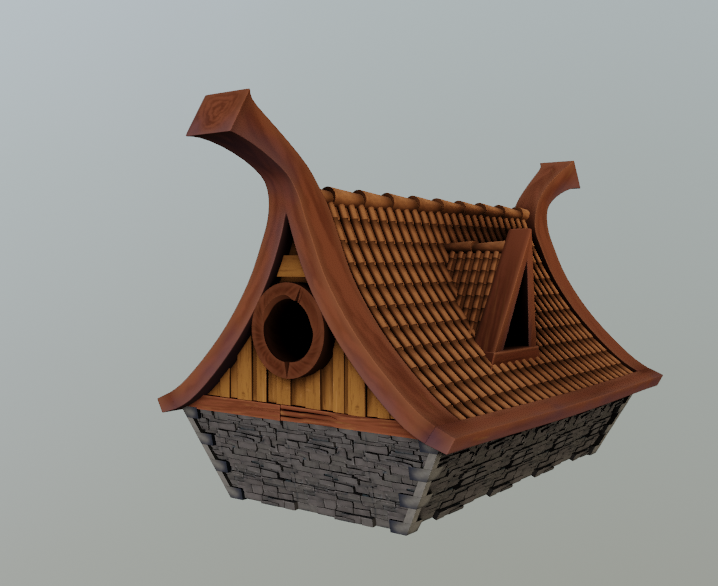
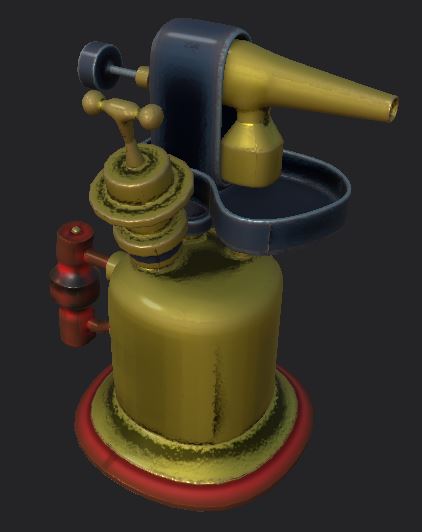
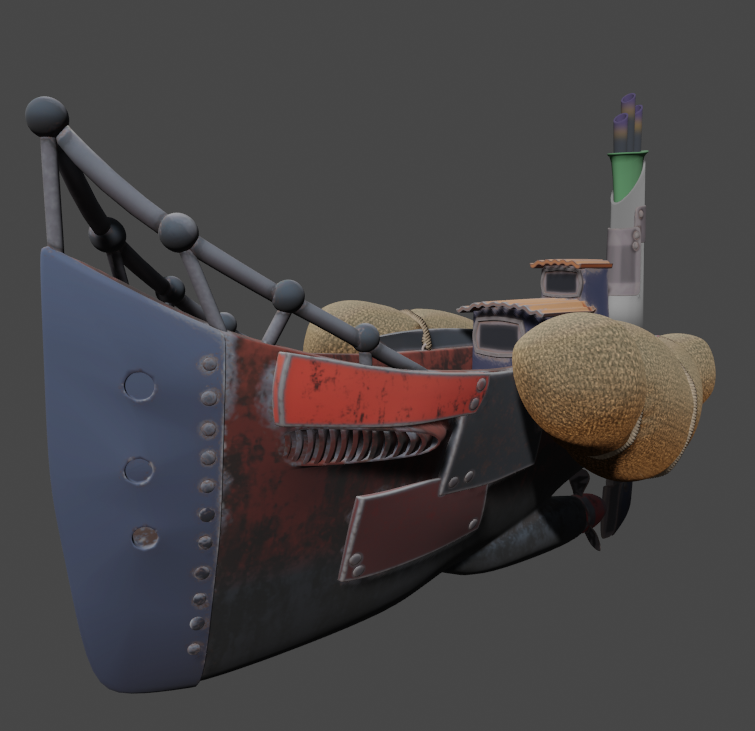
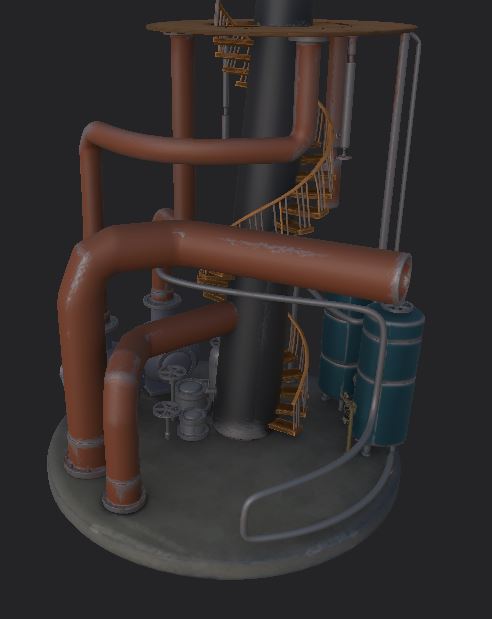
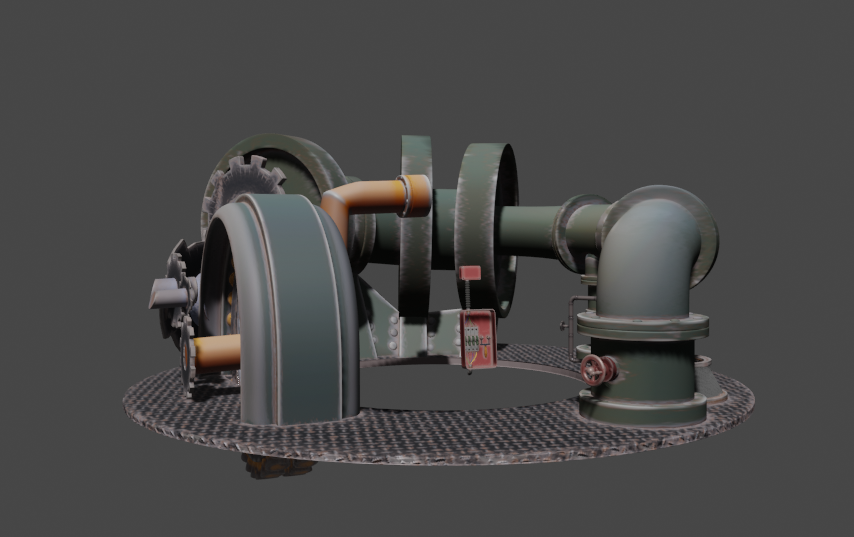
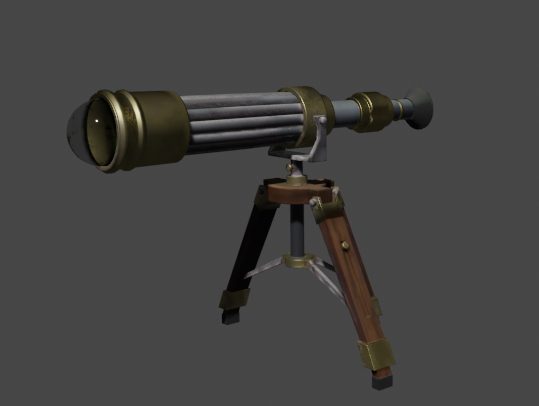
After setting that out it was back to modelling, there was a lot of stuff to make and make look good. For me personally it took about anywhere from half a day to three or four to get a model done depending on the complexity. We also agreed to UV the model after it was finished before moving onto the next. This was useful because the topology is fresh in your mind and it’s much quicker to figure out where to put your cuts when unwrapping the UV. This is a major part of the production and it took us about two months to finish, here are some of the results.
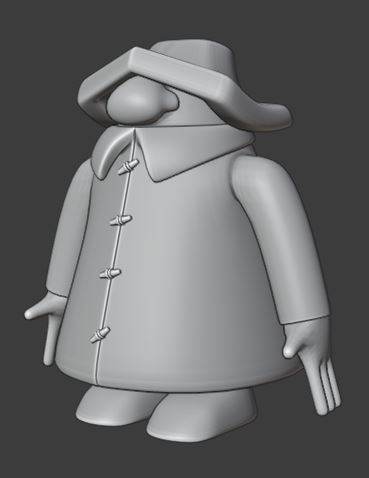
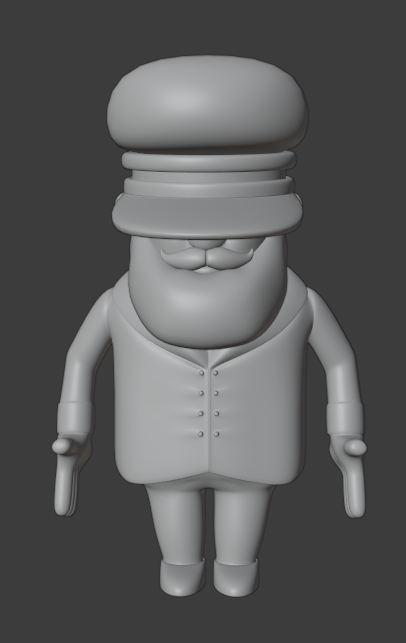


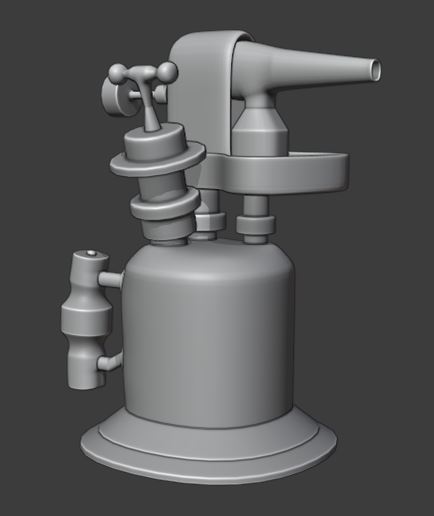
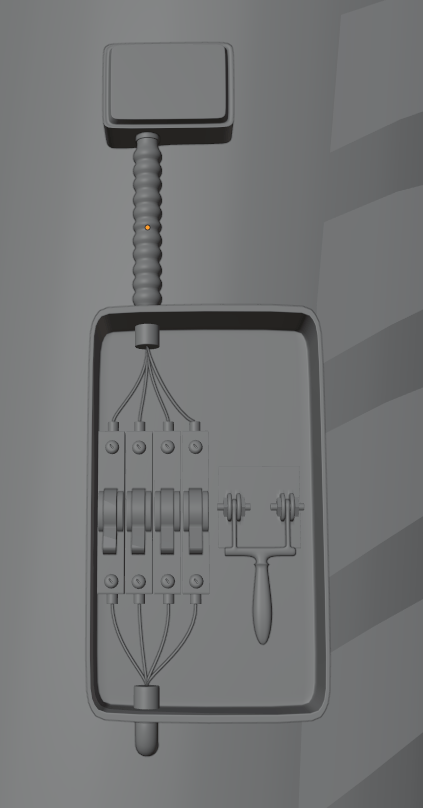
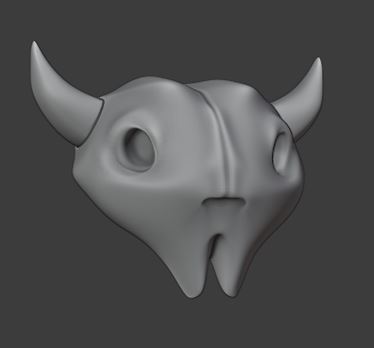
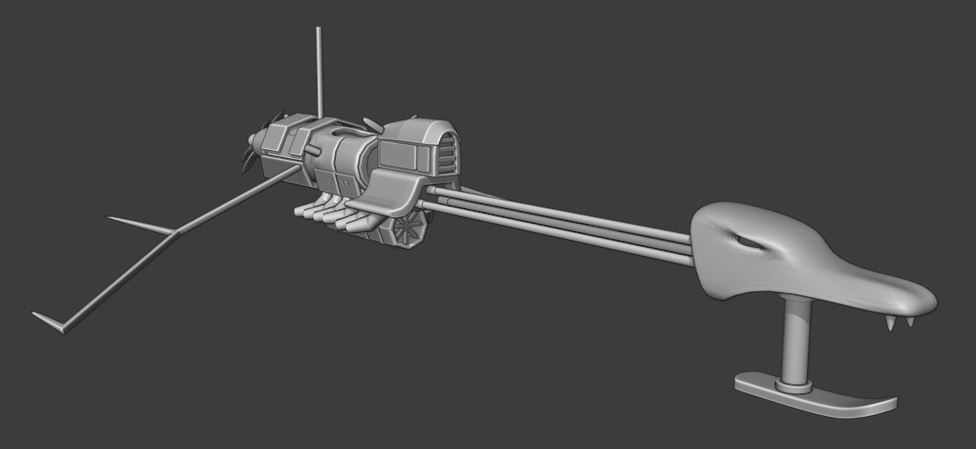
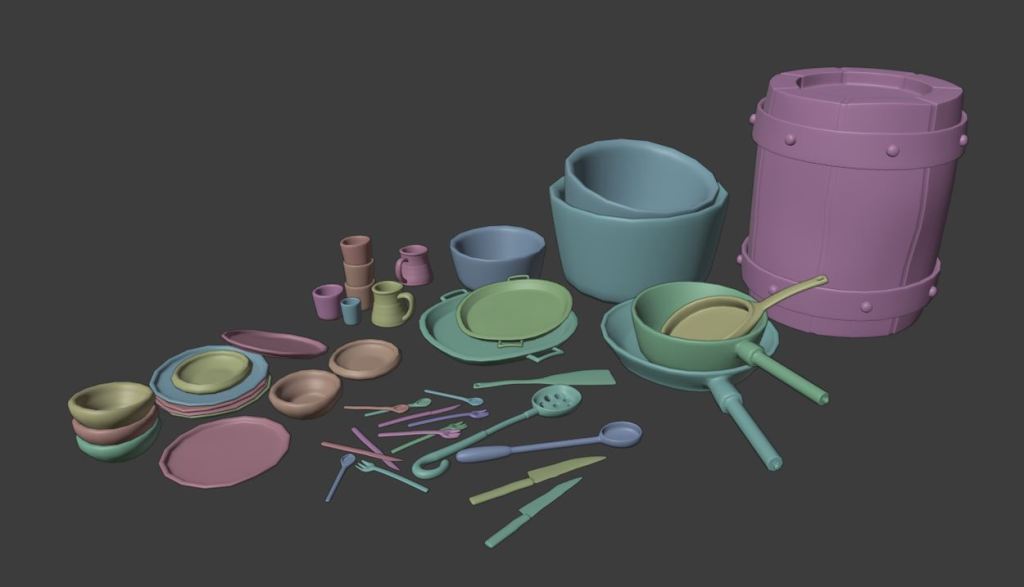
Modelling was fun, it’s not my main discipline but it’s always nice to pull the polygons into something cool.
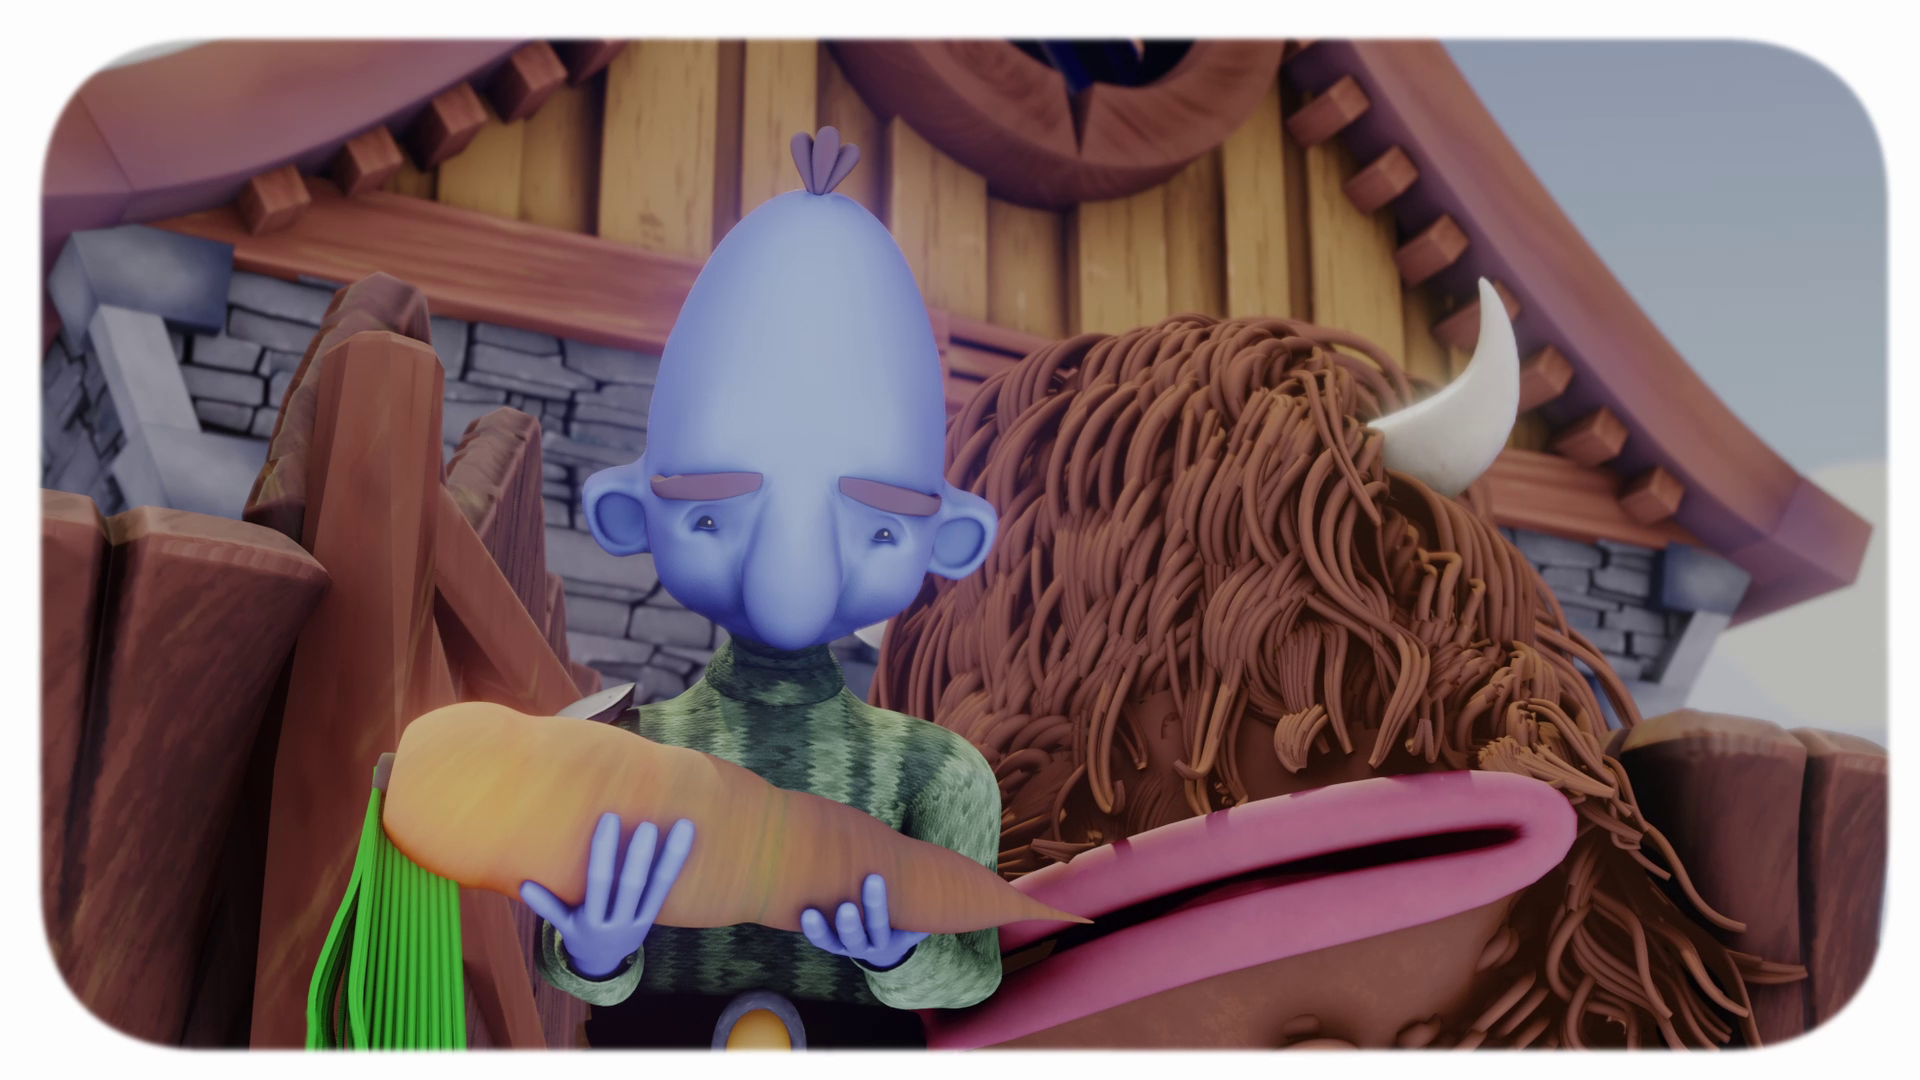
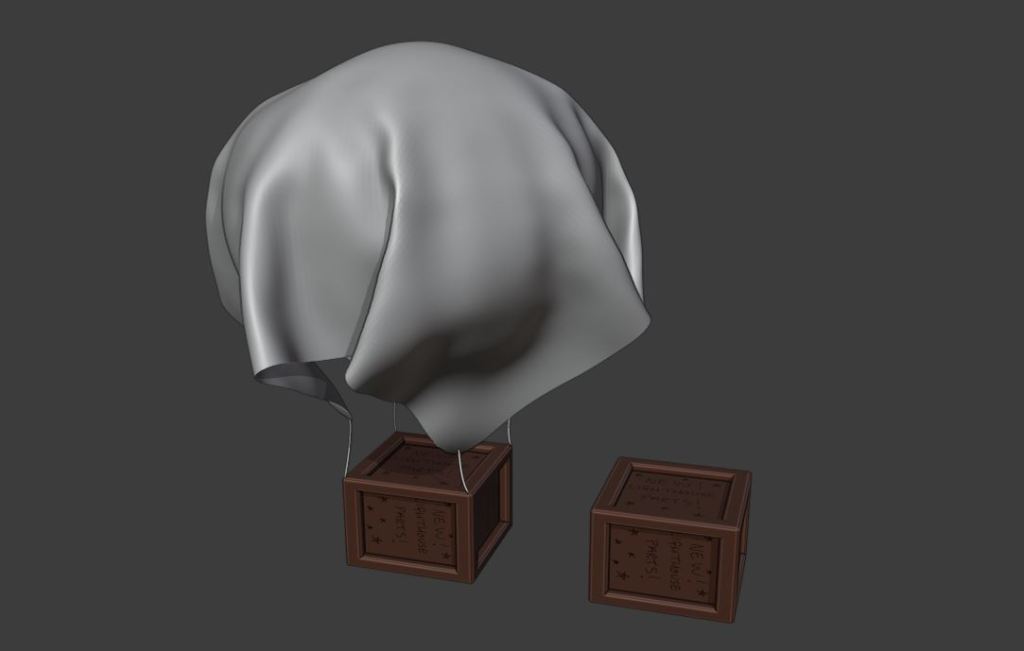
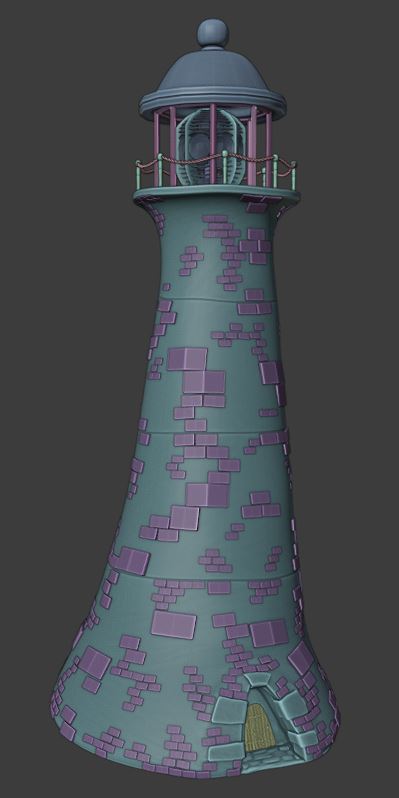
After all the models were finished and UV’s it was time to bring some colour in by texturing them. Working in blender with eevee (a real-time render engine) and texturing in substance painter for the first time was quite a learning curve and there was more than a few hours spent googling solutions. Texturing however offered a really satisfying outcome that surprised me. It was amazing to see the designs and ideas realised within the look of the film. This is also where I began honing in the volume materials that would form the clouds a big part of the film.
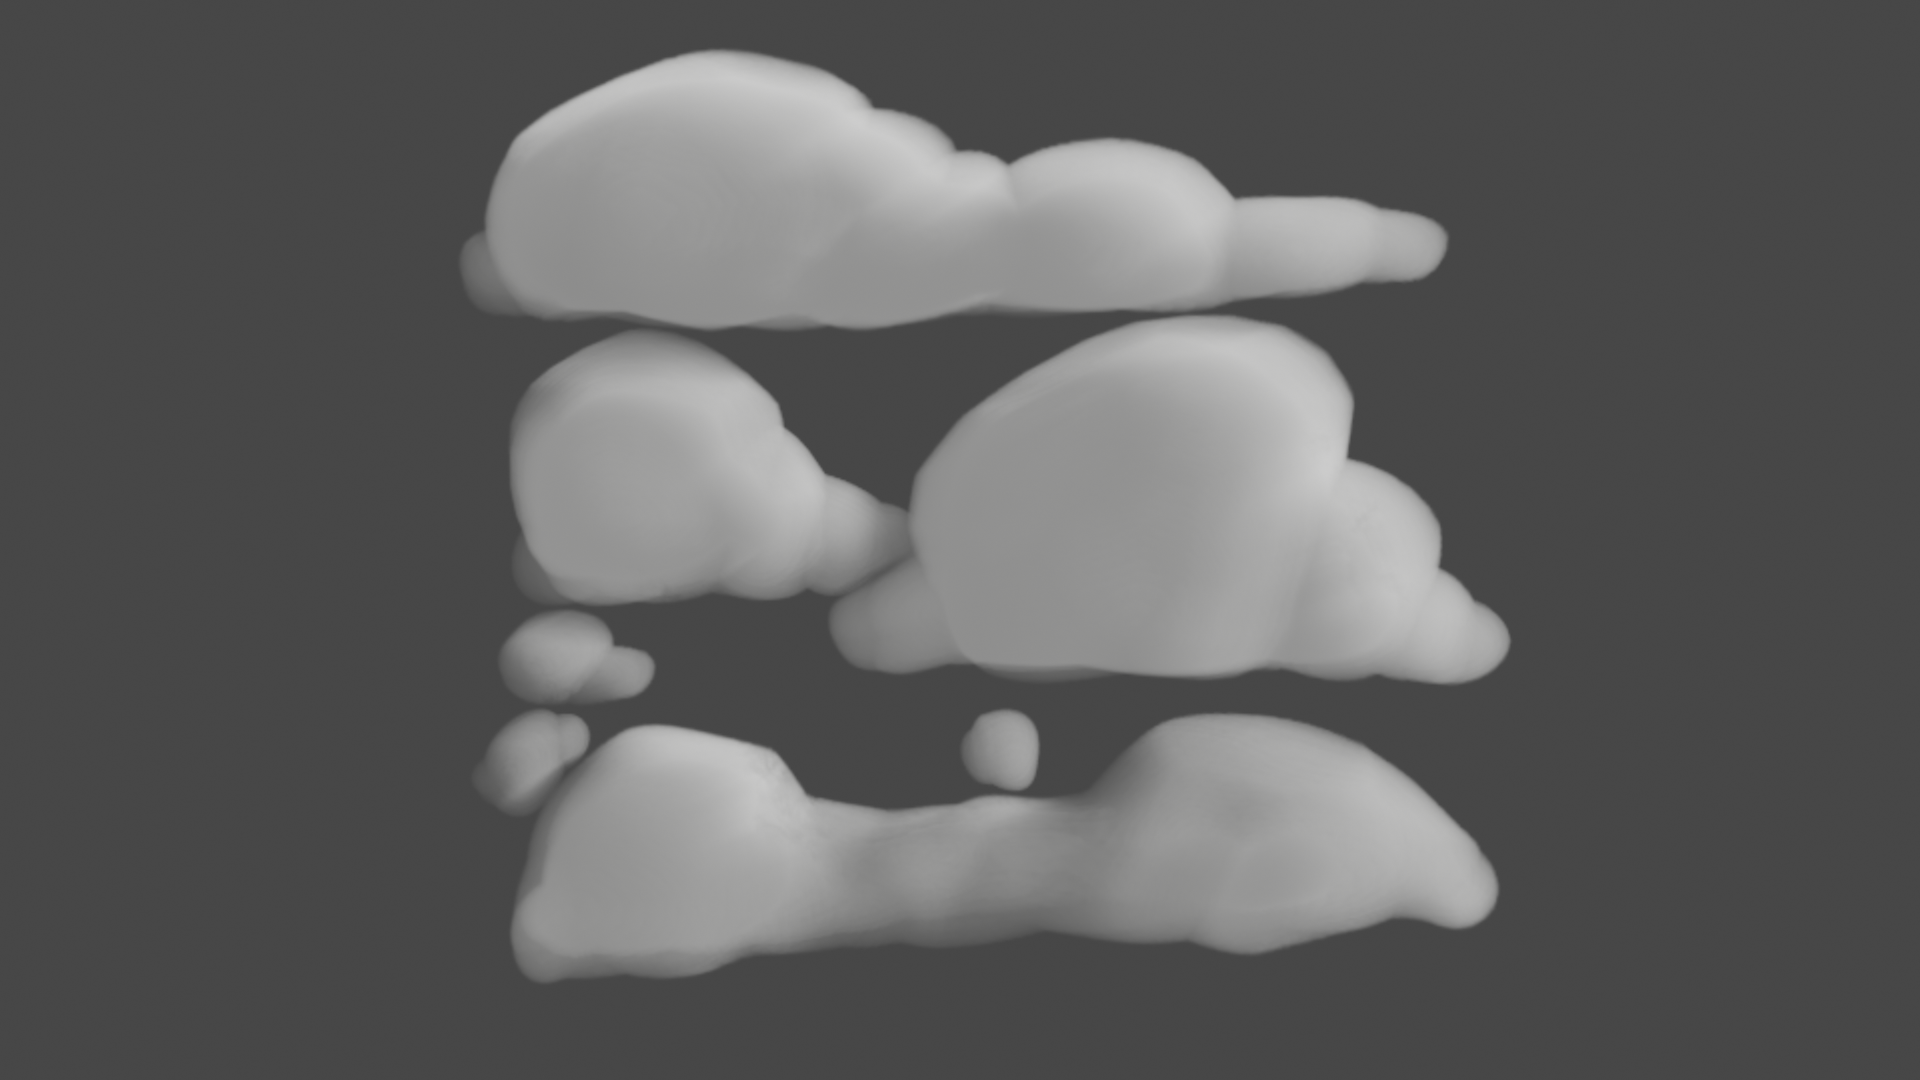

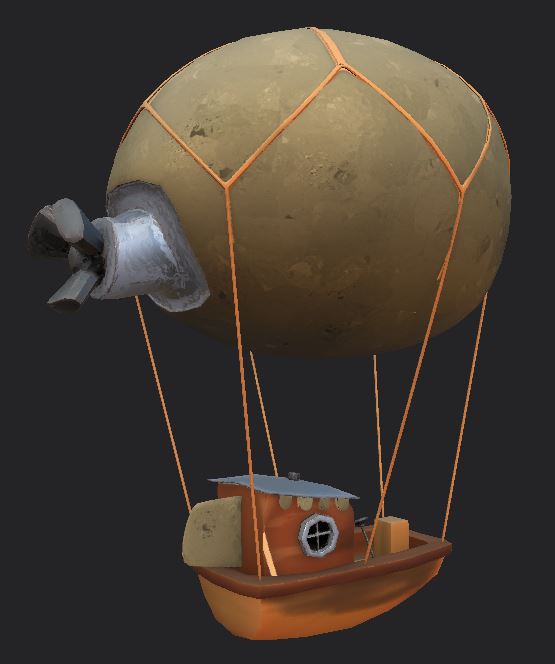
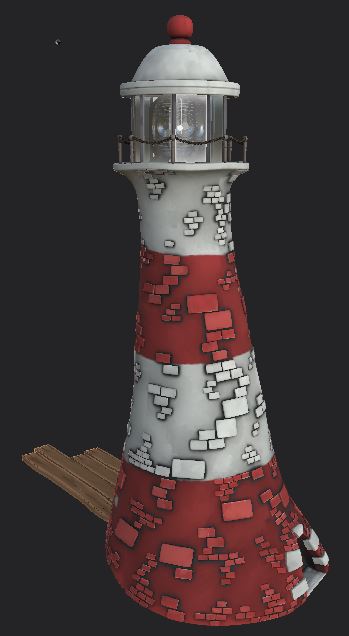
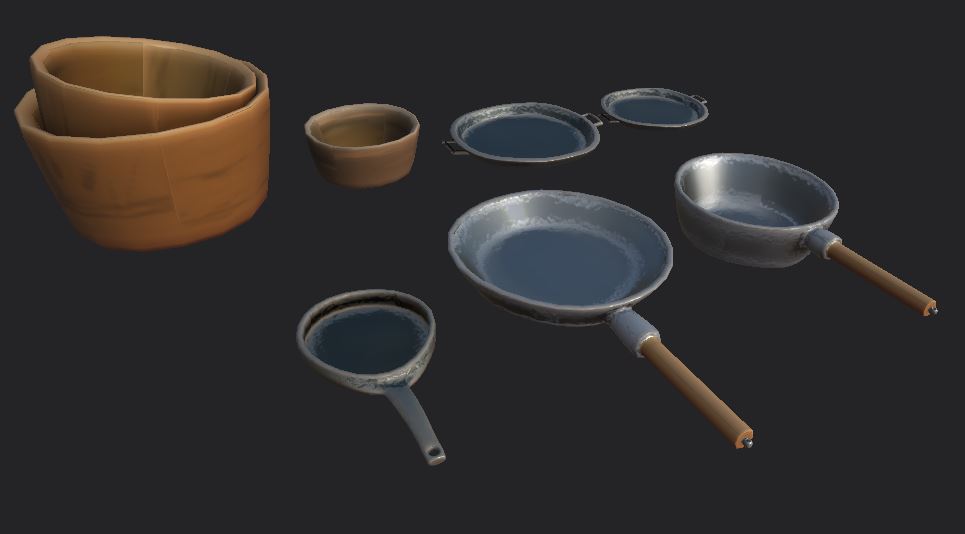

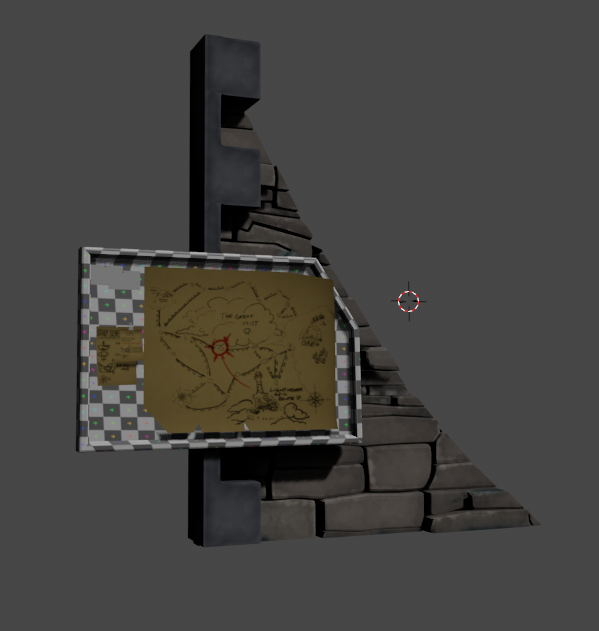
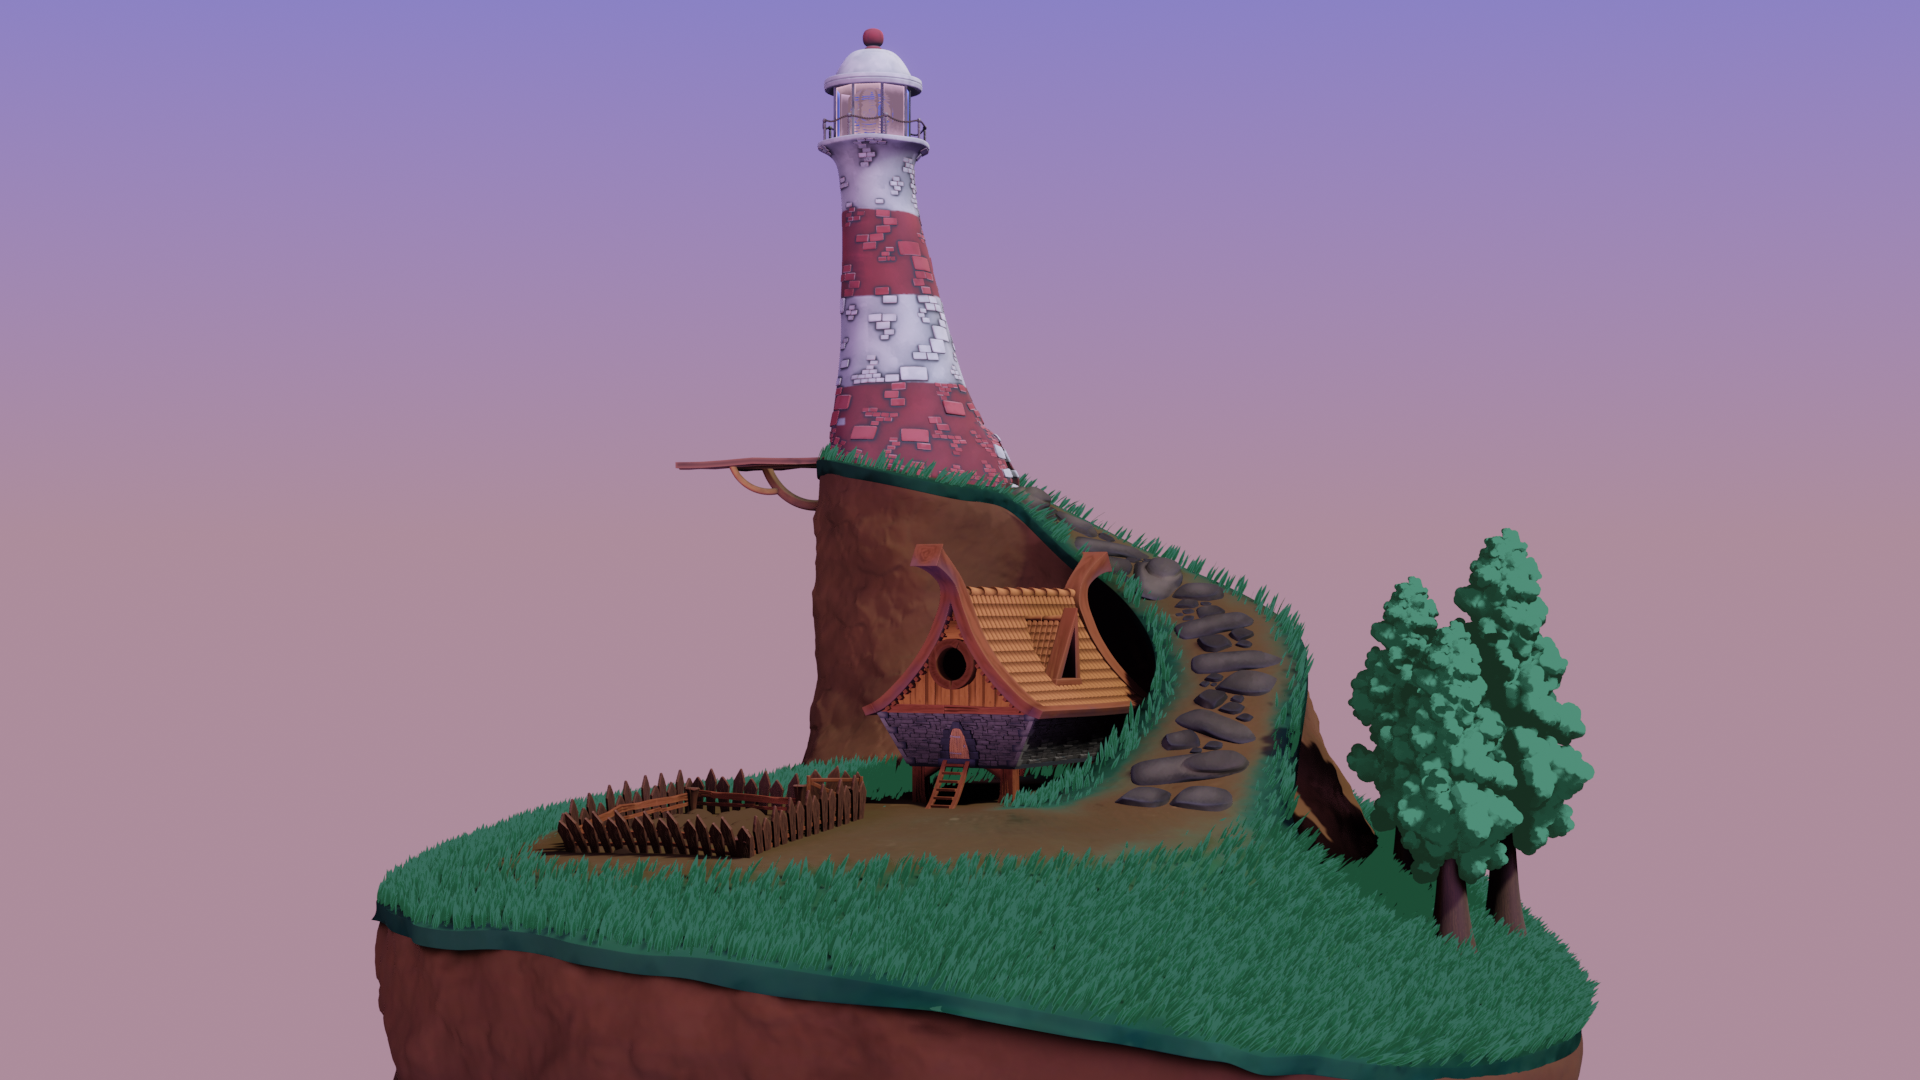
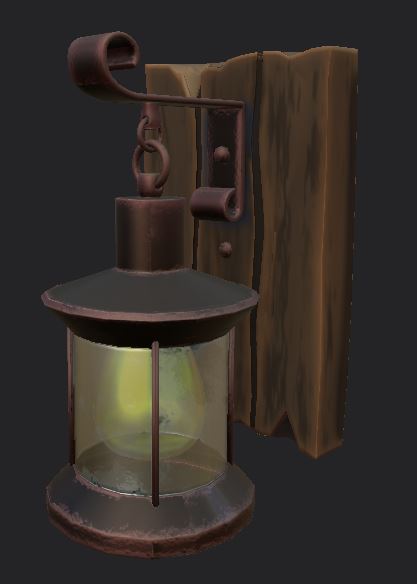
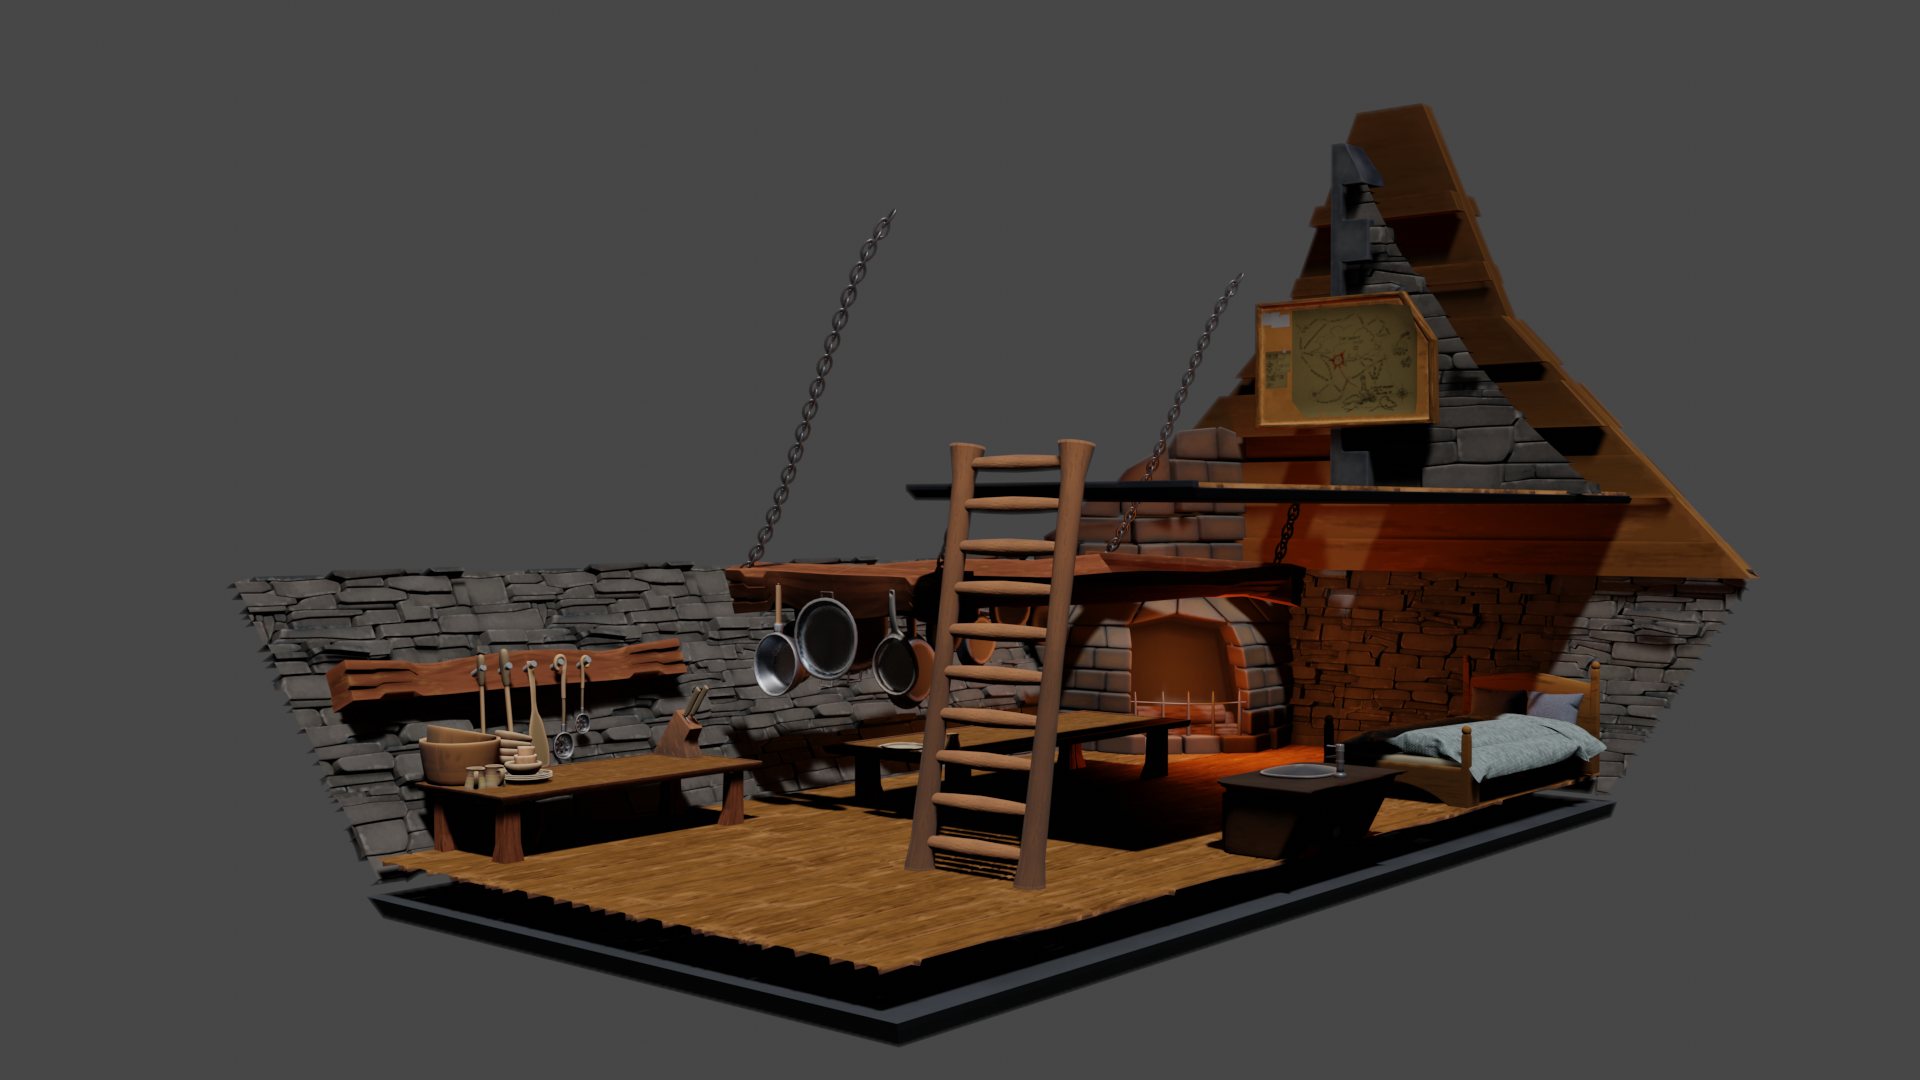
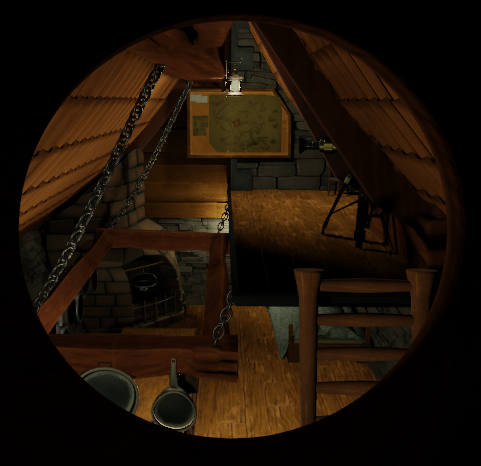
Texturing took us 4-5 weeks to complete and I think it came out really well. Seeing these images come up on our online workspace was really inspiring. Bouncing ideas off Sam and sharing techniques helped keep motivation high and allowed us to push through another major step in production.
After the texturing was done we spent about a week using blender’s rigify to finalize our rigs, complete with blend shapes.
With the modelling, UVs, Textures and Rigs done and the scenes set up it was finally time to start Animating!
It was deep into the pandemic, time was becoming a foreign concept and I hadn’t had a haircut or shaved in the last 6-months but I was ready to record some video reference and begin animating.
I didn’t do reference for every shot but it is something I find useful when animating. Between Sam and I there was 7110 frames to animate and this was by far the longest part of the process. It took 2-3 months to complete animation. It was a pleasure to go through and breathe life into my scenes but I also wanted to make them as good as I possibly could without getting lost in perfectionism. Over-all there are obviously things that could be improved but I’m happy with the quality we were able to achieve.
Once animation was completed Sam took a step back to work on another project and it was time for me to start lighting and rendering.
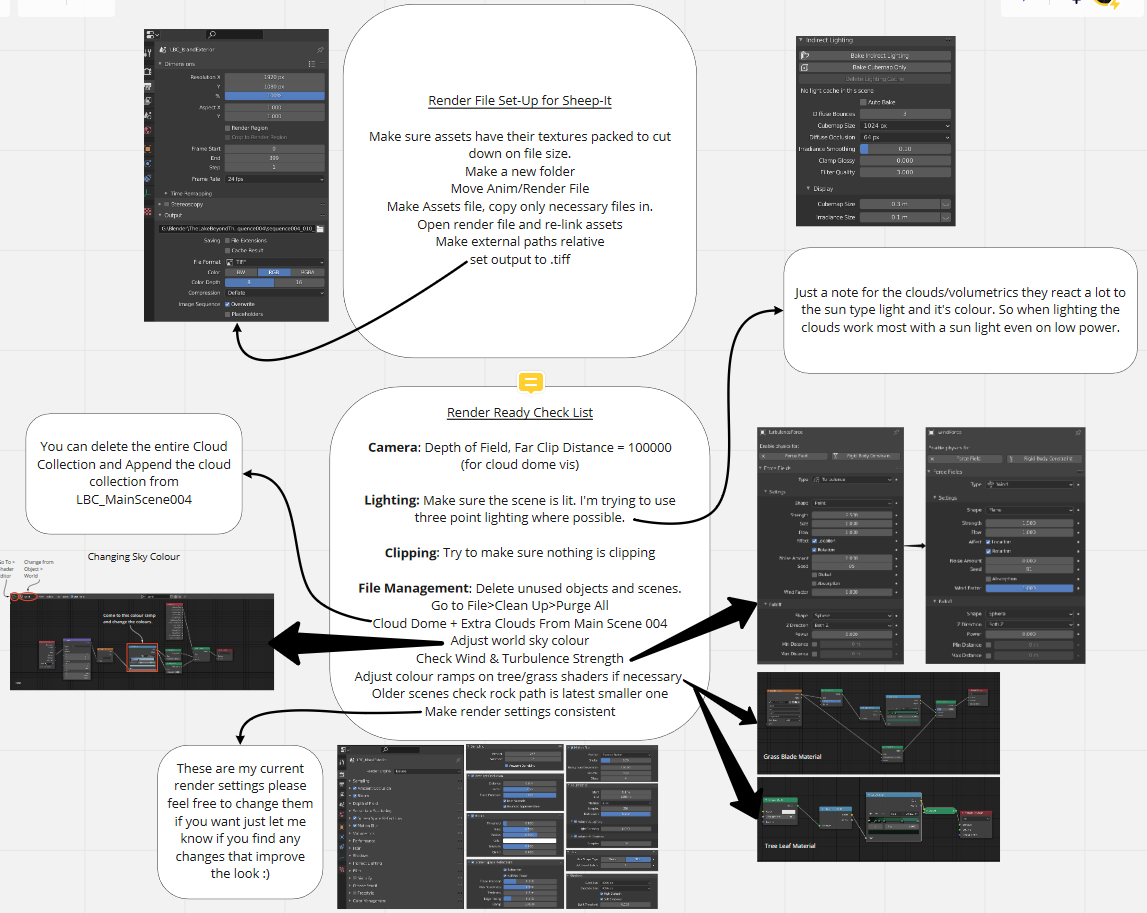
This was a rewarding but fairly tedious task with a lot of rendering and re-rendering. First of all the file had to moved to a new folder that could be zipped up and sent of to a cloud rendering service. The textures then had to be linked up properly and then we’re ready to put in lights. In the final render we will only see what is illuminated in the scene so lighting has a big effect on what the audience will see. After the scene is lit there is a whole host of things to check off the list before I render. Here is my render checklist which I used to try keep consistency between sequences and shots.
After I went through made sure all my settings were right I uploaded a zip of the blender animation file and the linked props and rigs to SheepIt.
SheepIt is a community based cloud rendering service, rather than just using your computer it allows you to upload your scene to other members and utilize their machine and vice versa.

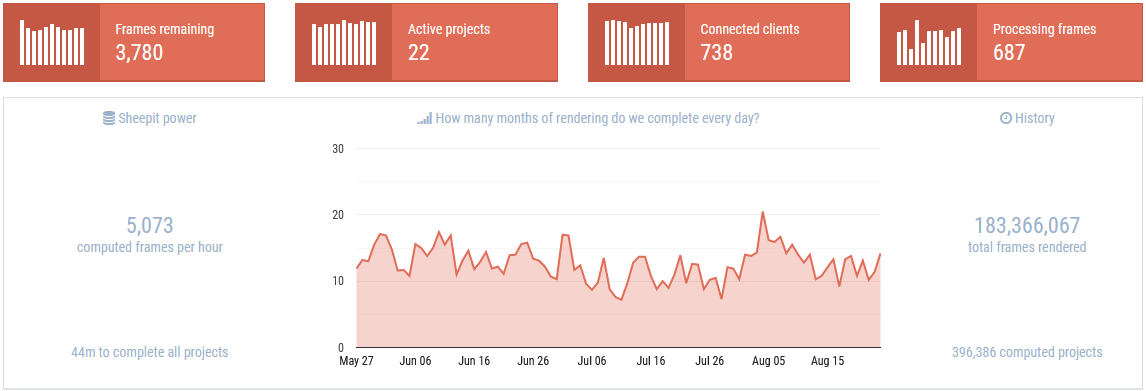
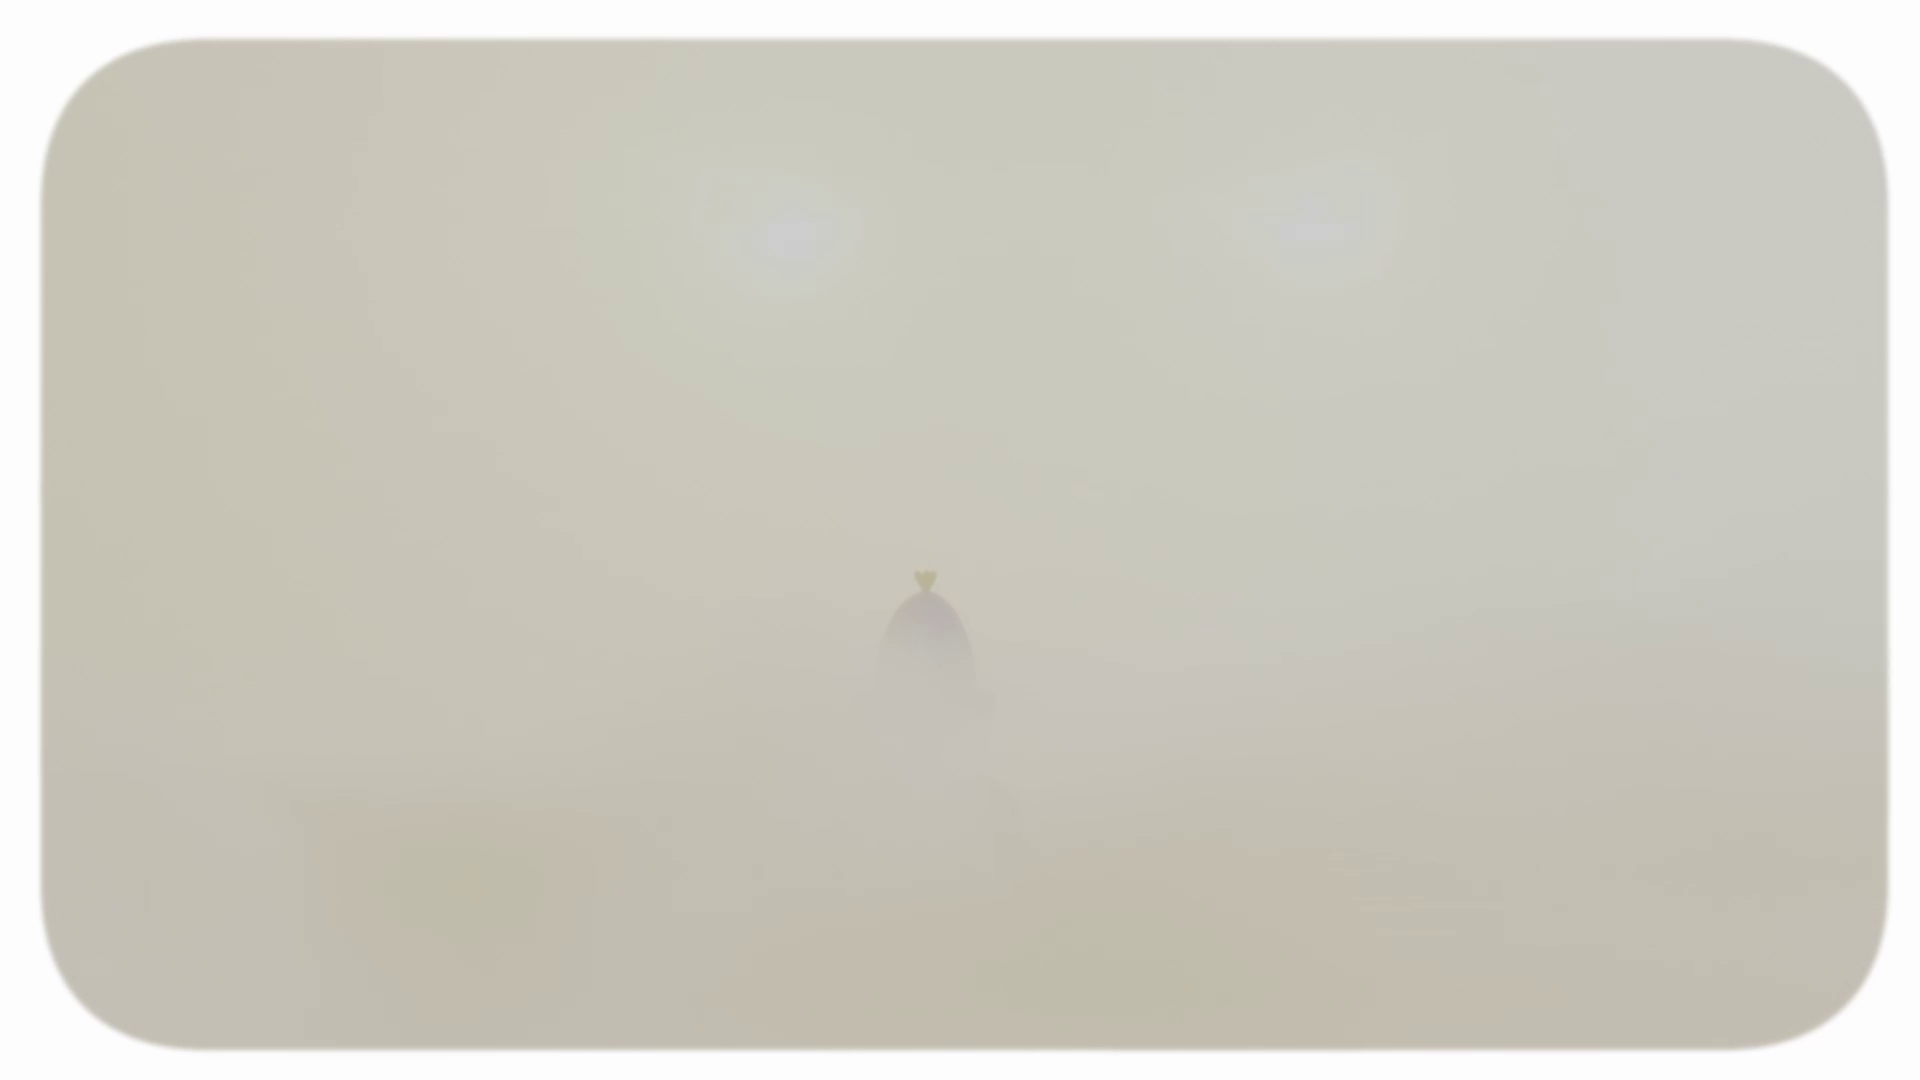
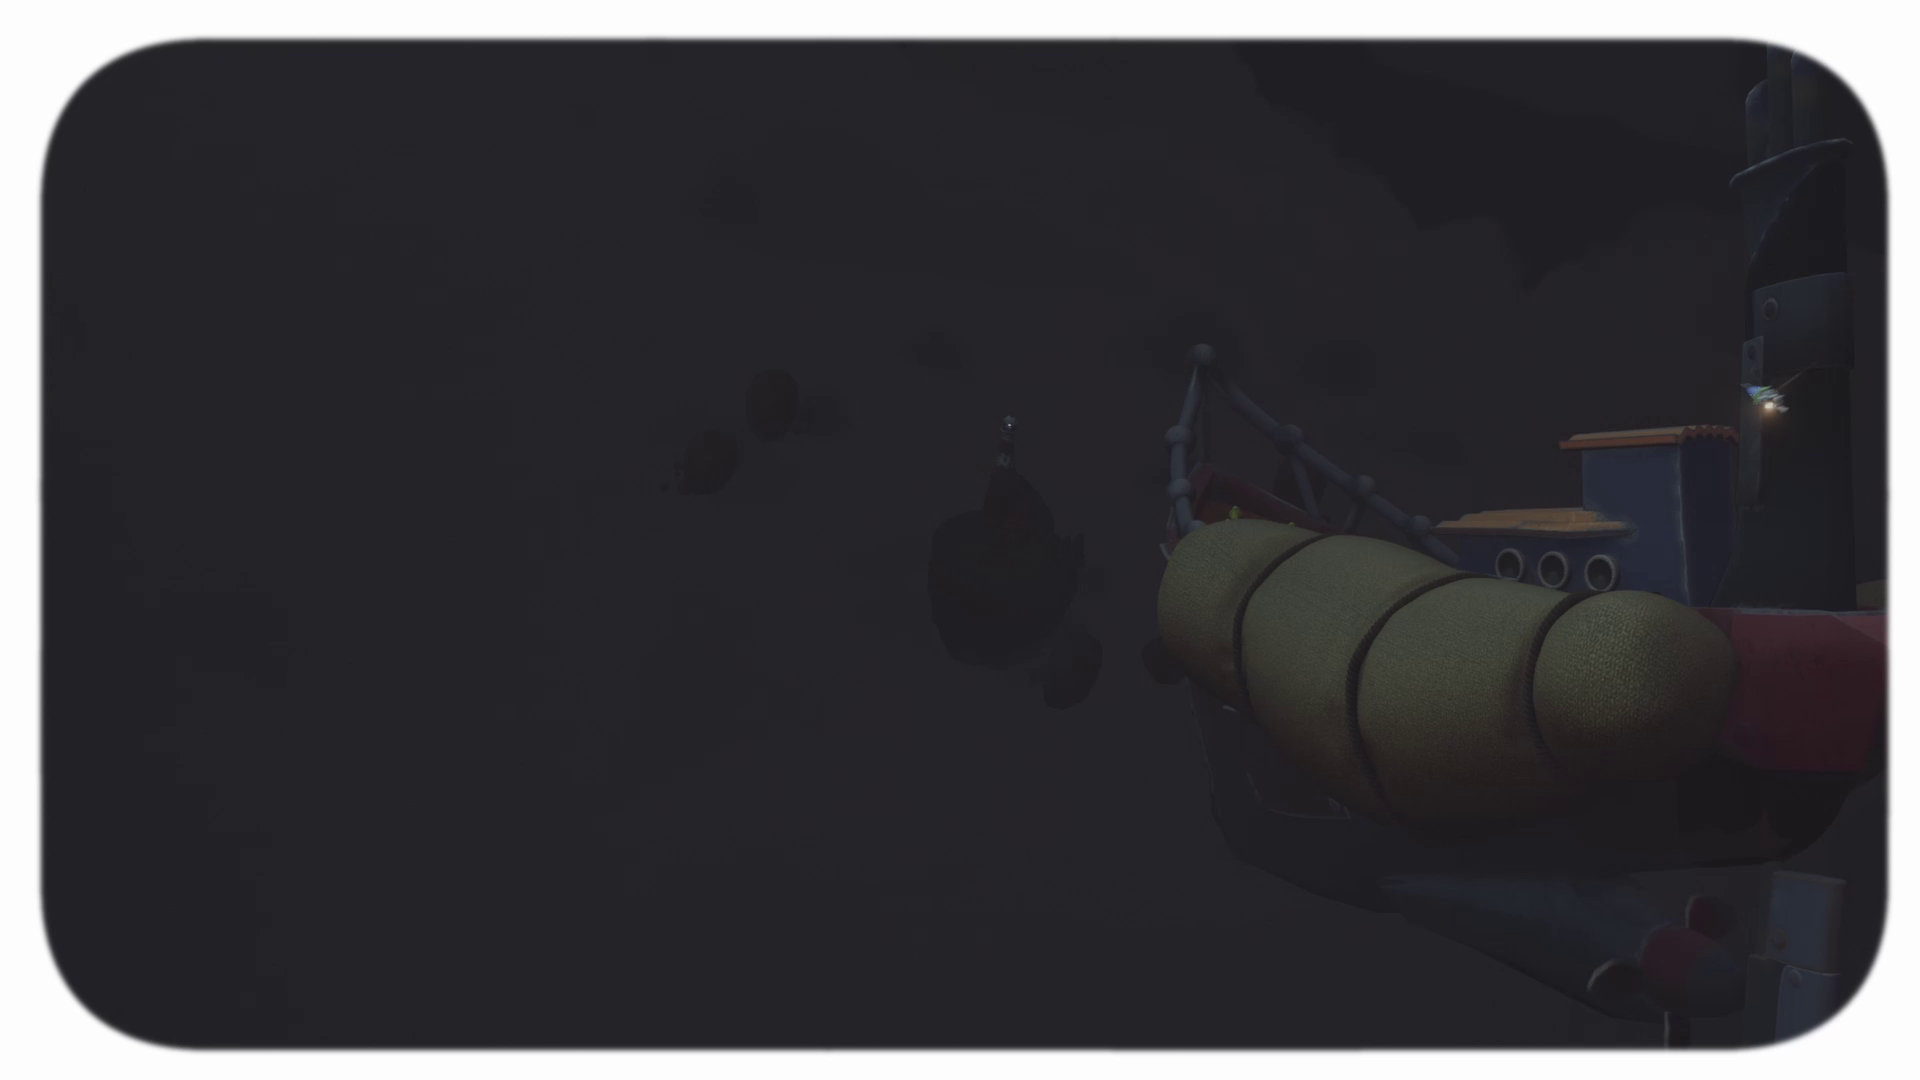
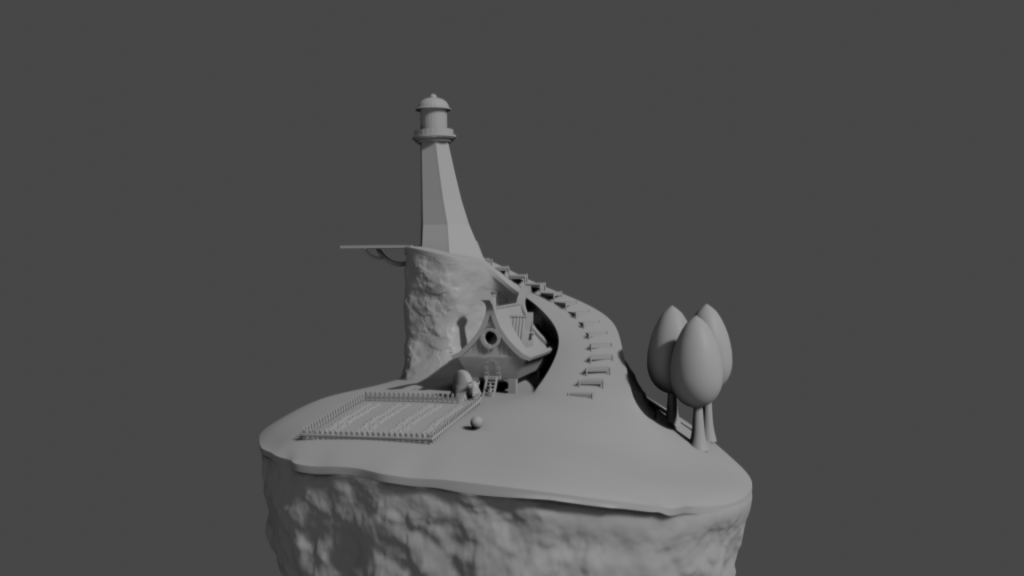
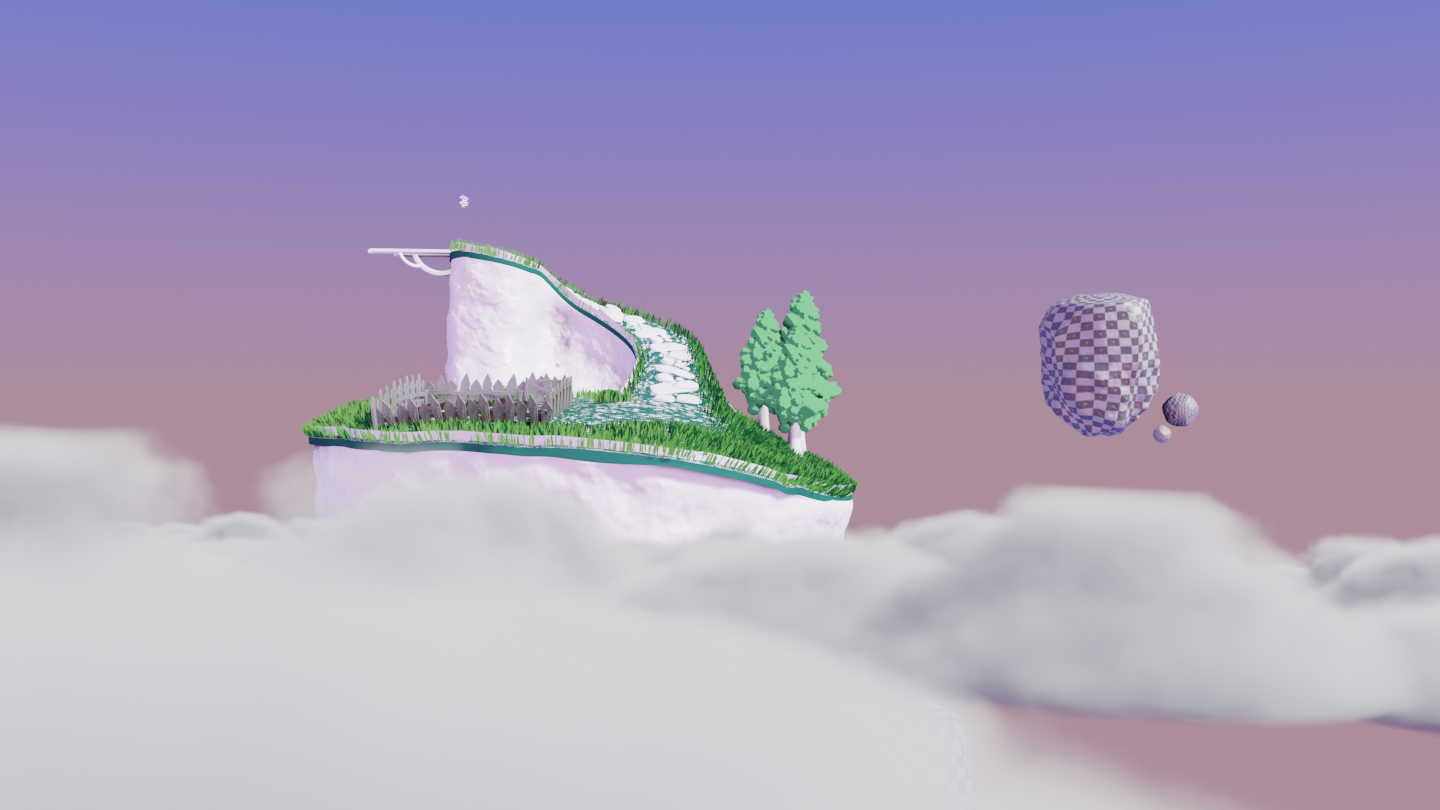
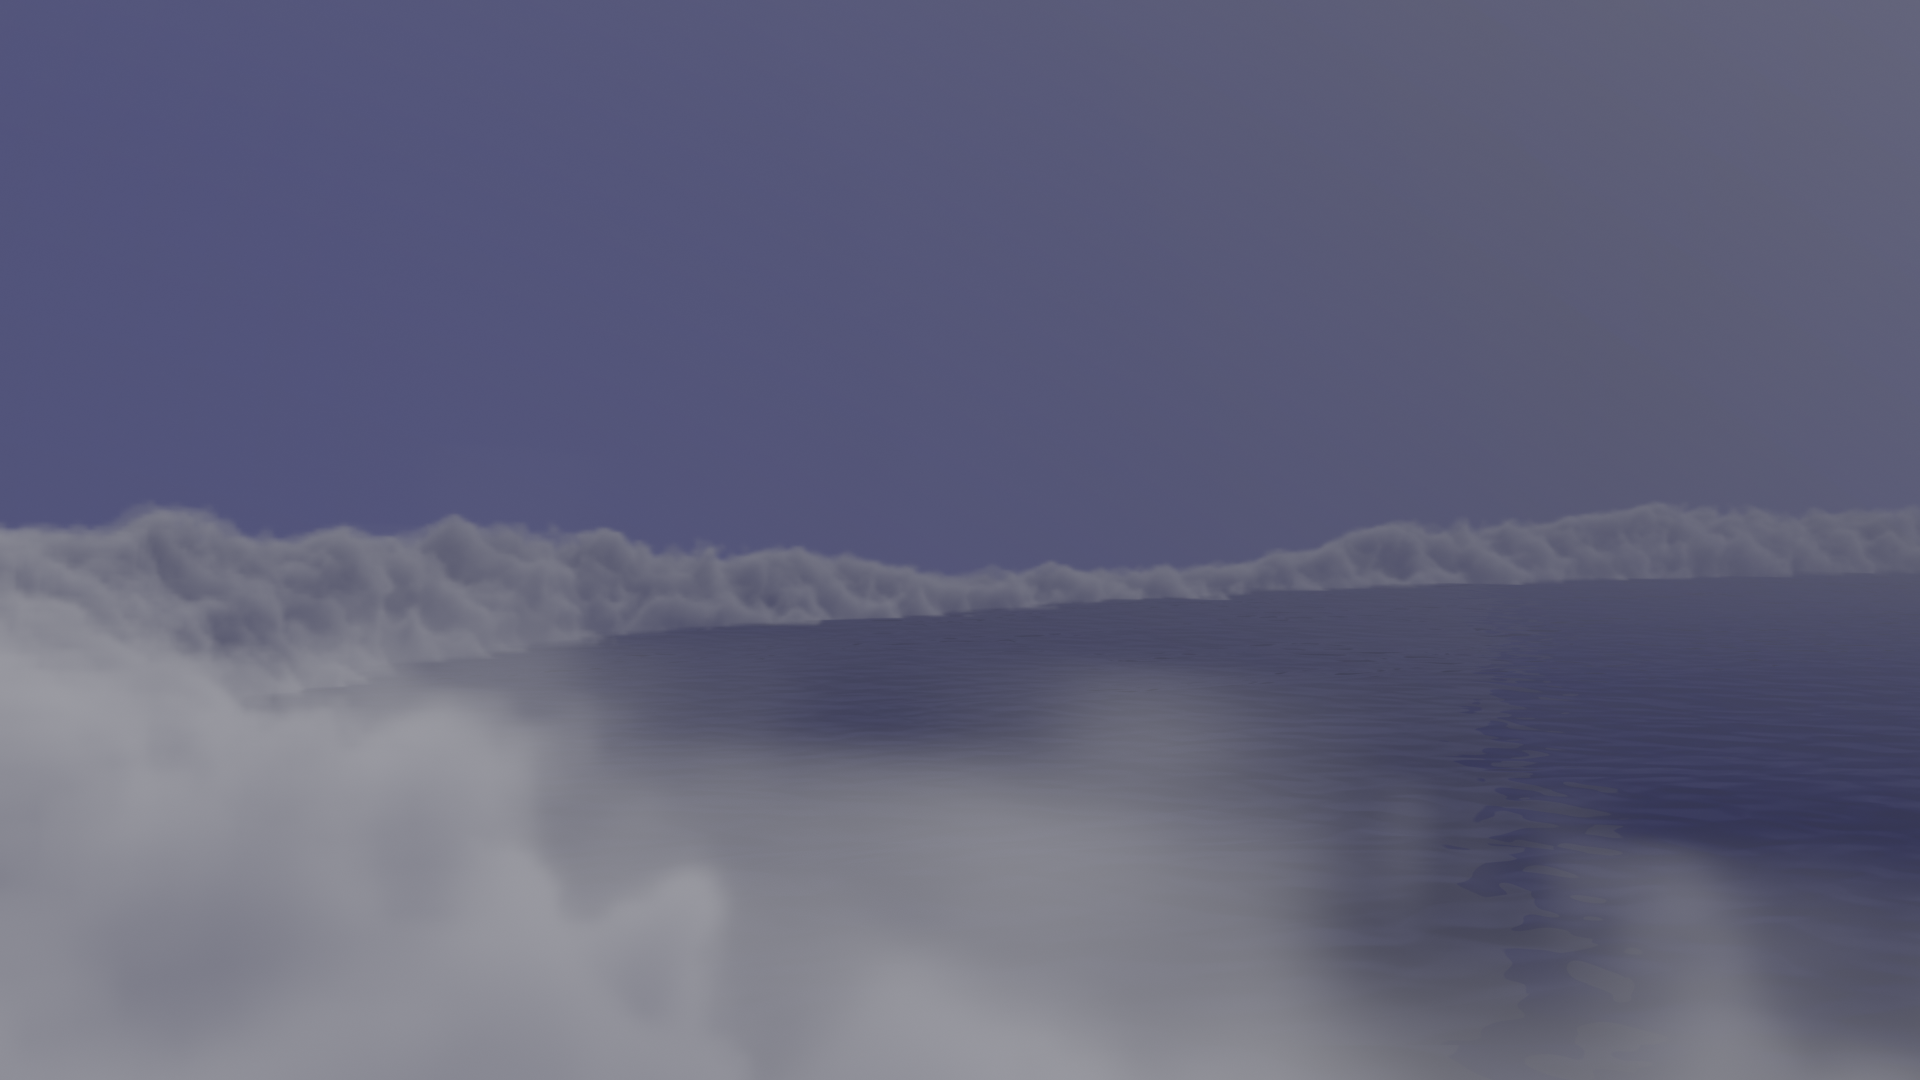
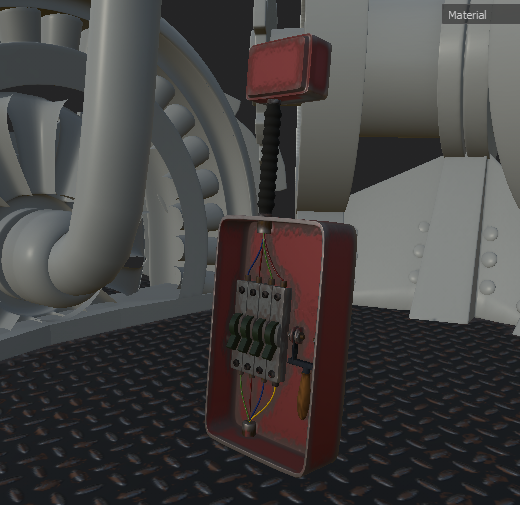
This service decreased the time it took to render all 7110 frames by up to 30 times at points. For the most part the quality was flawless. There was some unfortunate times where people with less powerful machines would attempt to render a frame and fail. I’d have to go back through and re-render those but for the most part it was very helpful. My first render looked like this:
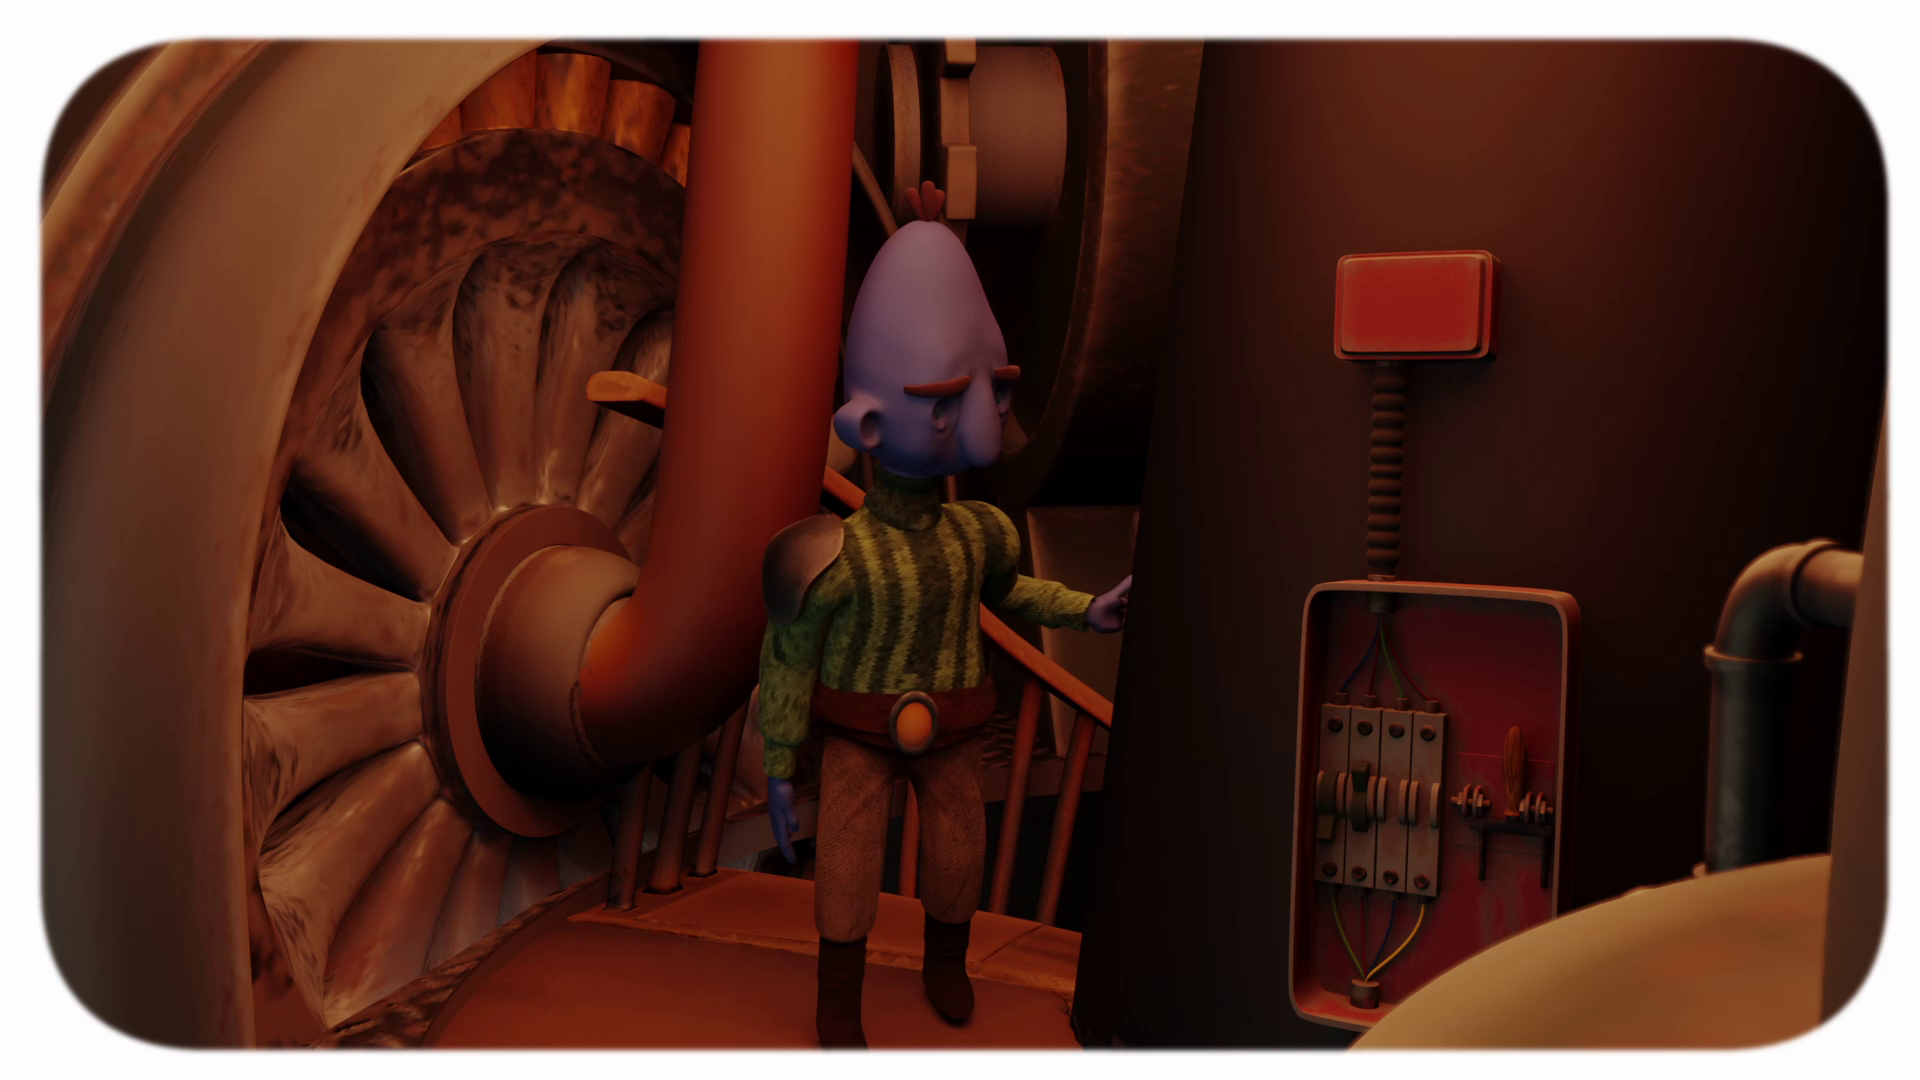
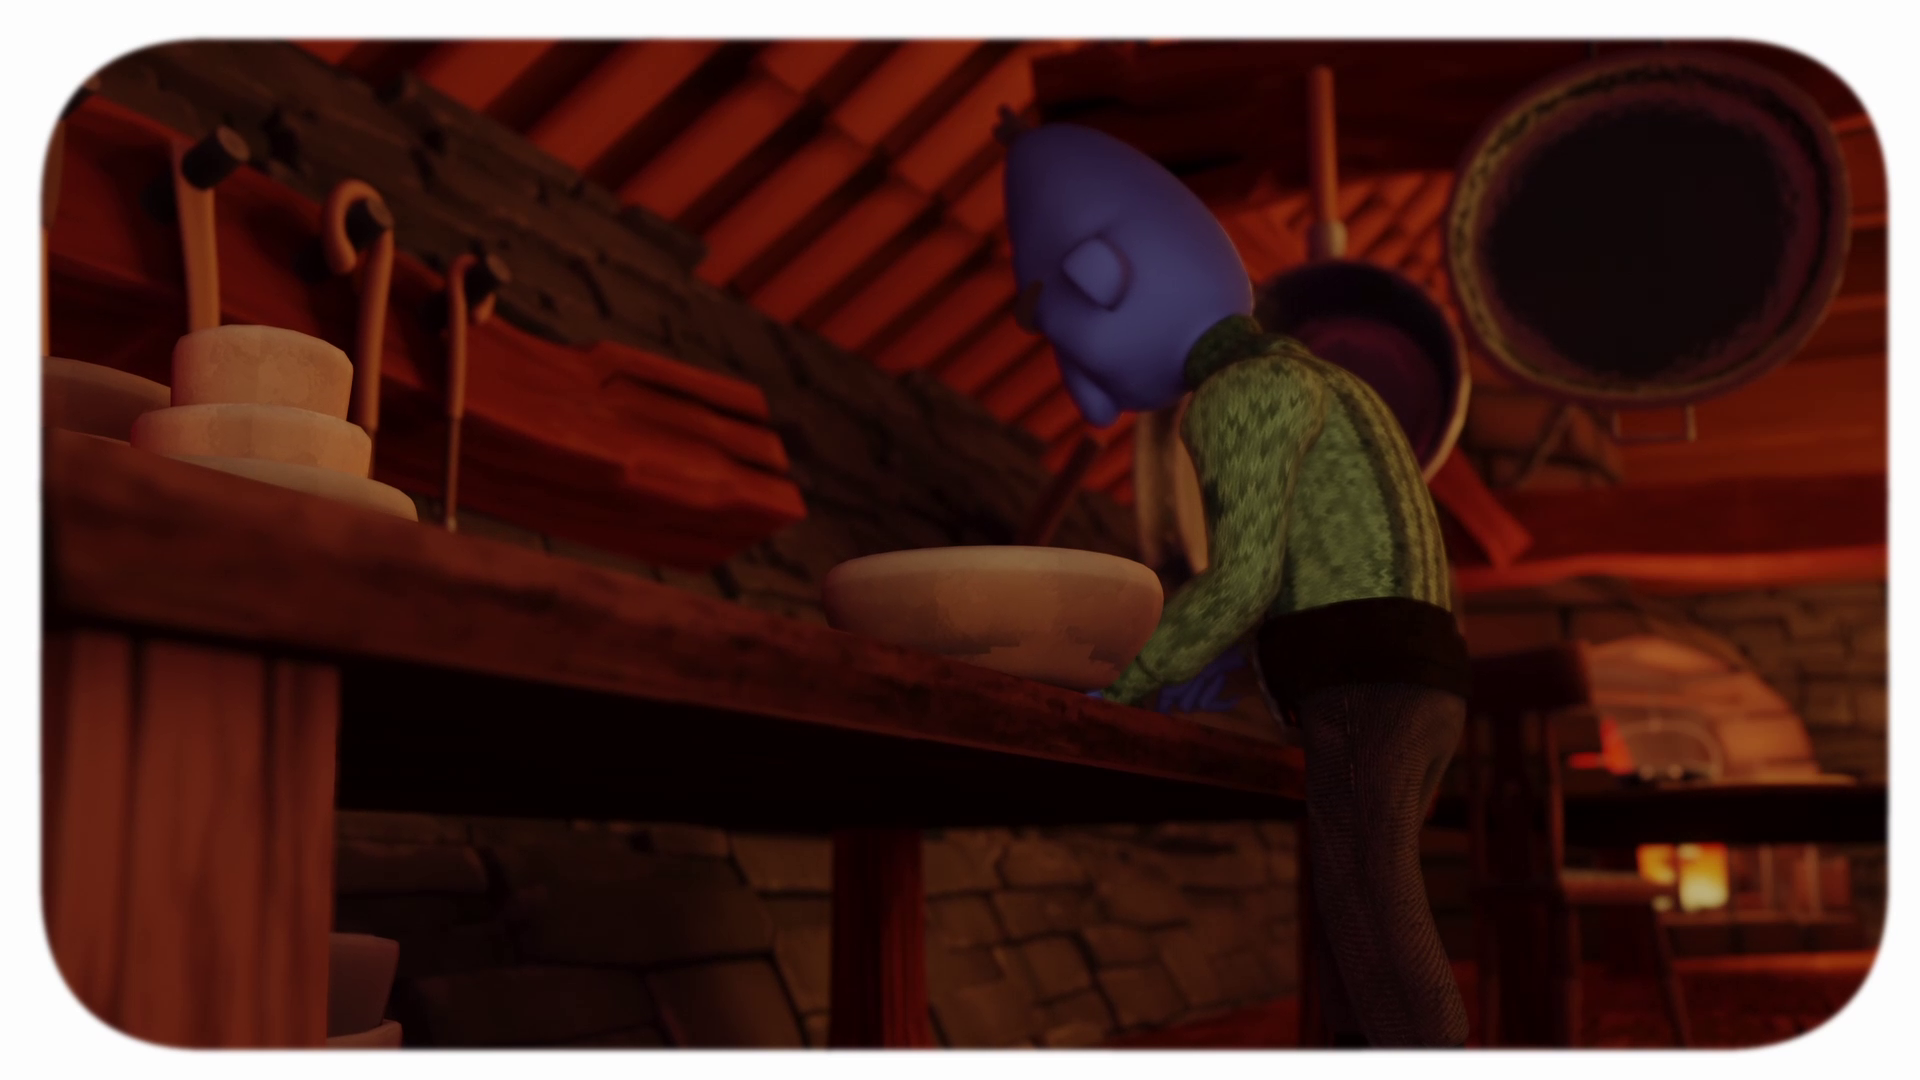
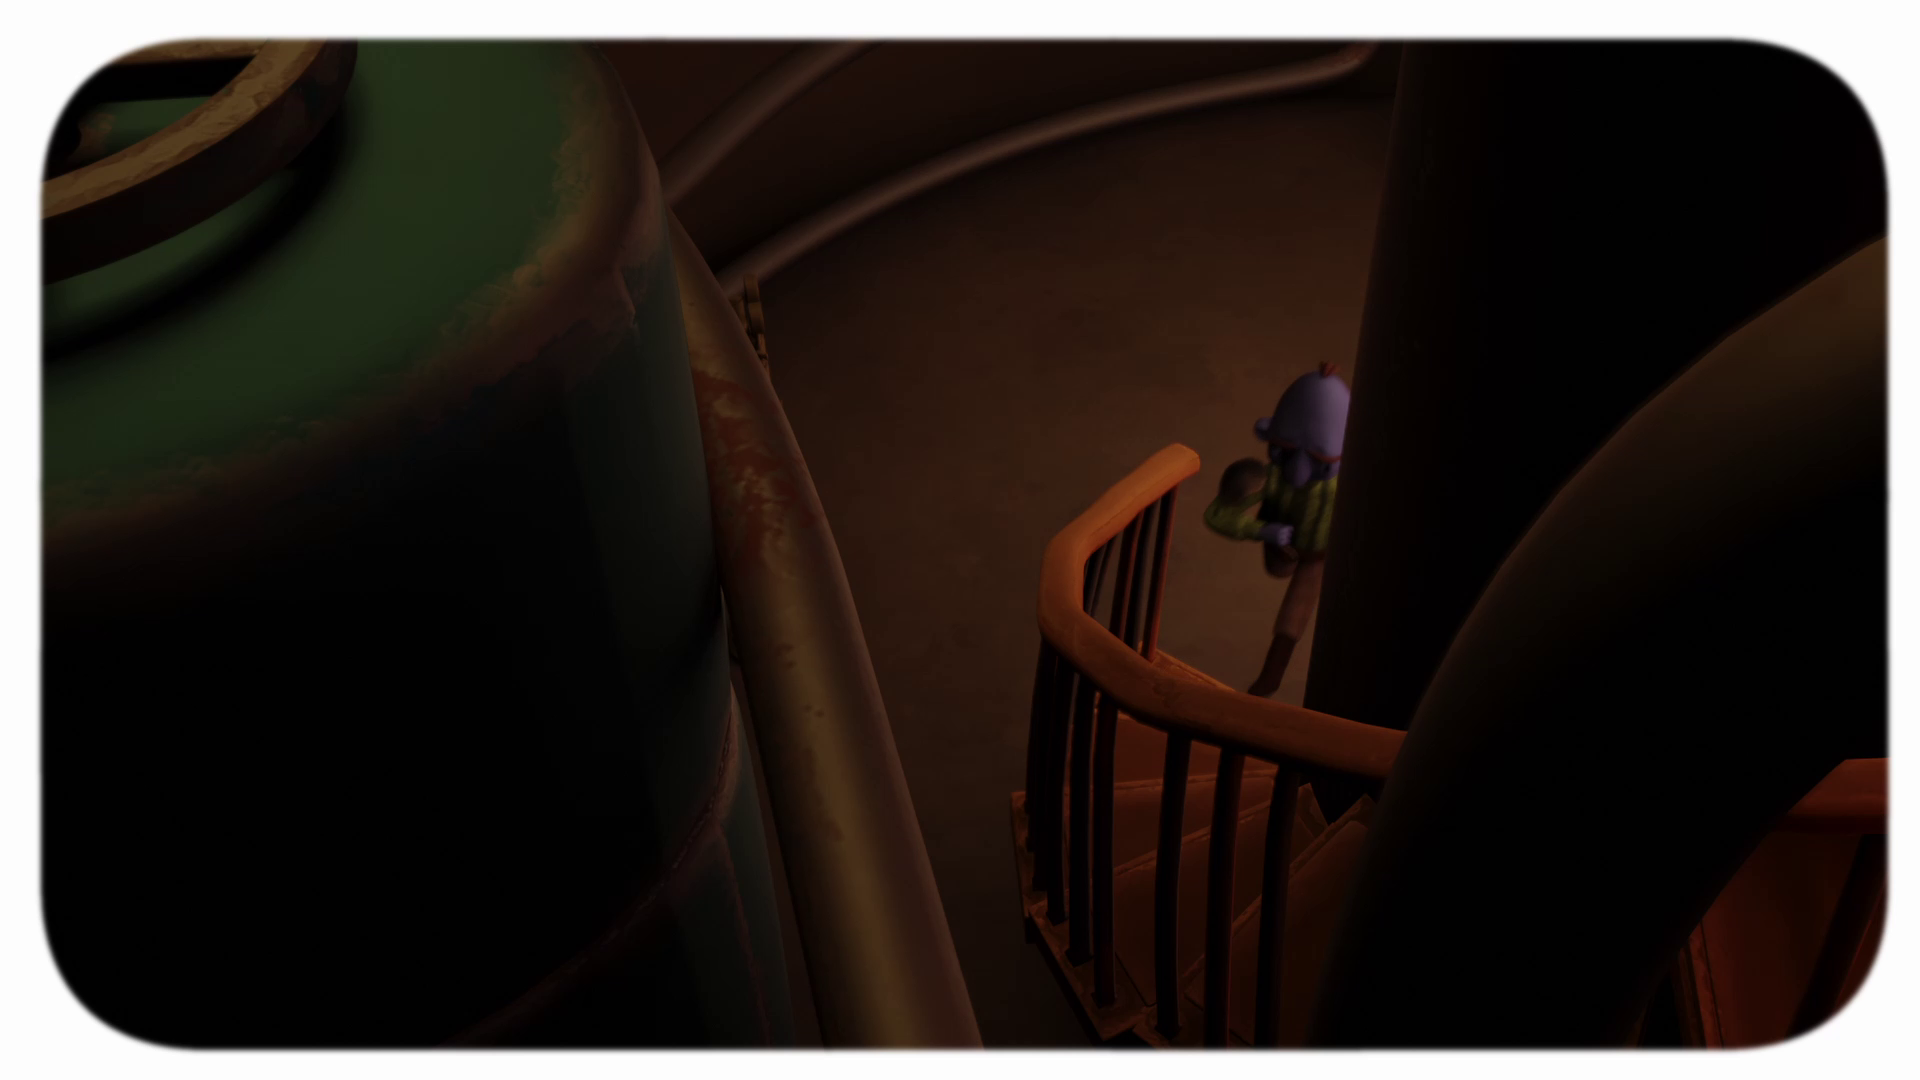
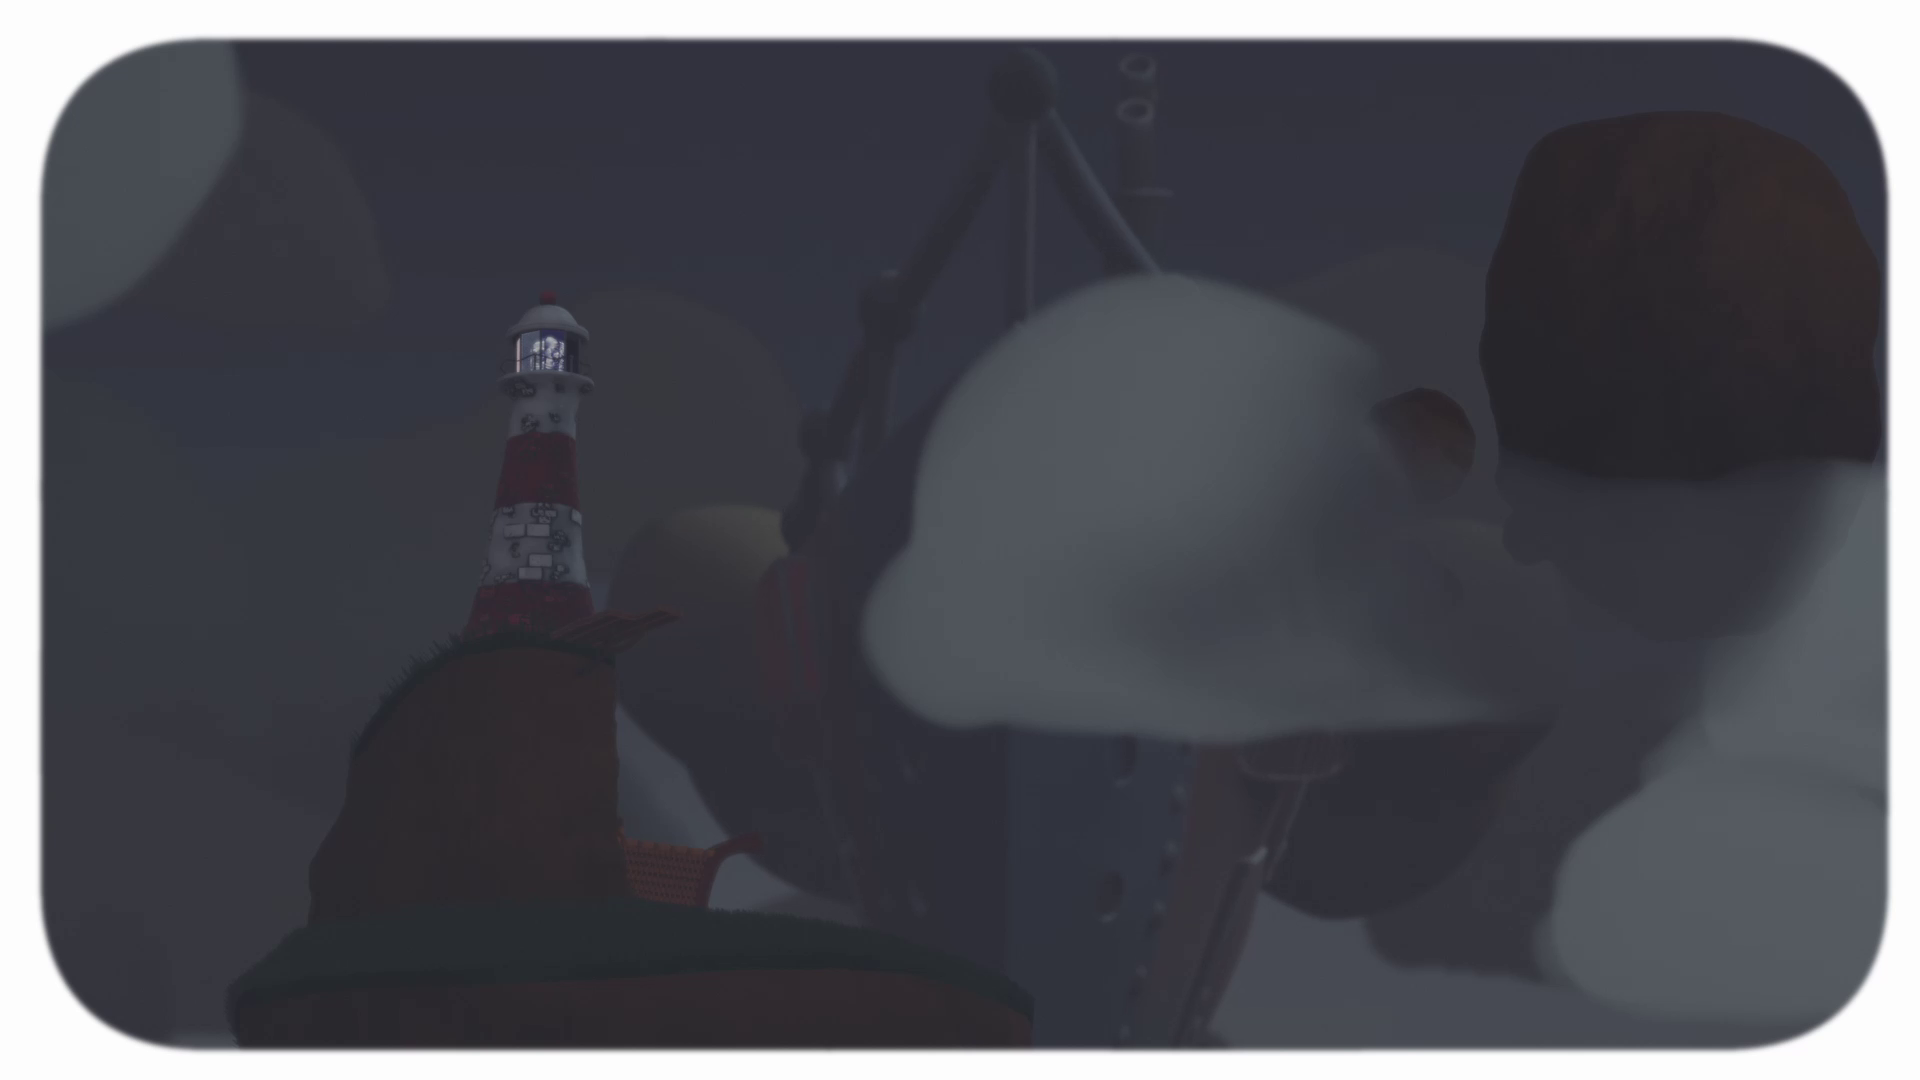
And this is what the final render came out like this:
After one more month the frames were out of the web-based oven. After that it was just time to do some editing and add some audio effects which took a little while cause in animation you start with nothing.
In the end my timeline looked like this:
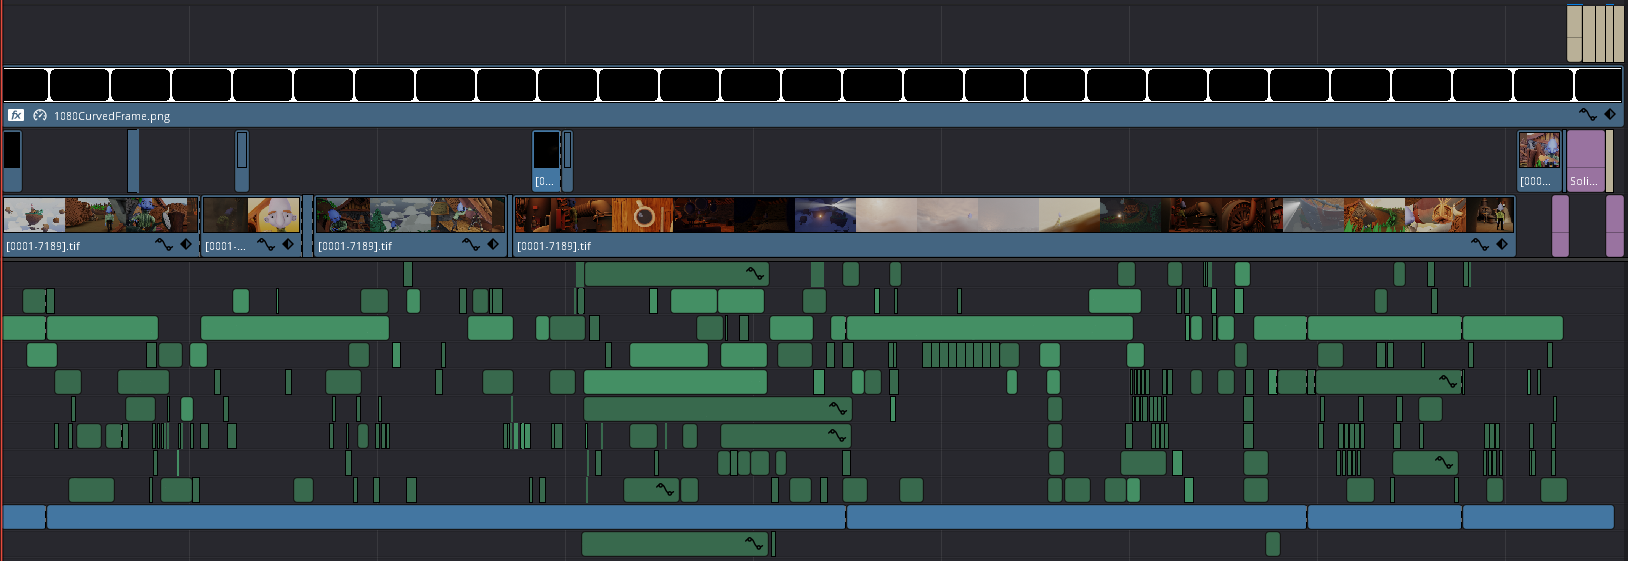
And with all the footsteps and yak grumbles in place the project was done.
Hopefully this behind the scenes write-up shows you how much time and effort went into the film and the fun we had making it!
I plan to enter the film into festivals and update this page with more news.
Thanks for reading
-Harry
